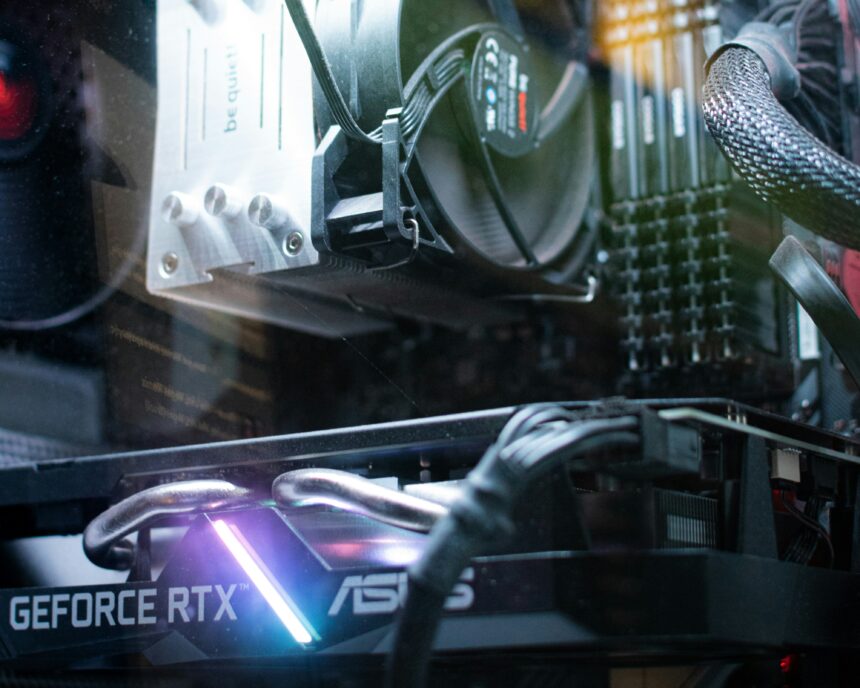
If this is the time you get serious about building your own desktop gaming PC, this beginner’s guide will not only help you get all the expertise needed, but it will also teach you how to avoid the most common mistakes people make with their first PC builds.
When I built my first gaming PC, many years ago, I made a few mistakes that eventually cost me more money. I remember that I had chosen the wrong motherboard, one that didn’t fit my needs, and one that ended up costing me a few crucial upgrades that I wanted to make a few months later.
Ultimately, I’ve become pretty good at building my own desktop PCs, and I even made my own custom laptop once, which was an experience I don’t want to re-live ever again. I did make a few mistakes along the way, but let’s just say that it was all a good lesson to learn even more skills – and not to break things apart in the future.
Building your own gaming PC vs. Buying a complete set
The first and most important question you should ask yourself is: Is it even worth building your own desktop gaming PC? I mean, everyone can buy a new one and never have to worry about assembling it, right? Well, not quite.
Building your desktop PC means that you can specifically choose what part of the hardware is going to be included, making it the perfect way to create something that fits your needs.
On the other hand, building your own PC from scratch will be cheaper, and it’s a great way to save lots of bucks if you’re on a limited budget (which is mostly my case). Assembling the parts and sticking them together is not that hard nowadays, and anyone can do it by spending a bit of time learning and understanding what each component does.
Most motherboards also include documentation that is usually filled with images and examples of what gets connected and where. Most modern PC components won’t fit on another input anyway, so you don’t have to worry about connecting the cables in the wrong places.
Essential components that you’ll need
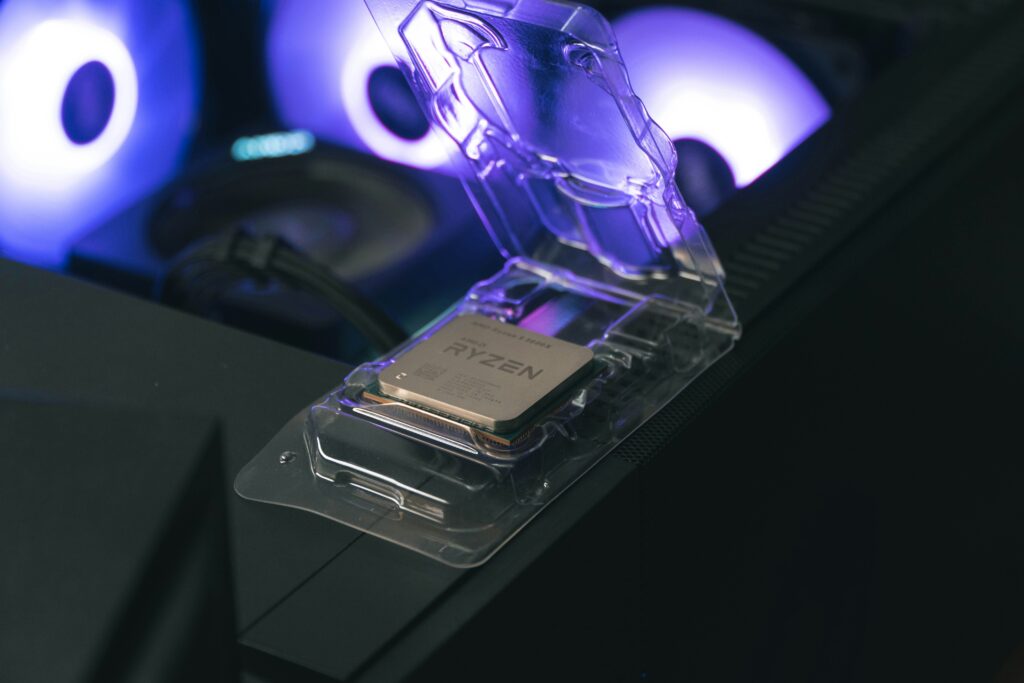
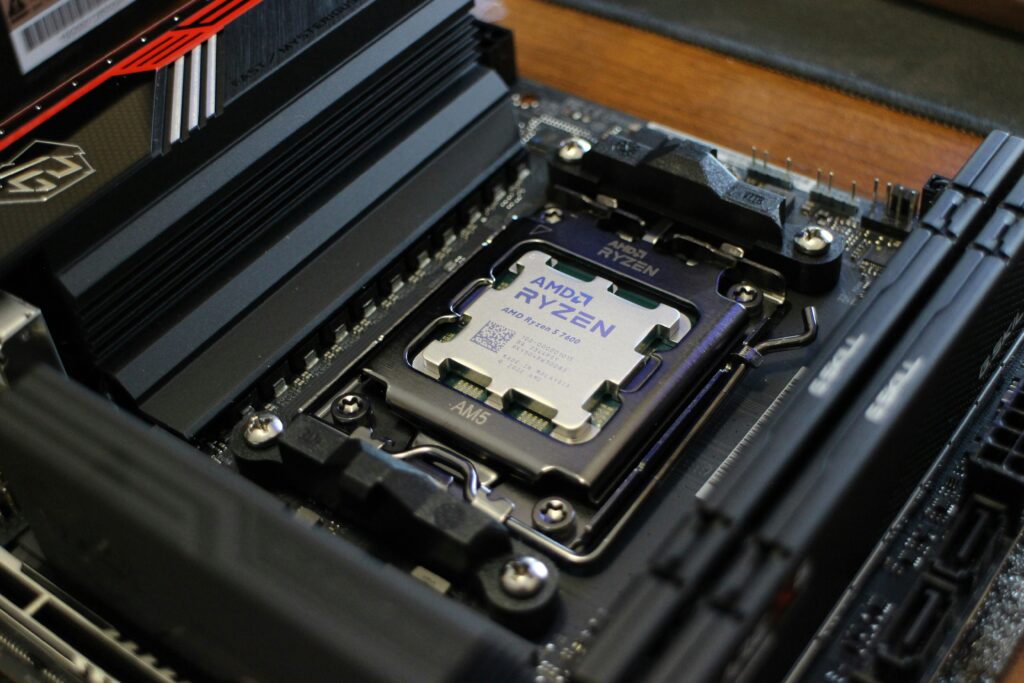
It doesn’t matter what kind of desktop PC you’re building, all have the same hardware components. What may differ is the number of those components that you’ll choose to buy. For example, if you’re looking at having lots of disk space, you may think of purchasing more disk space, while the same goes for the graphics cards (some motherboards support more than one), RAM modules, etc.
Here’s a list of all the hardware components that a desktop PC currently has:
| Hardware Component | What It Does |
|---|---|
CPU (Processor):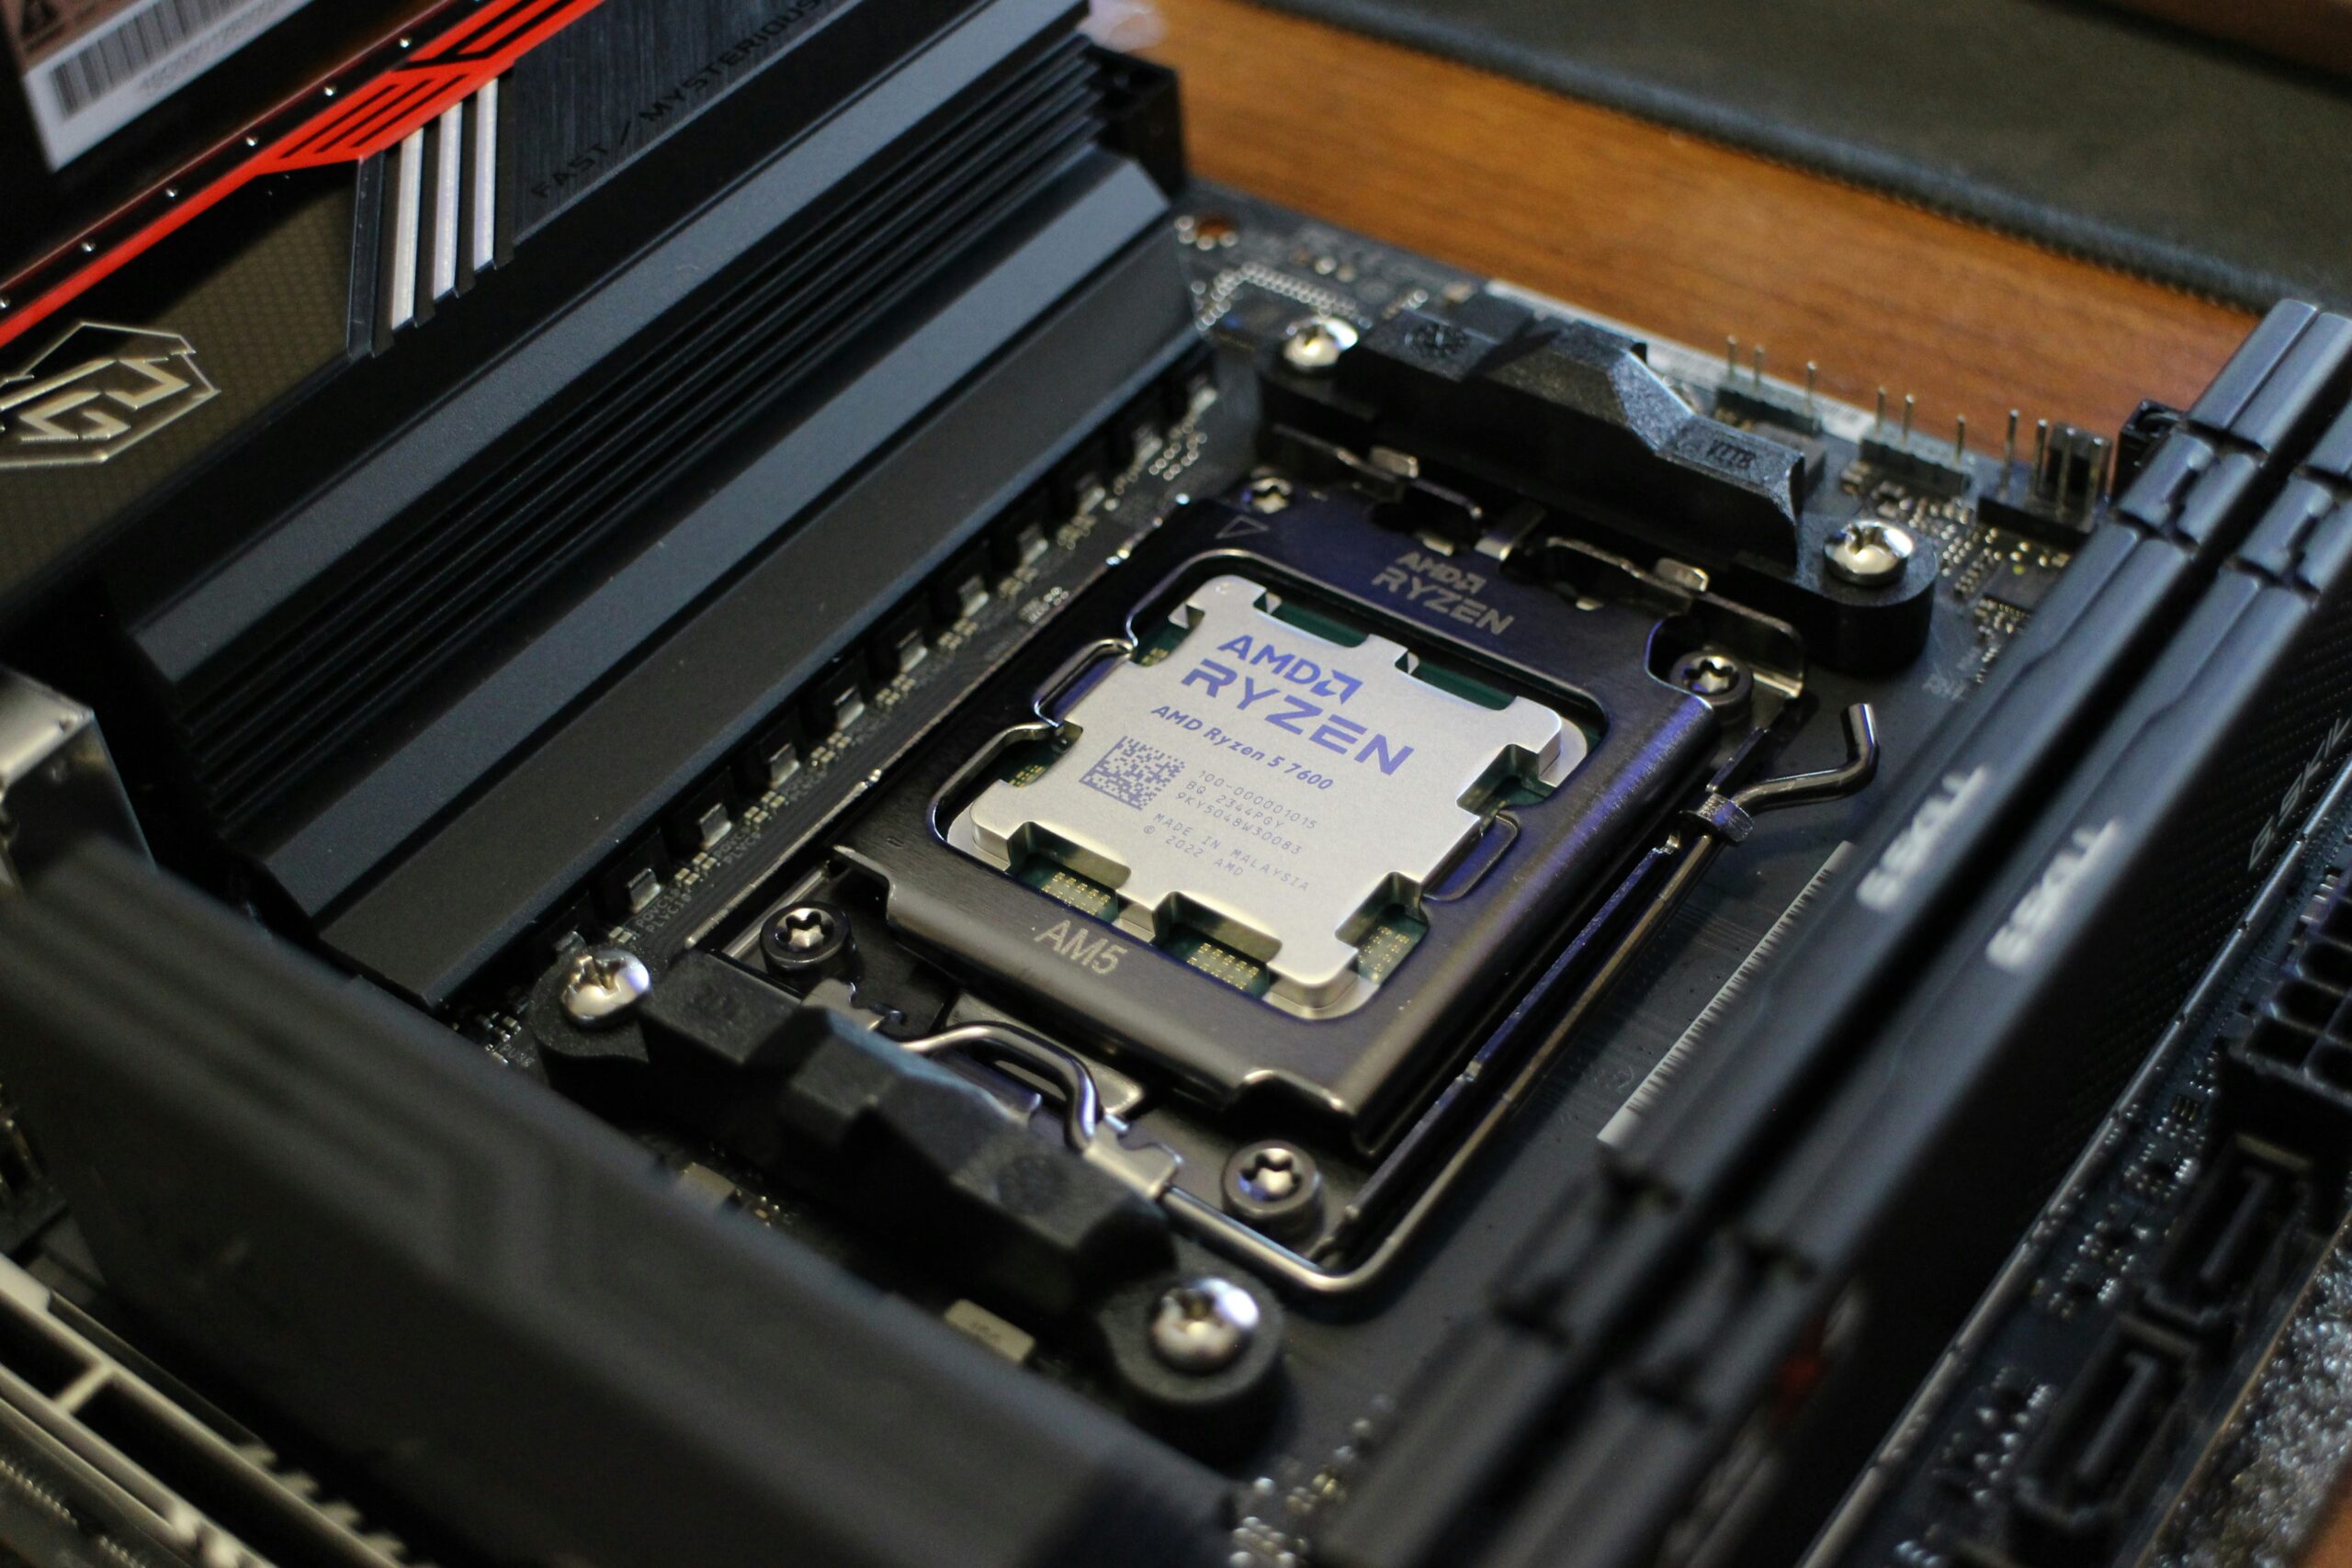 | The brain of the PC. The more cores it has, the more powerful it is. Intel and AMD are the two most popular choices right now. Choosing the right CPU is all about the model number: Intel uses Core i3 (slowest), Core i5 (6 cores), and Core i9 (8 cores or more). AMD does the same, where we have Ryzen 2000, Ryzen 3000, Ryzen 5000, and so on. The higher the number, the newer and more powerful the model (mostly). |
GPU (Graphics Card):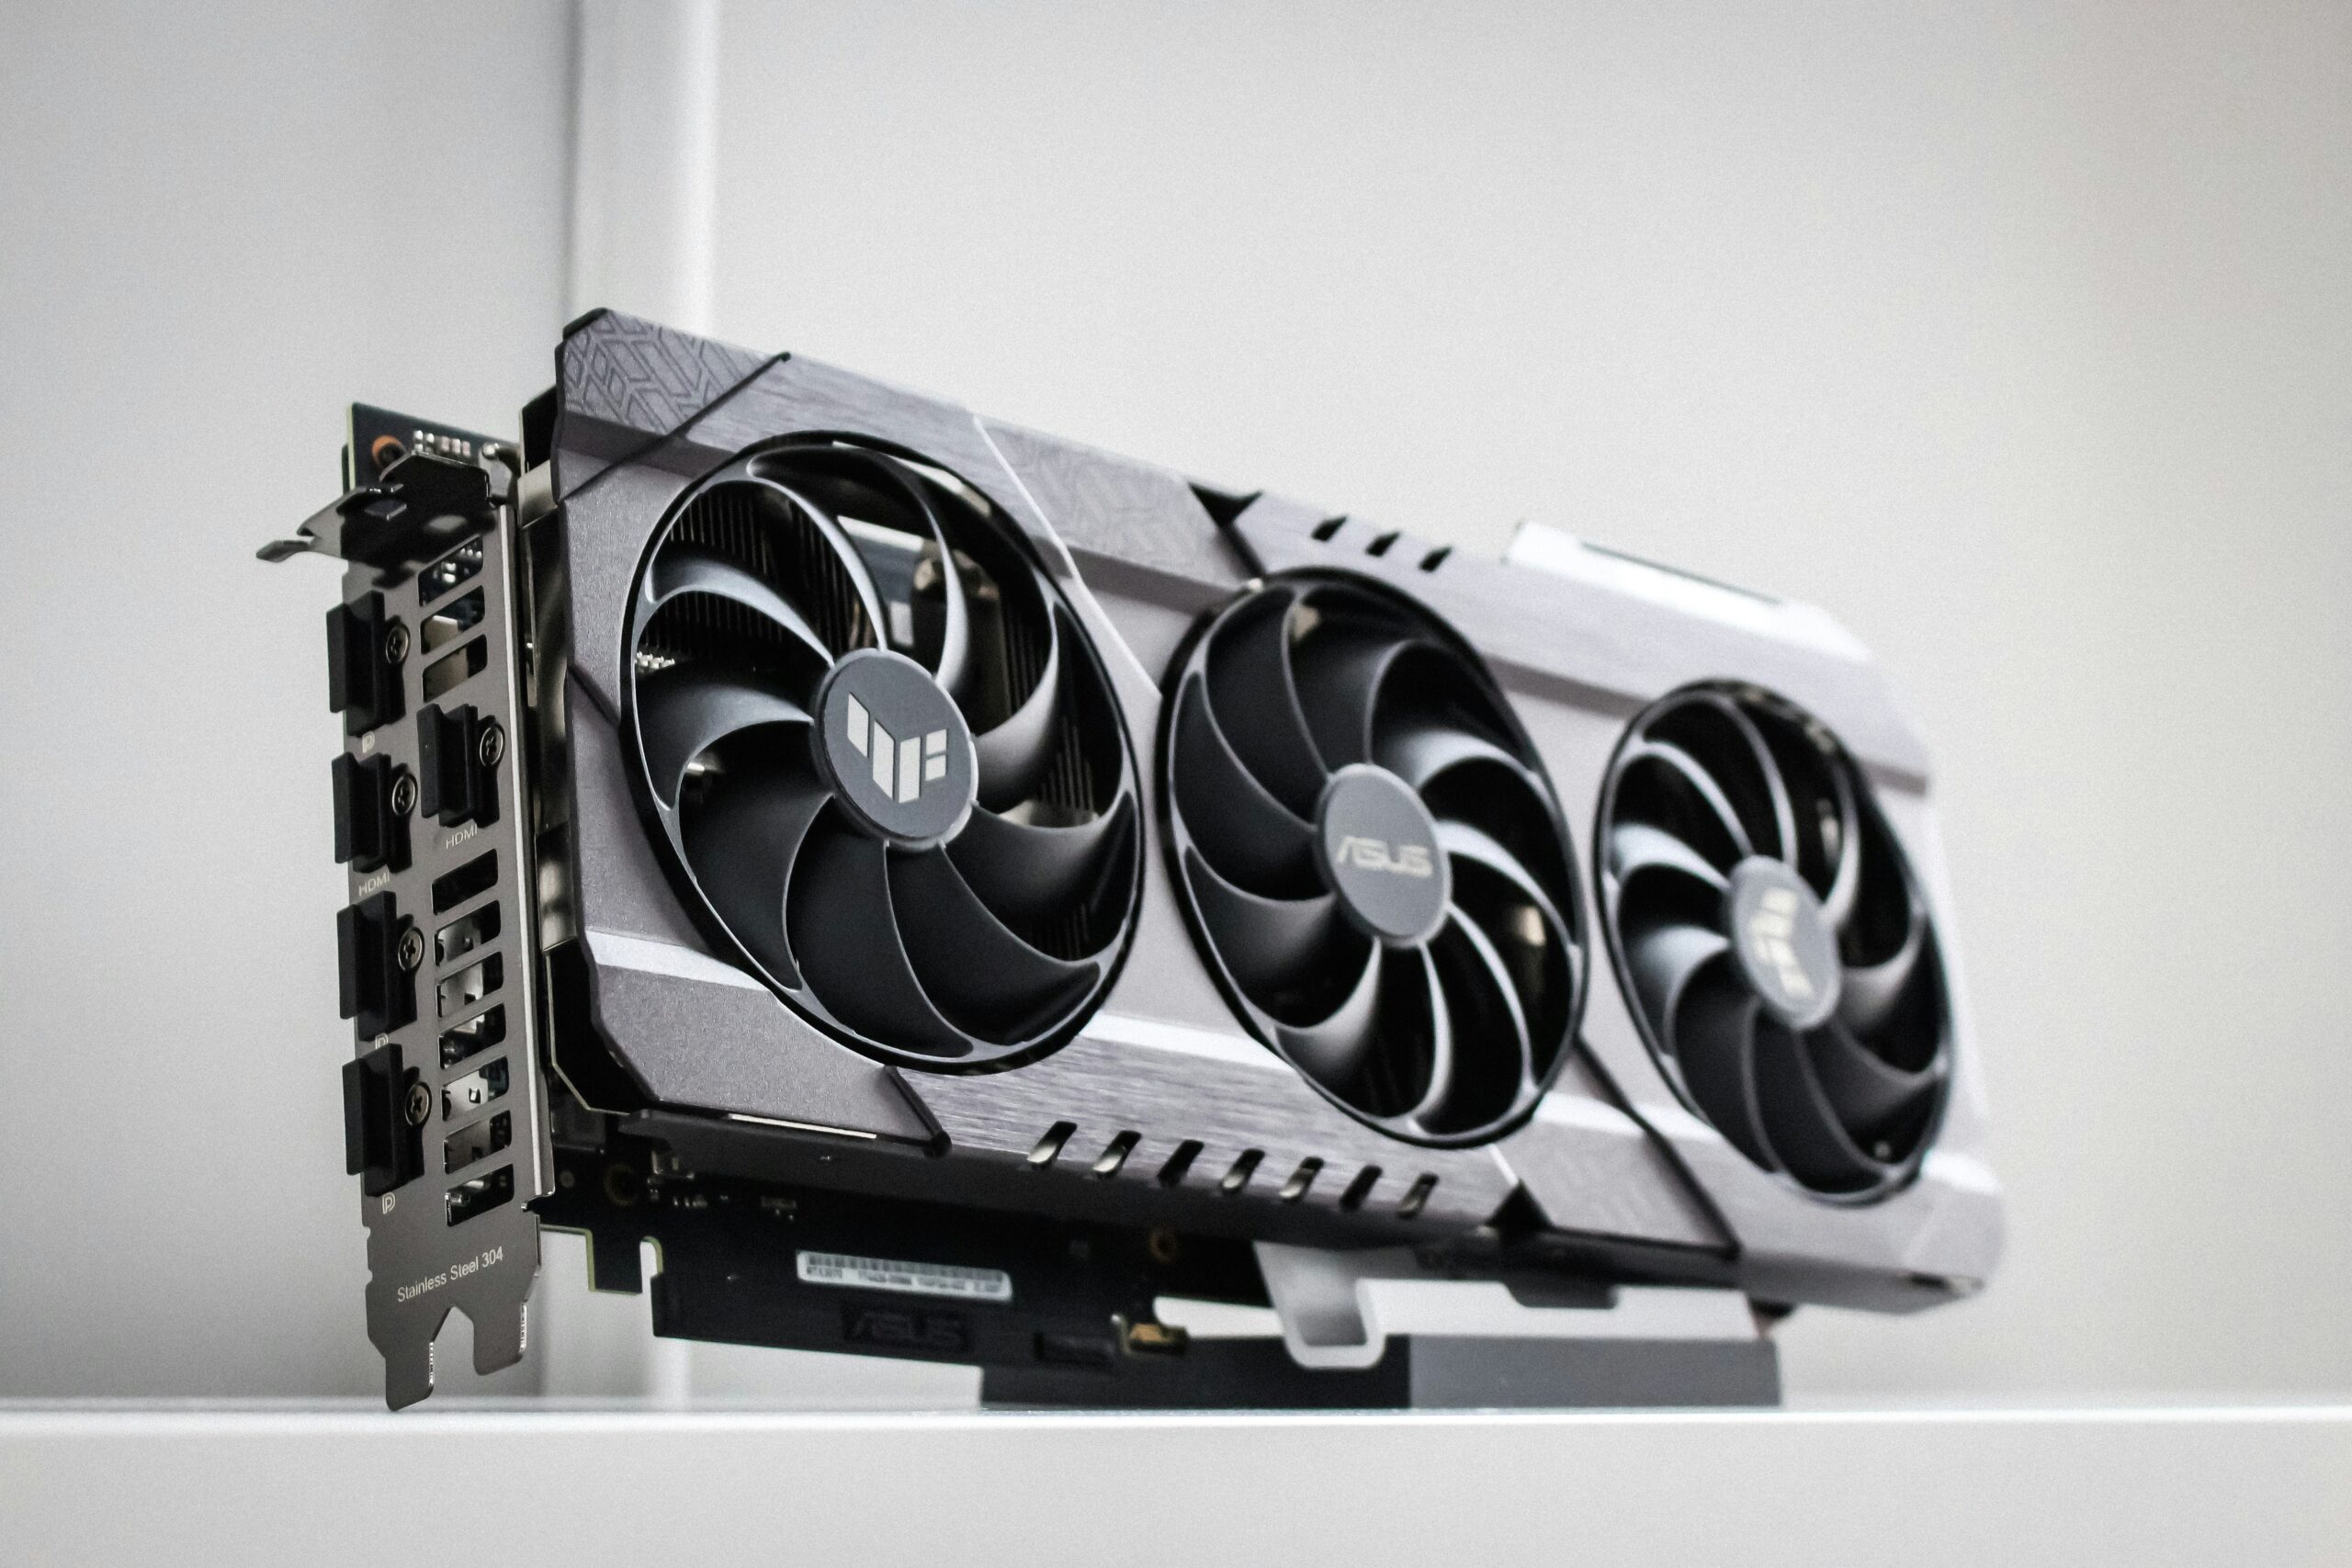 | This is a vital component for gaming, video editing, and whatever needs a GPU and runs many illustrations, large exporting files, 4K videos, etc. Nowadays, you need a GPU with at least 6GB of VRAM if you’re looking at trying intense-resource games, or 12GB VRAM for AAA titles. |
Motherboard: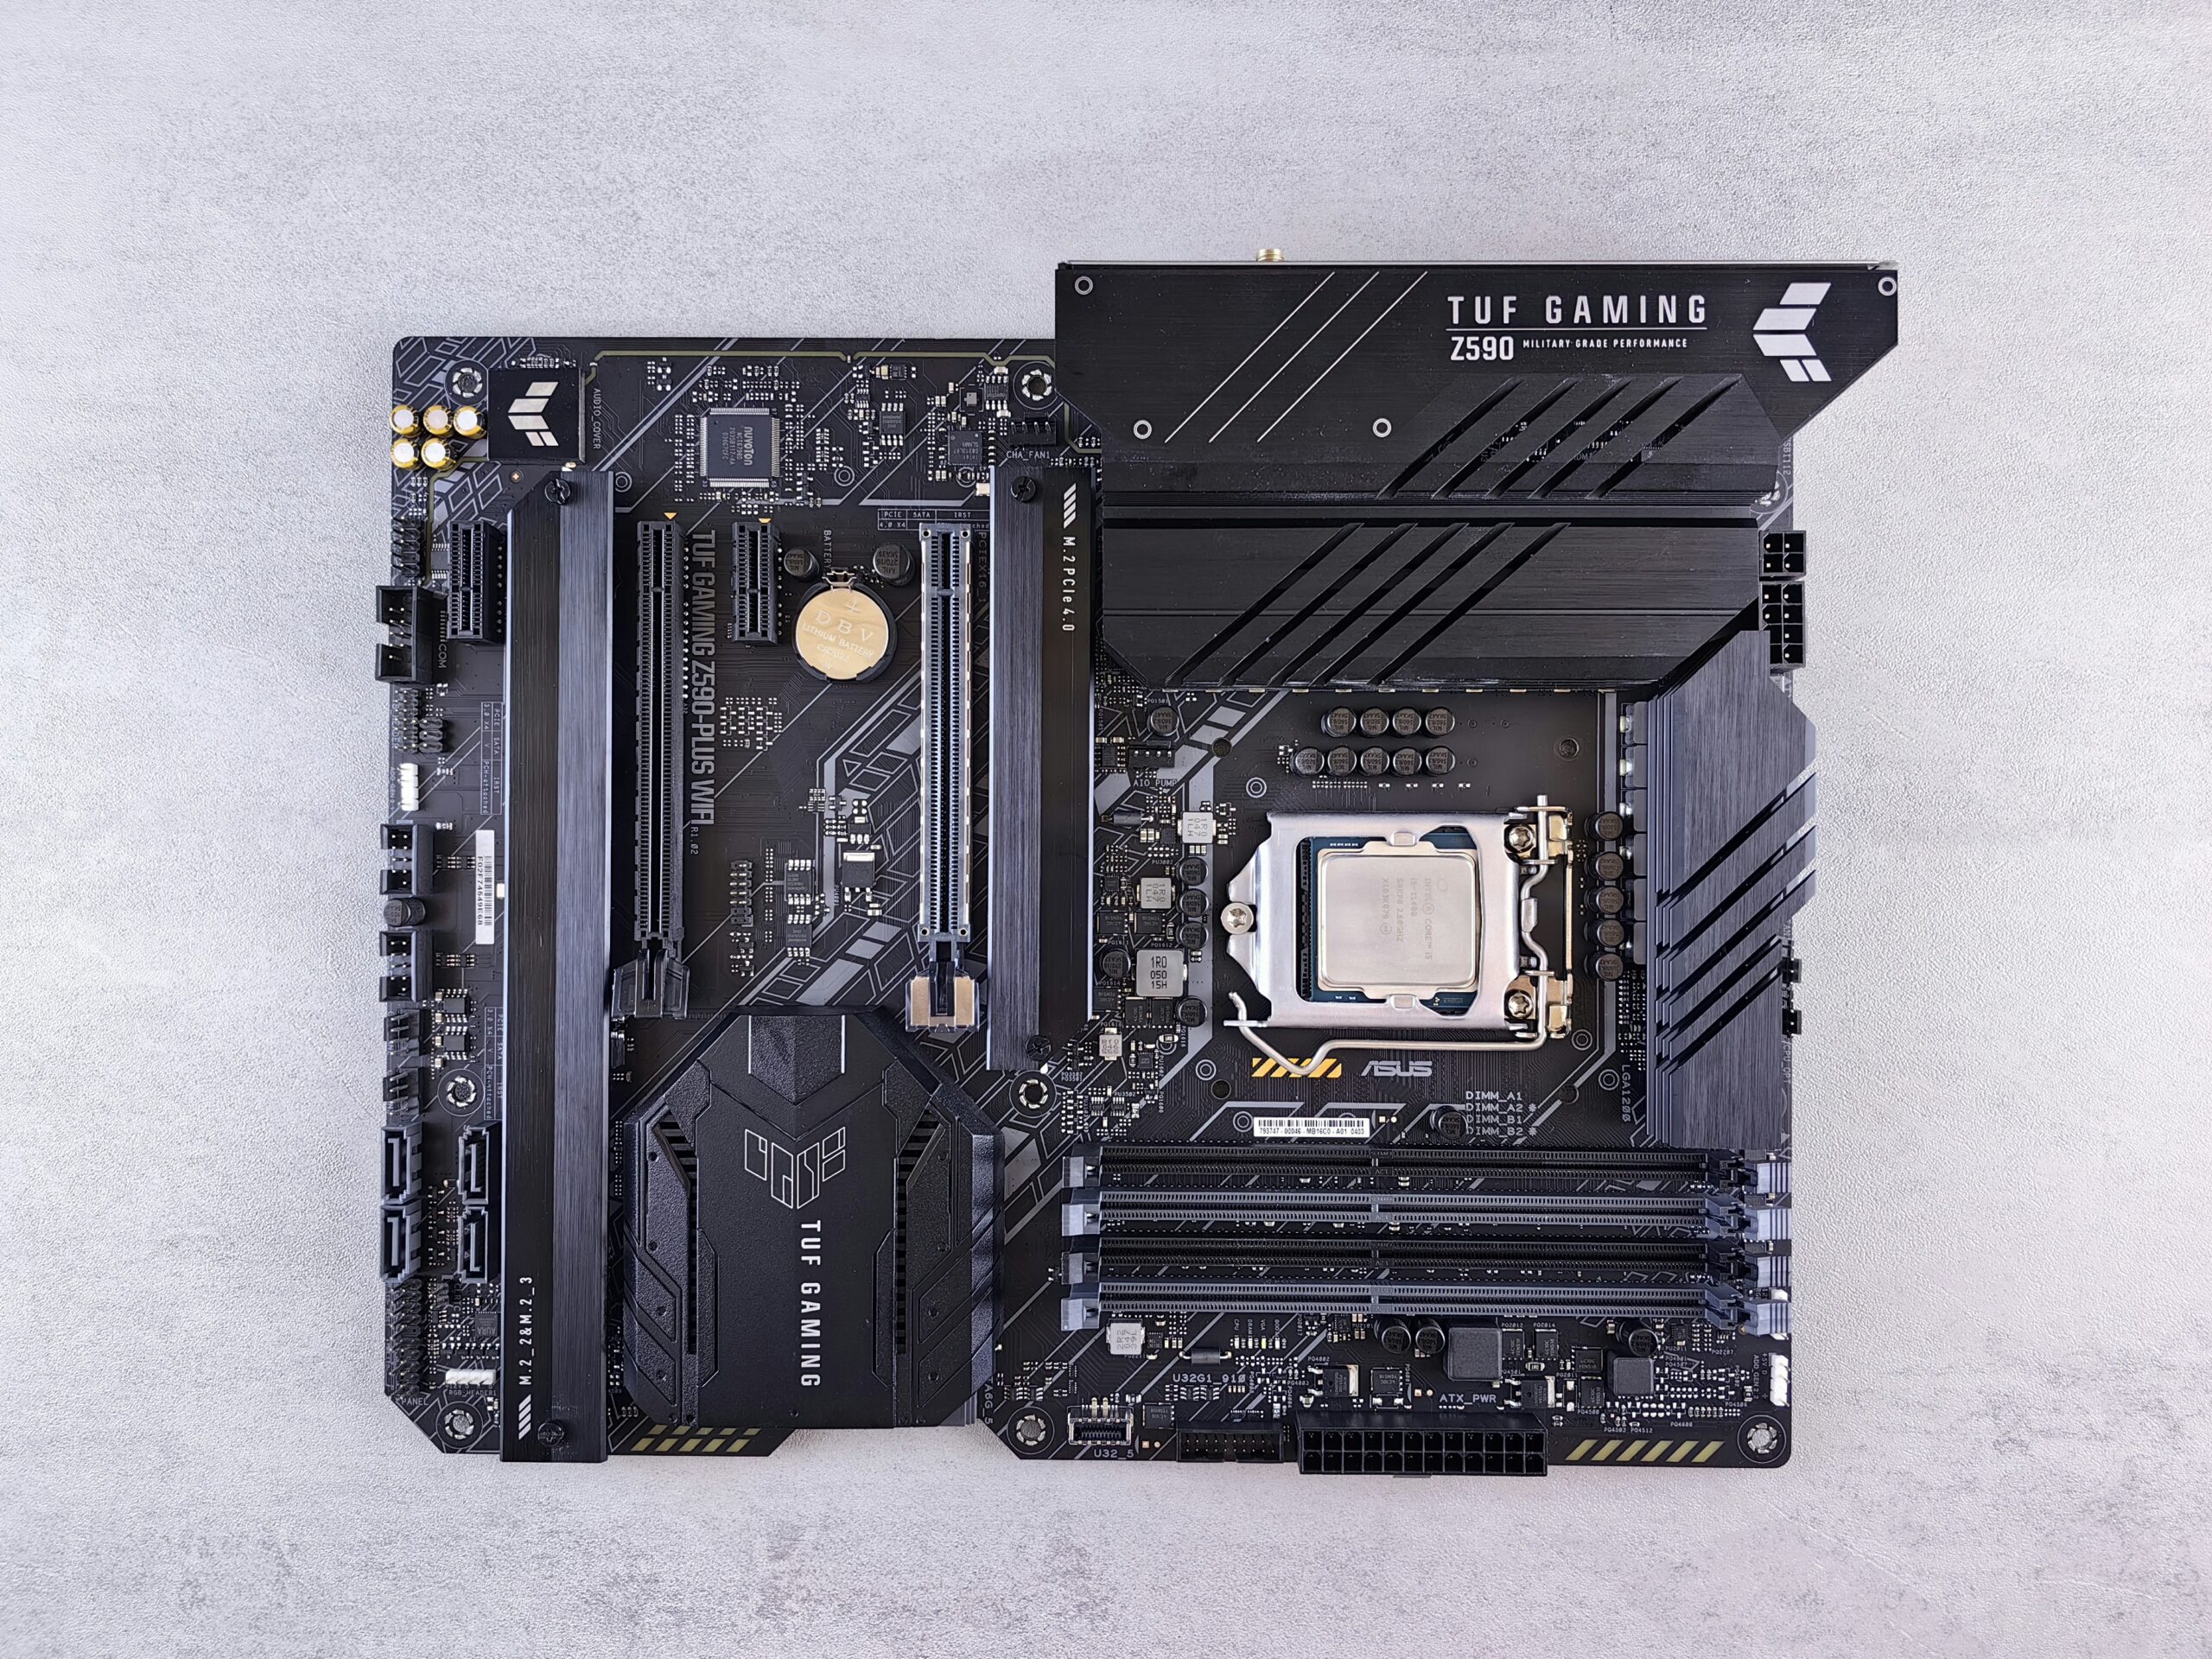 | The motherboard is the main circuit board that connects and allows communication between all your PC’s components, like the CPU, GPU, RAM, and storage. Think of it as the highway that enables all parts of your PC to work together. It also provides essential ports for peripherals like USBs and monitors. |
RAM: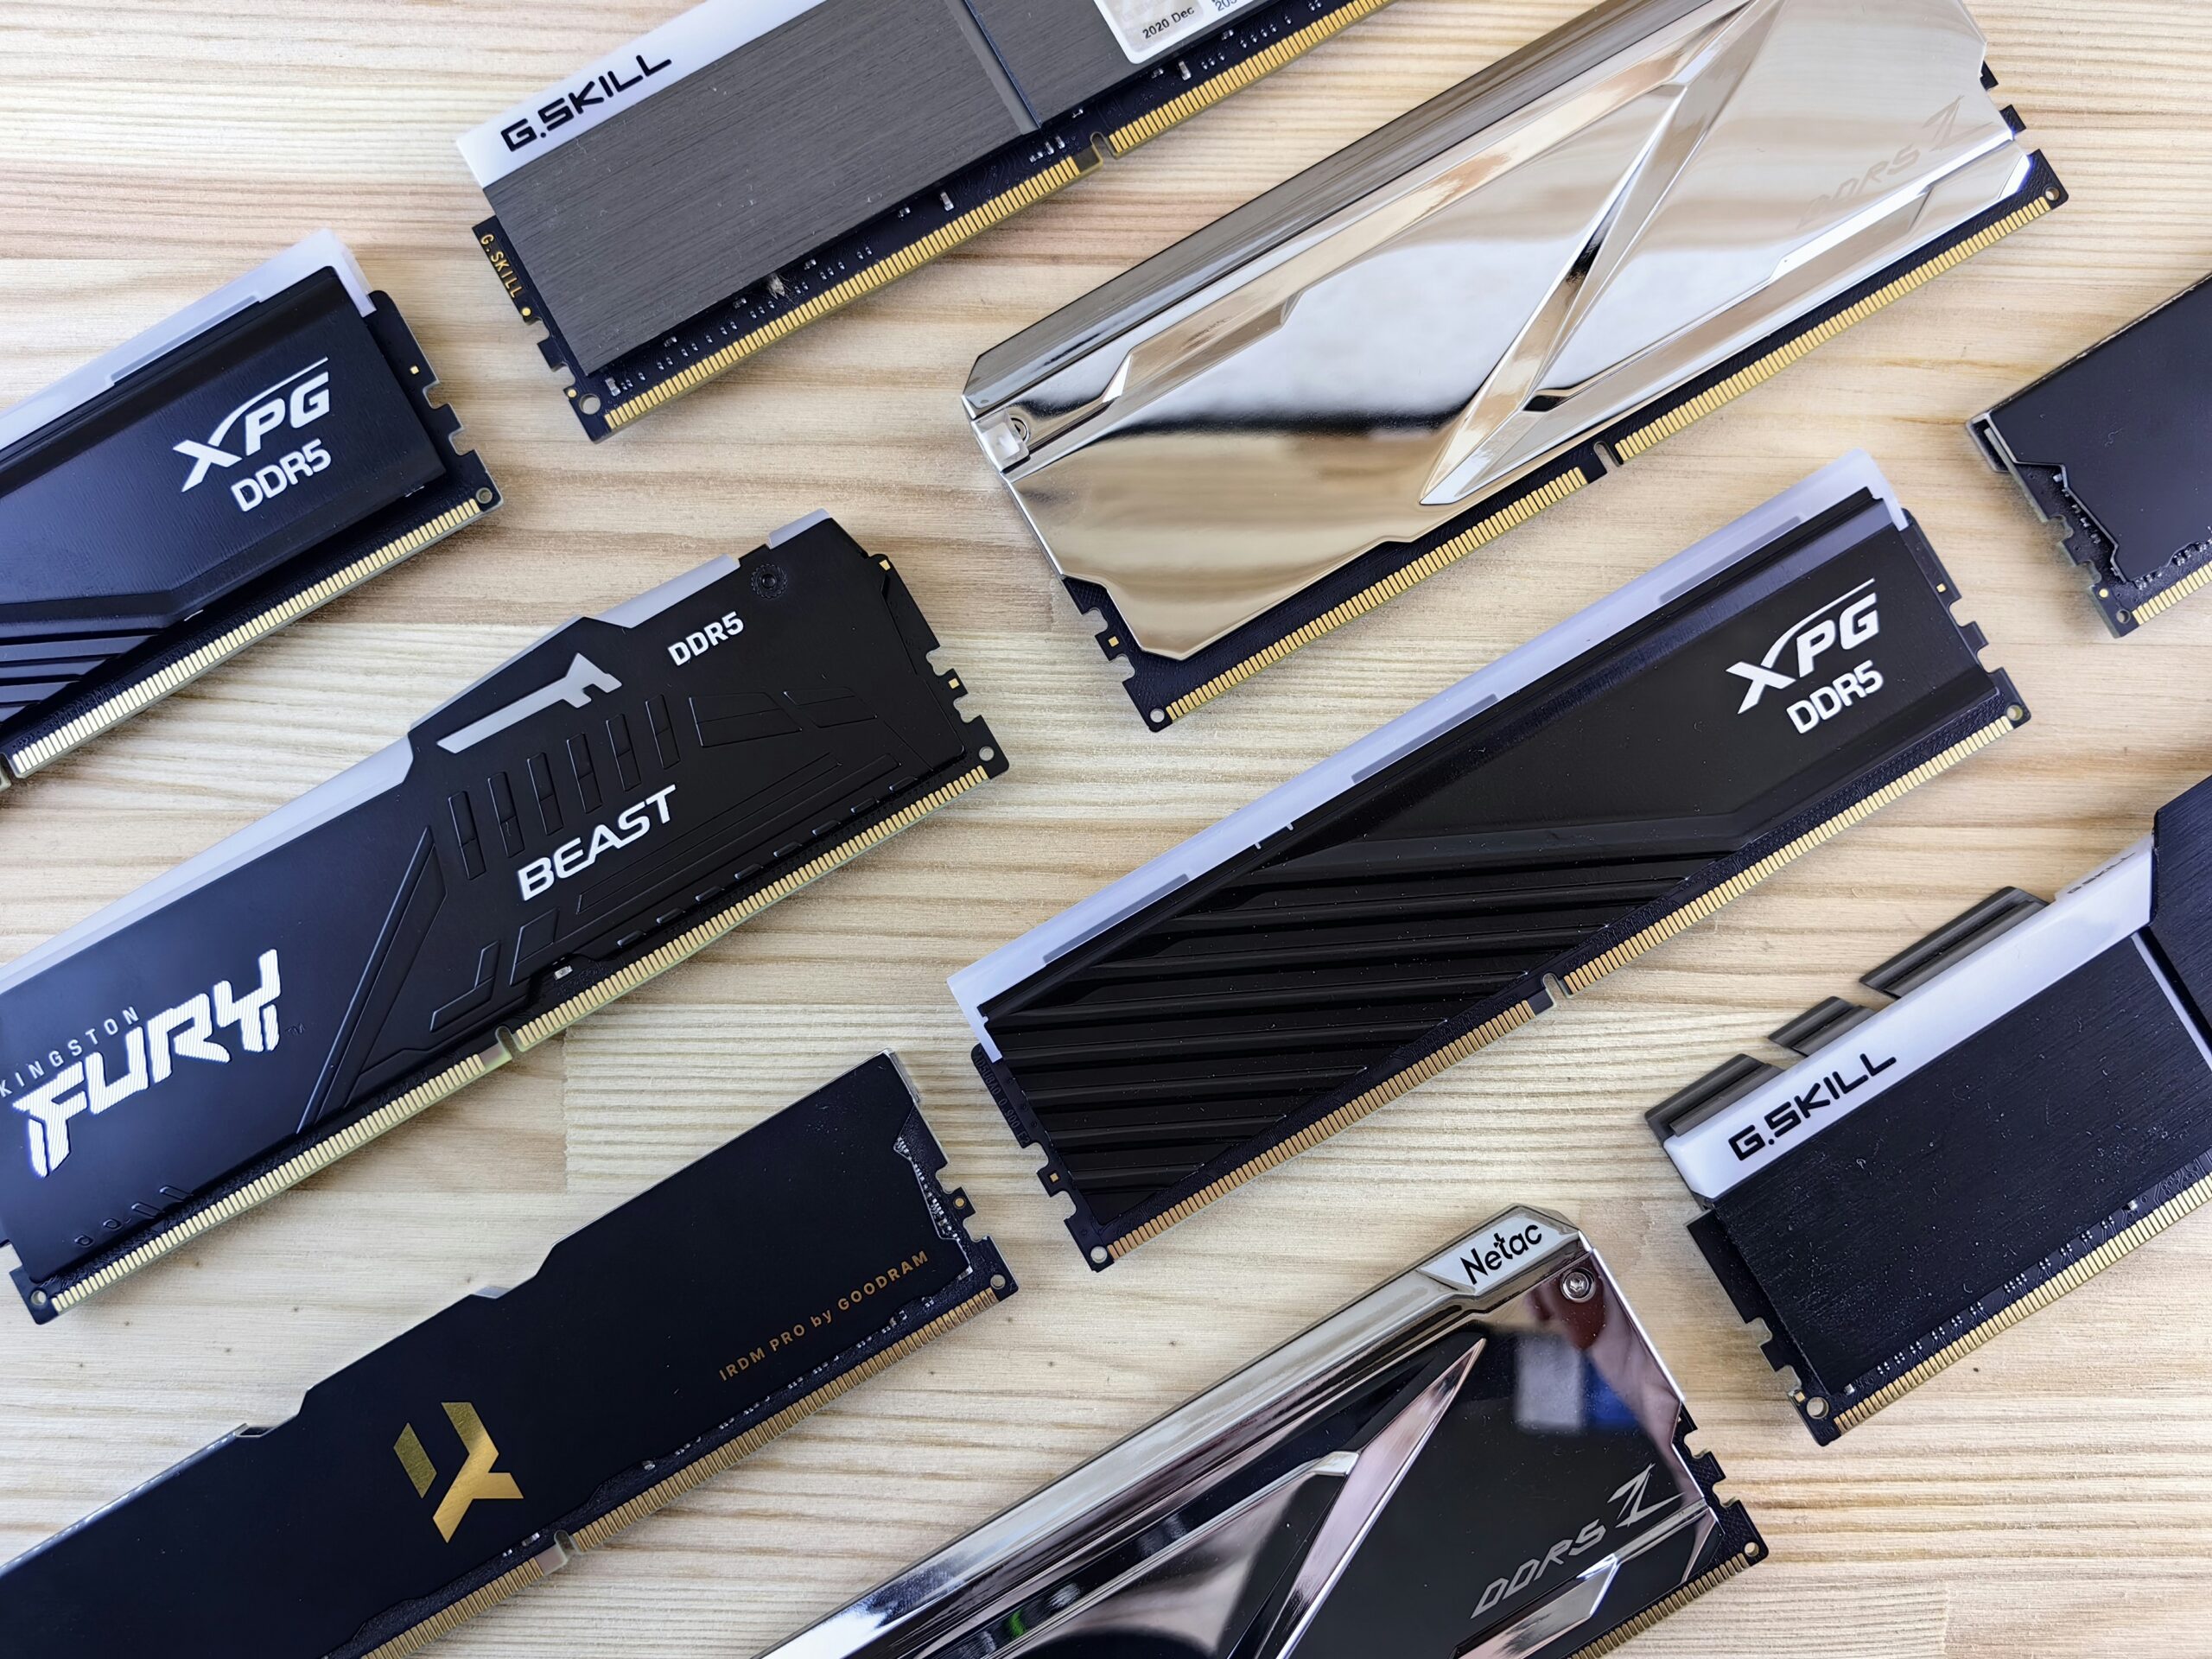 | Memory RAM is an essential component if you want your system to be able to run multiple apps at the same time and run the operating system’s effects smoothly and fast. It’s also crucial for gamers who play AAA titles, creators who edit high-quality videos, and whoever uses resource-heavy software. |
Storage: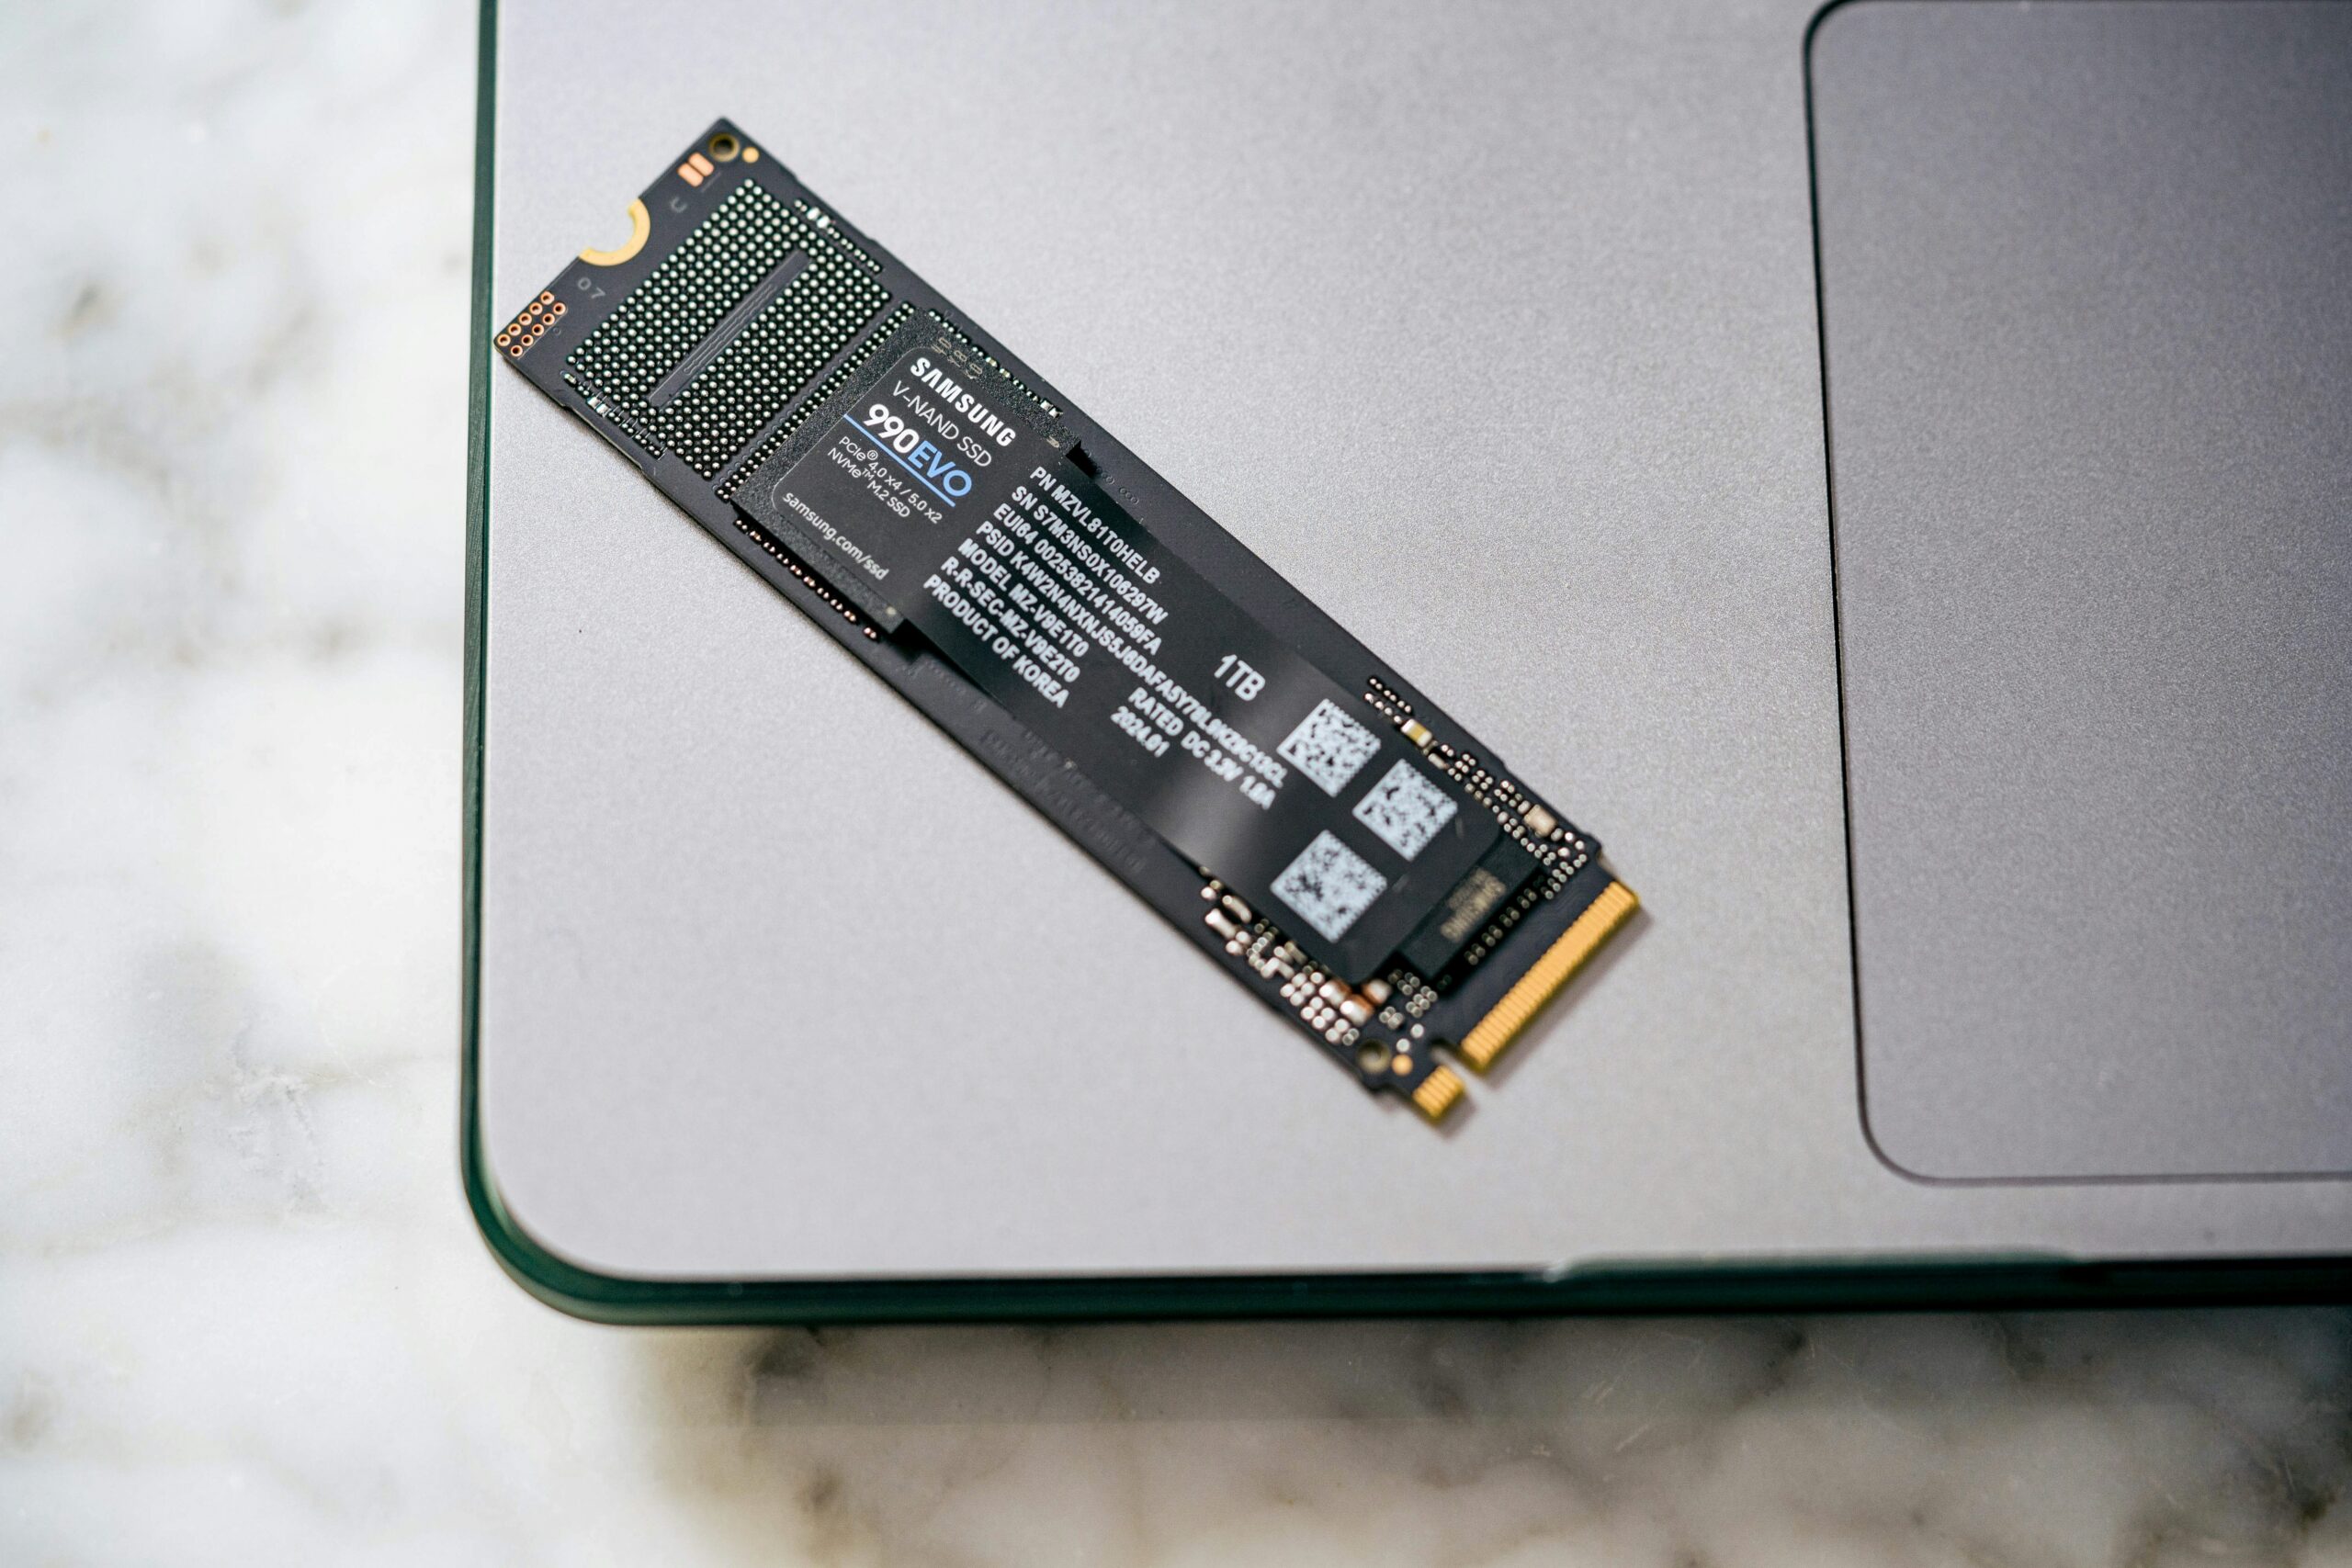 | There are three kinds of disks: HDDs, SSDs, and M.2 SSDs. HDDs are the oldest, slowest, and cheapest of them all, while SSDs are in the middle seat, providing fast enough write and read speeds. M.2 SSDs on the other hand are the newest and fastest in the market, but they’re not supported by every motherboard, so make sure you invest in a model that does. |
Power Supply Unit (PSU):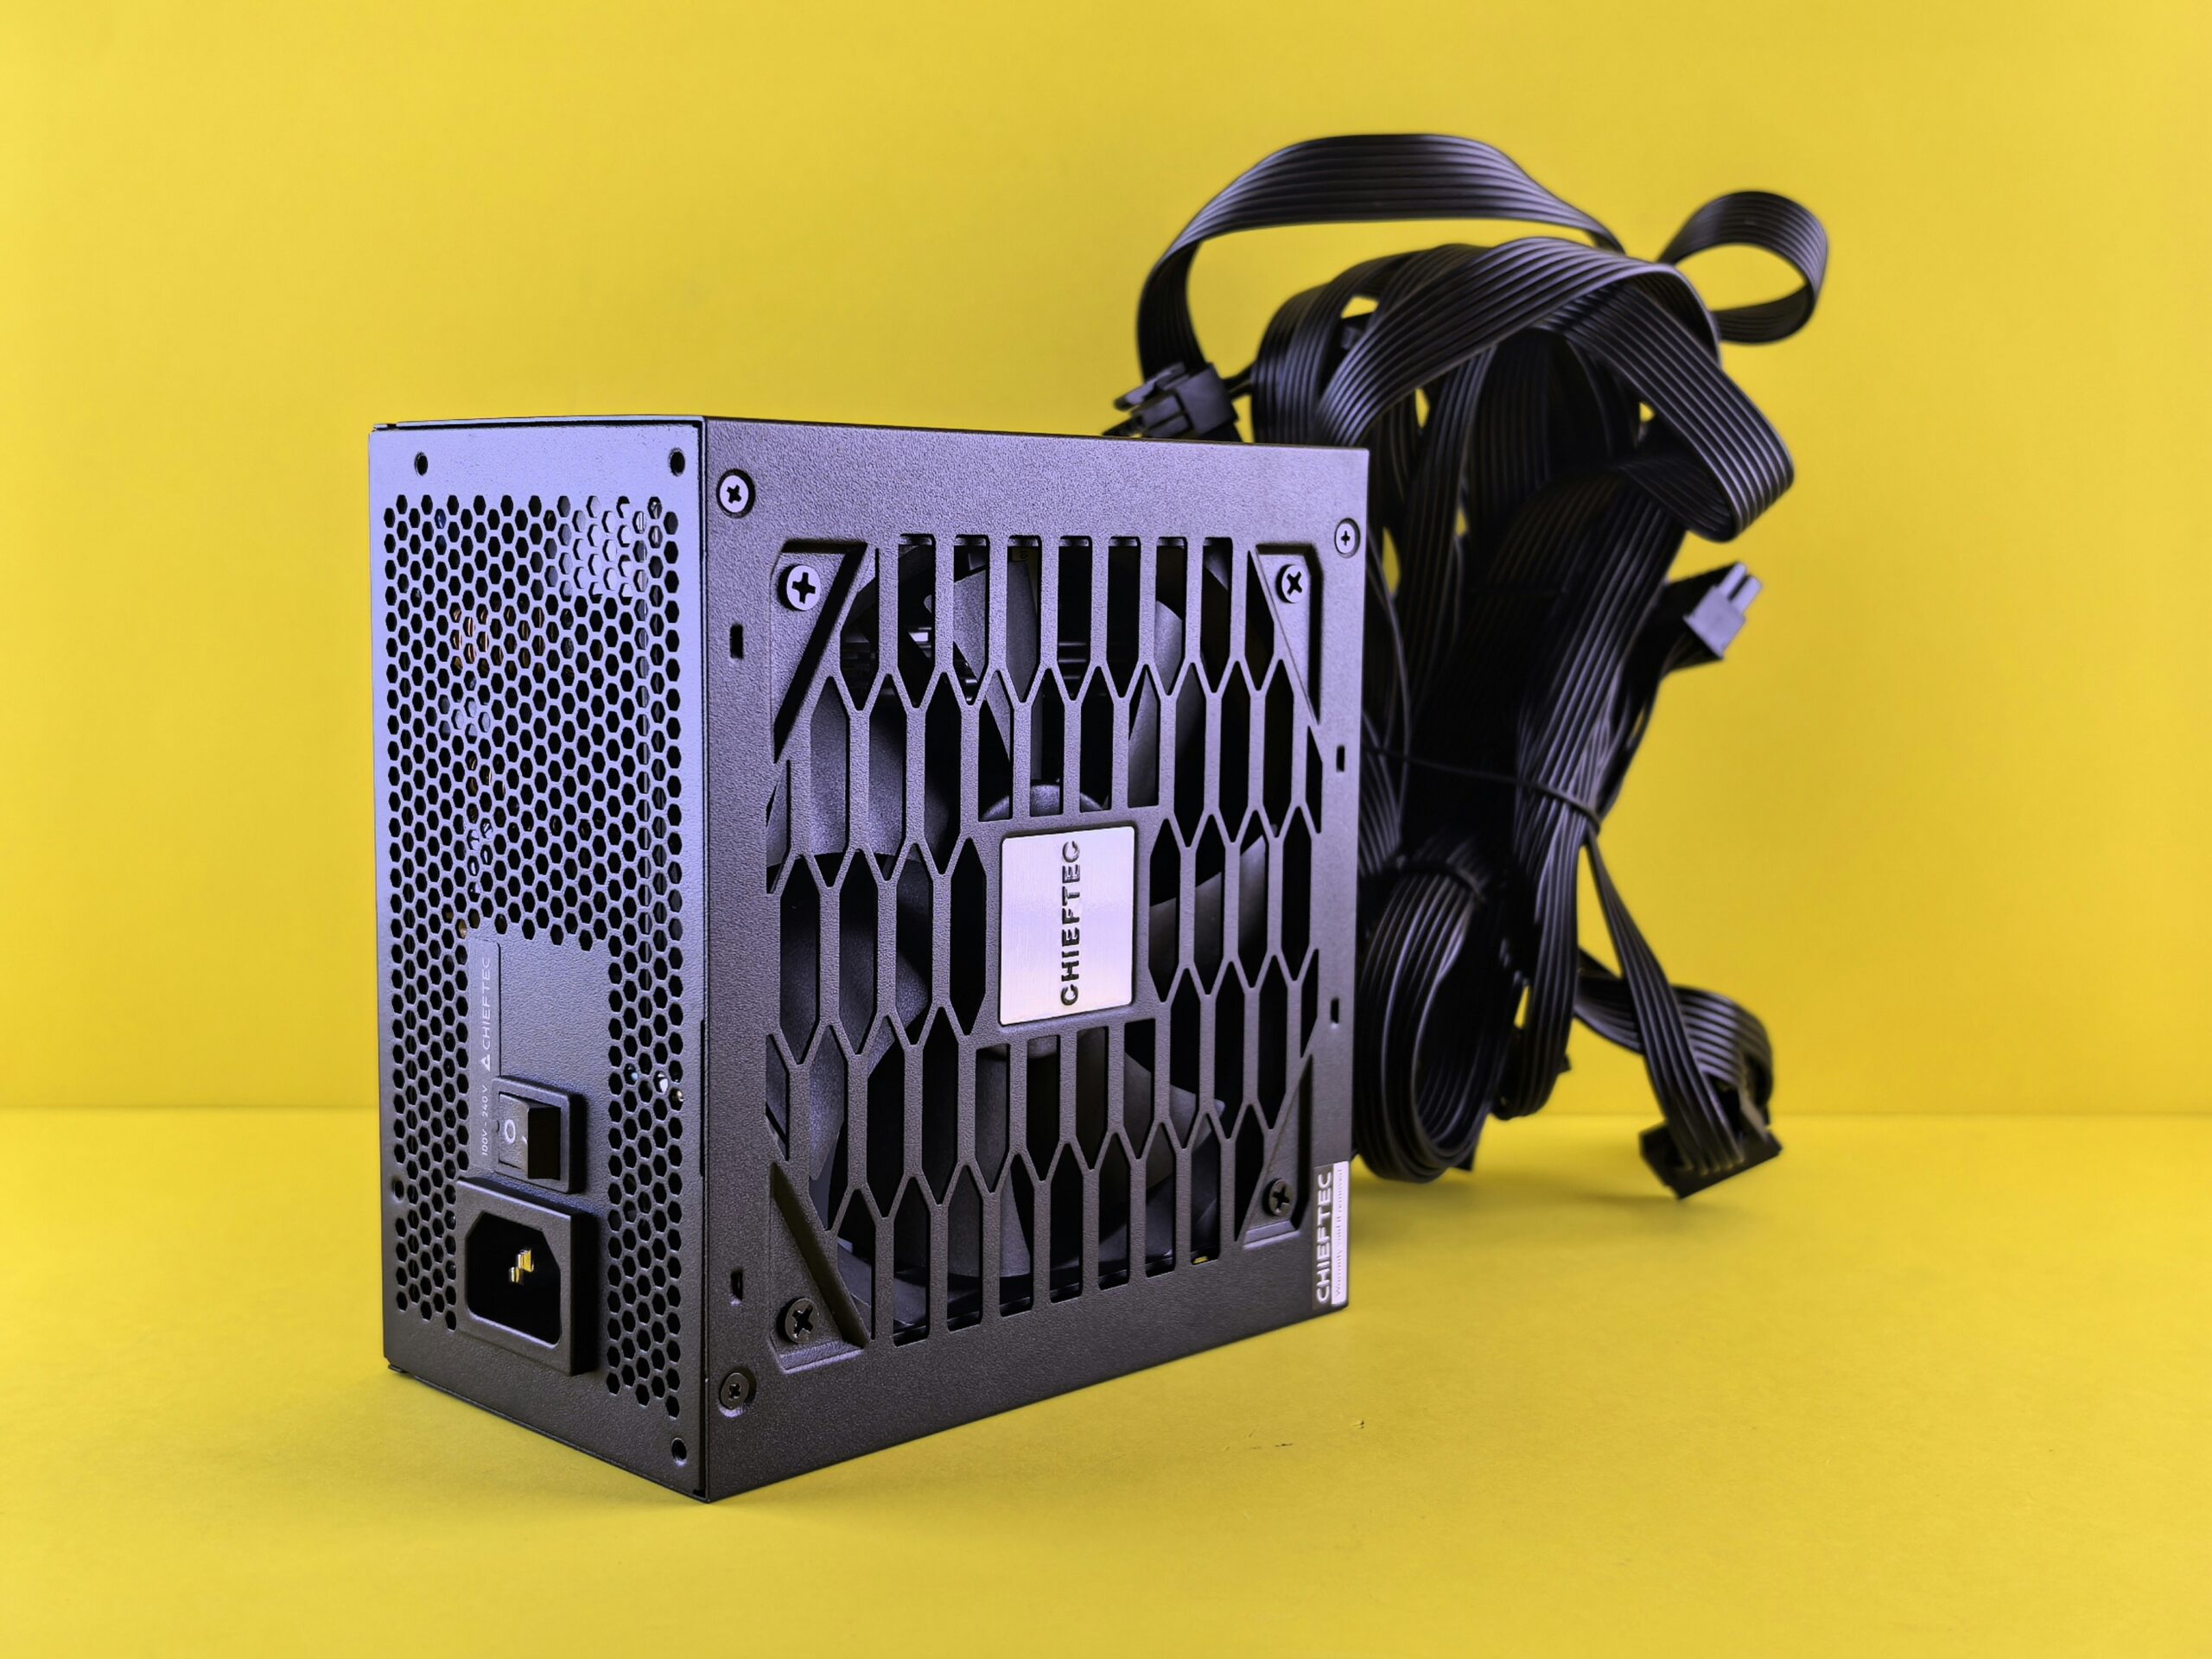 | The PSU converts electricity from your wall outlet into the lower voltages your PC components need to run safely. It distributes this power to all parts of the PC, ensuring everything works smoothly. A good PSU is like a reliable power station that protects your components from electrical issues. |
Case: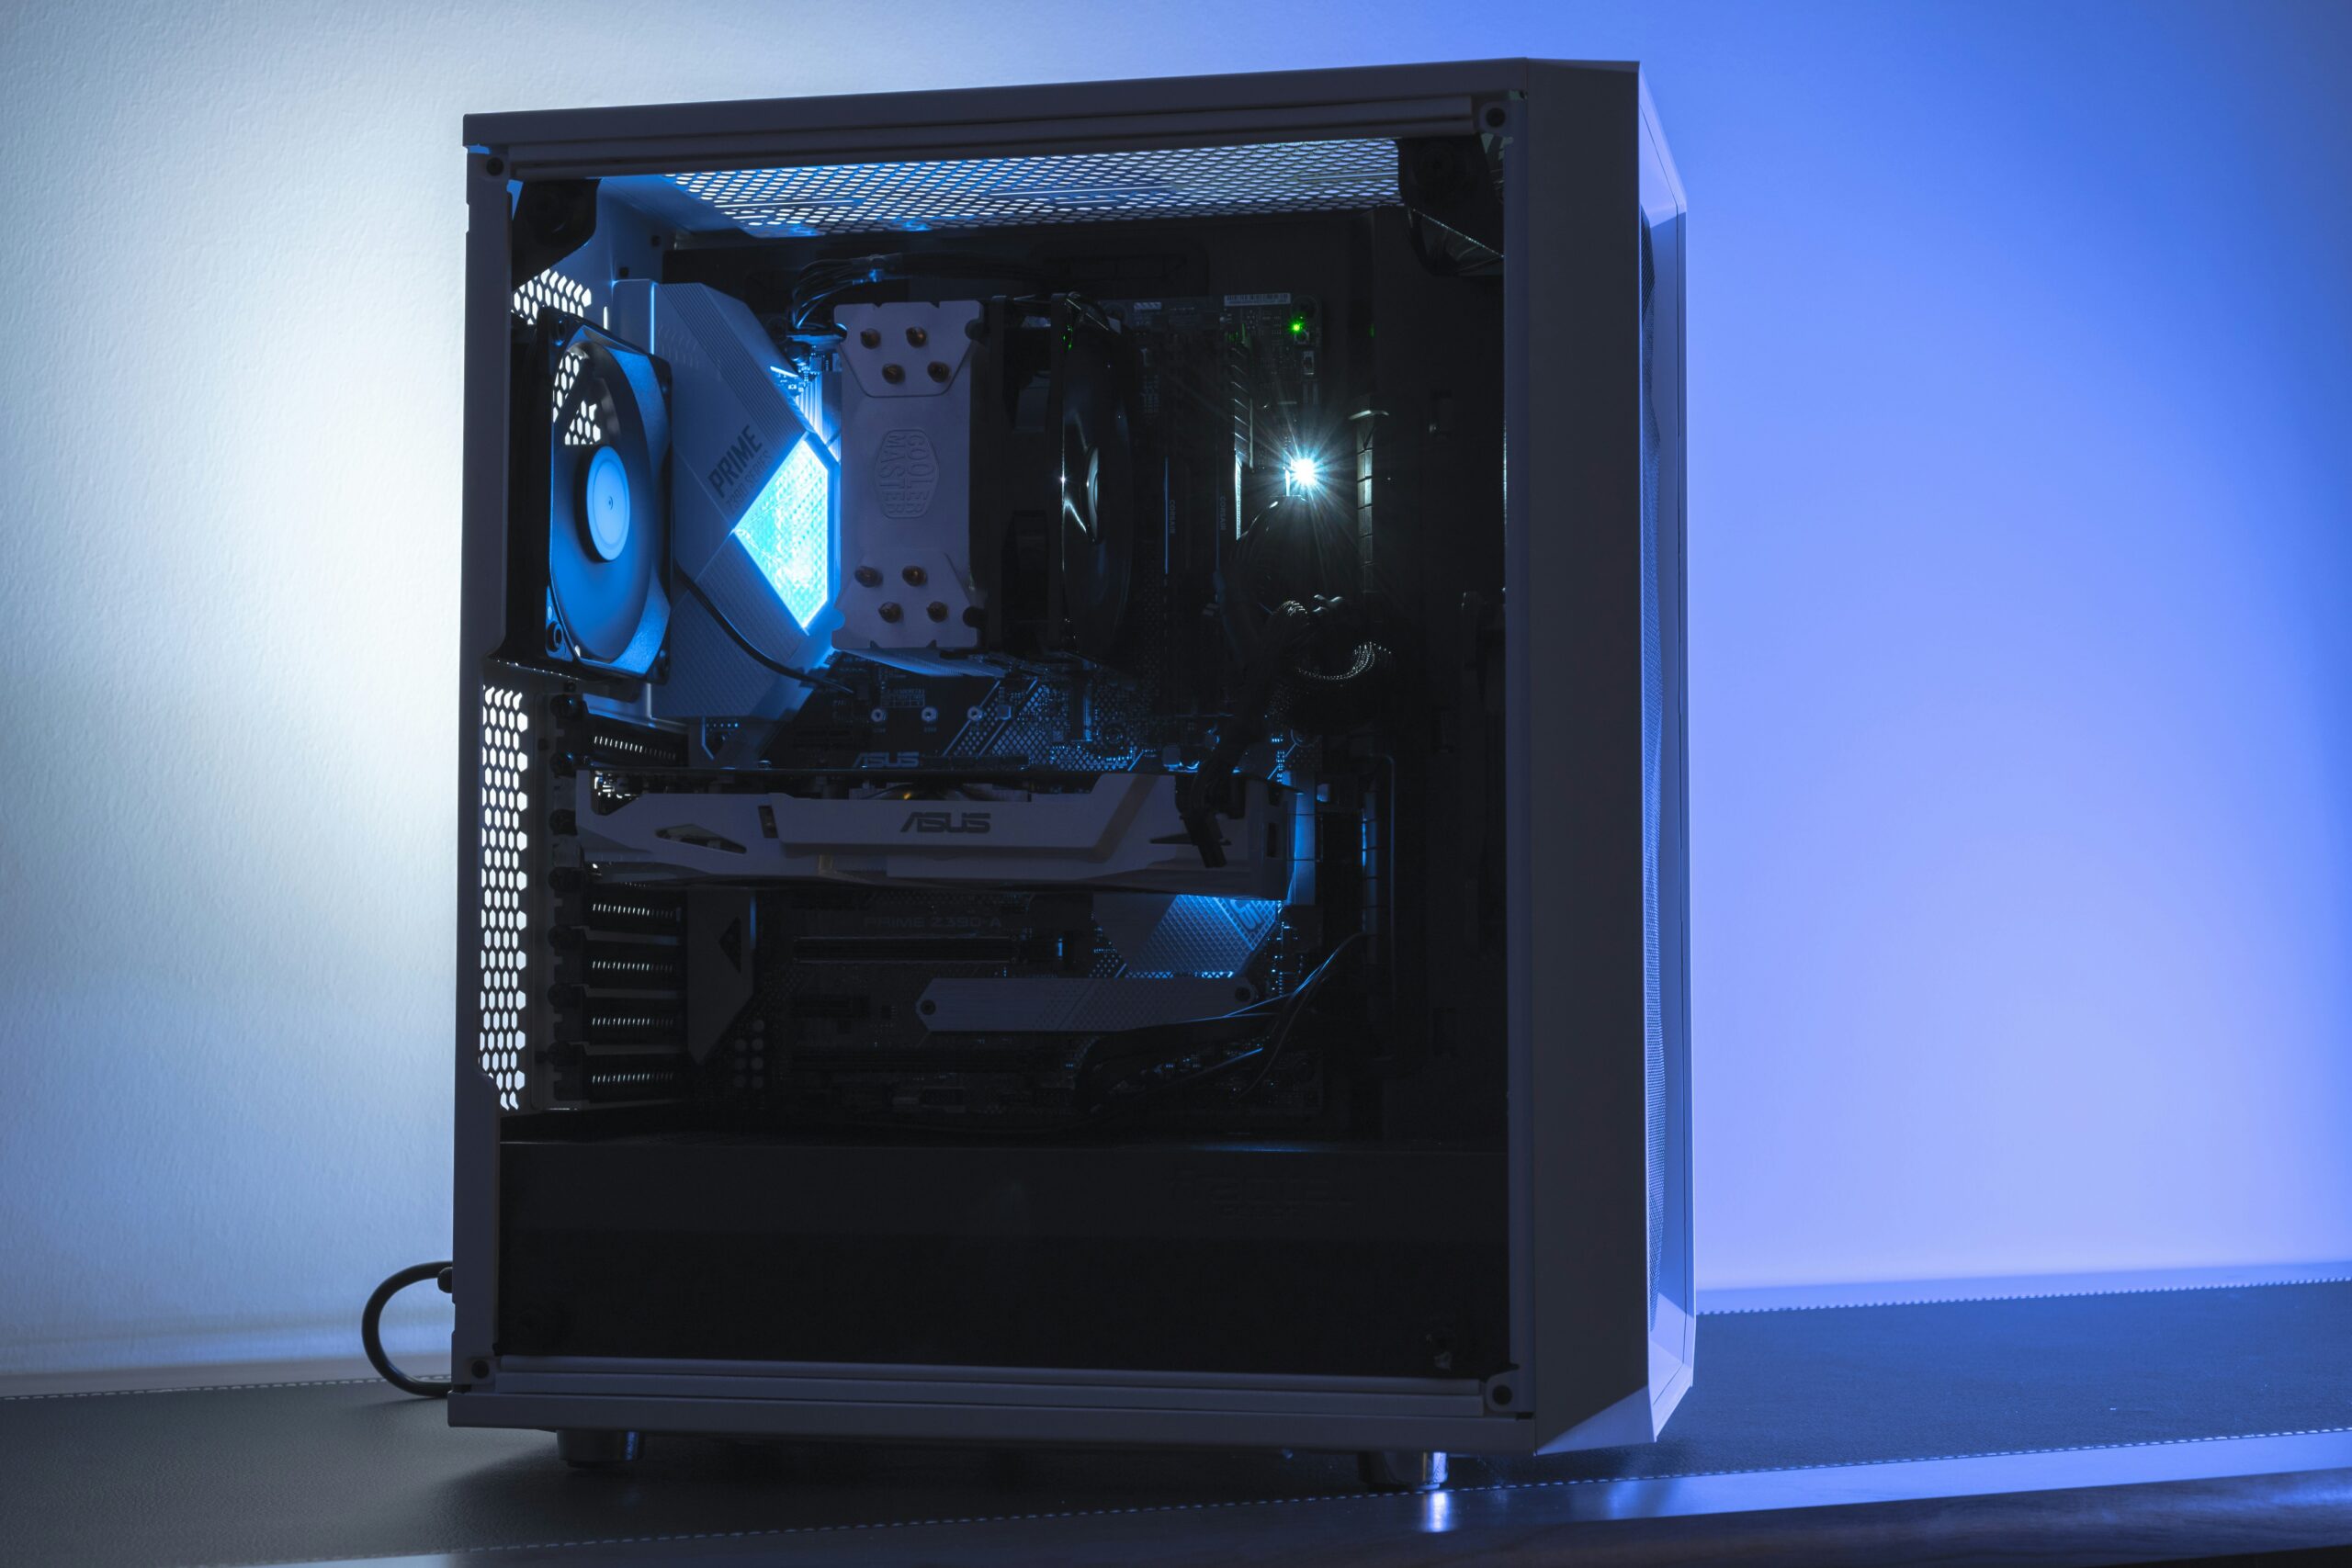 | When it comes to PC cases, they come in different sizes (ATX, Micro-ATX) and quality, with some providing better airflow, which leads to lower temperatures. Apart from the personal taste when it comes to their design, it’s important to make sure you get the right size that will fit your motherboard, cooling system, and even your graphics card. |
Cooling: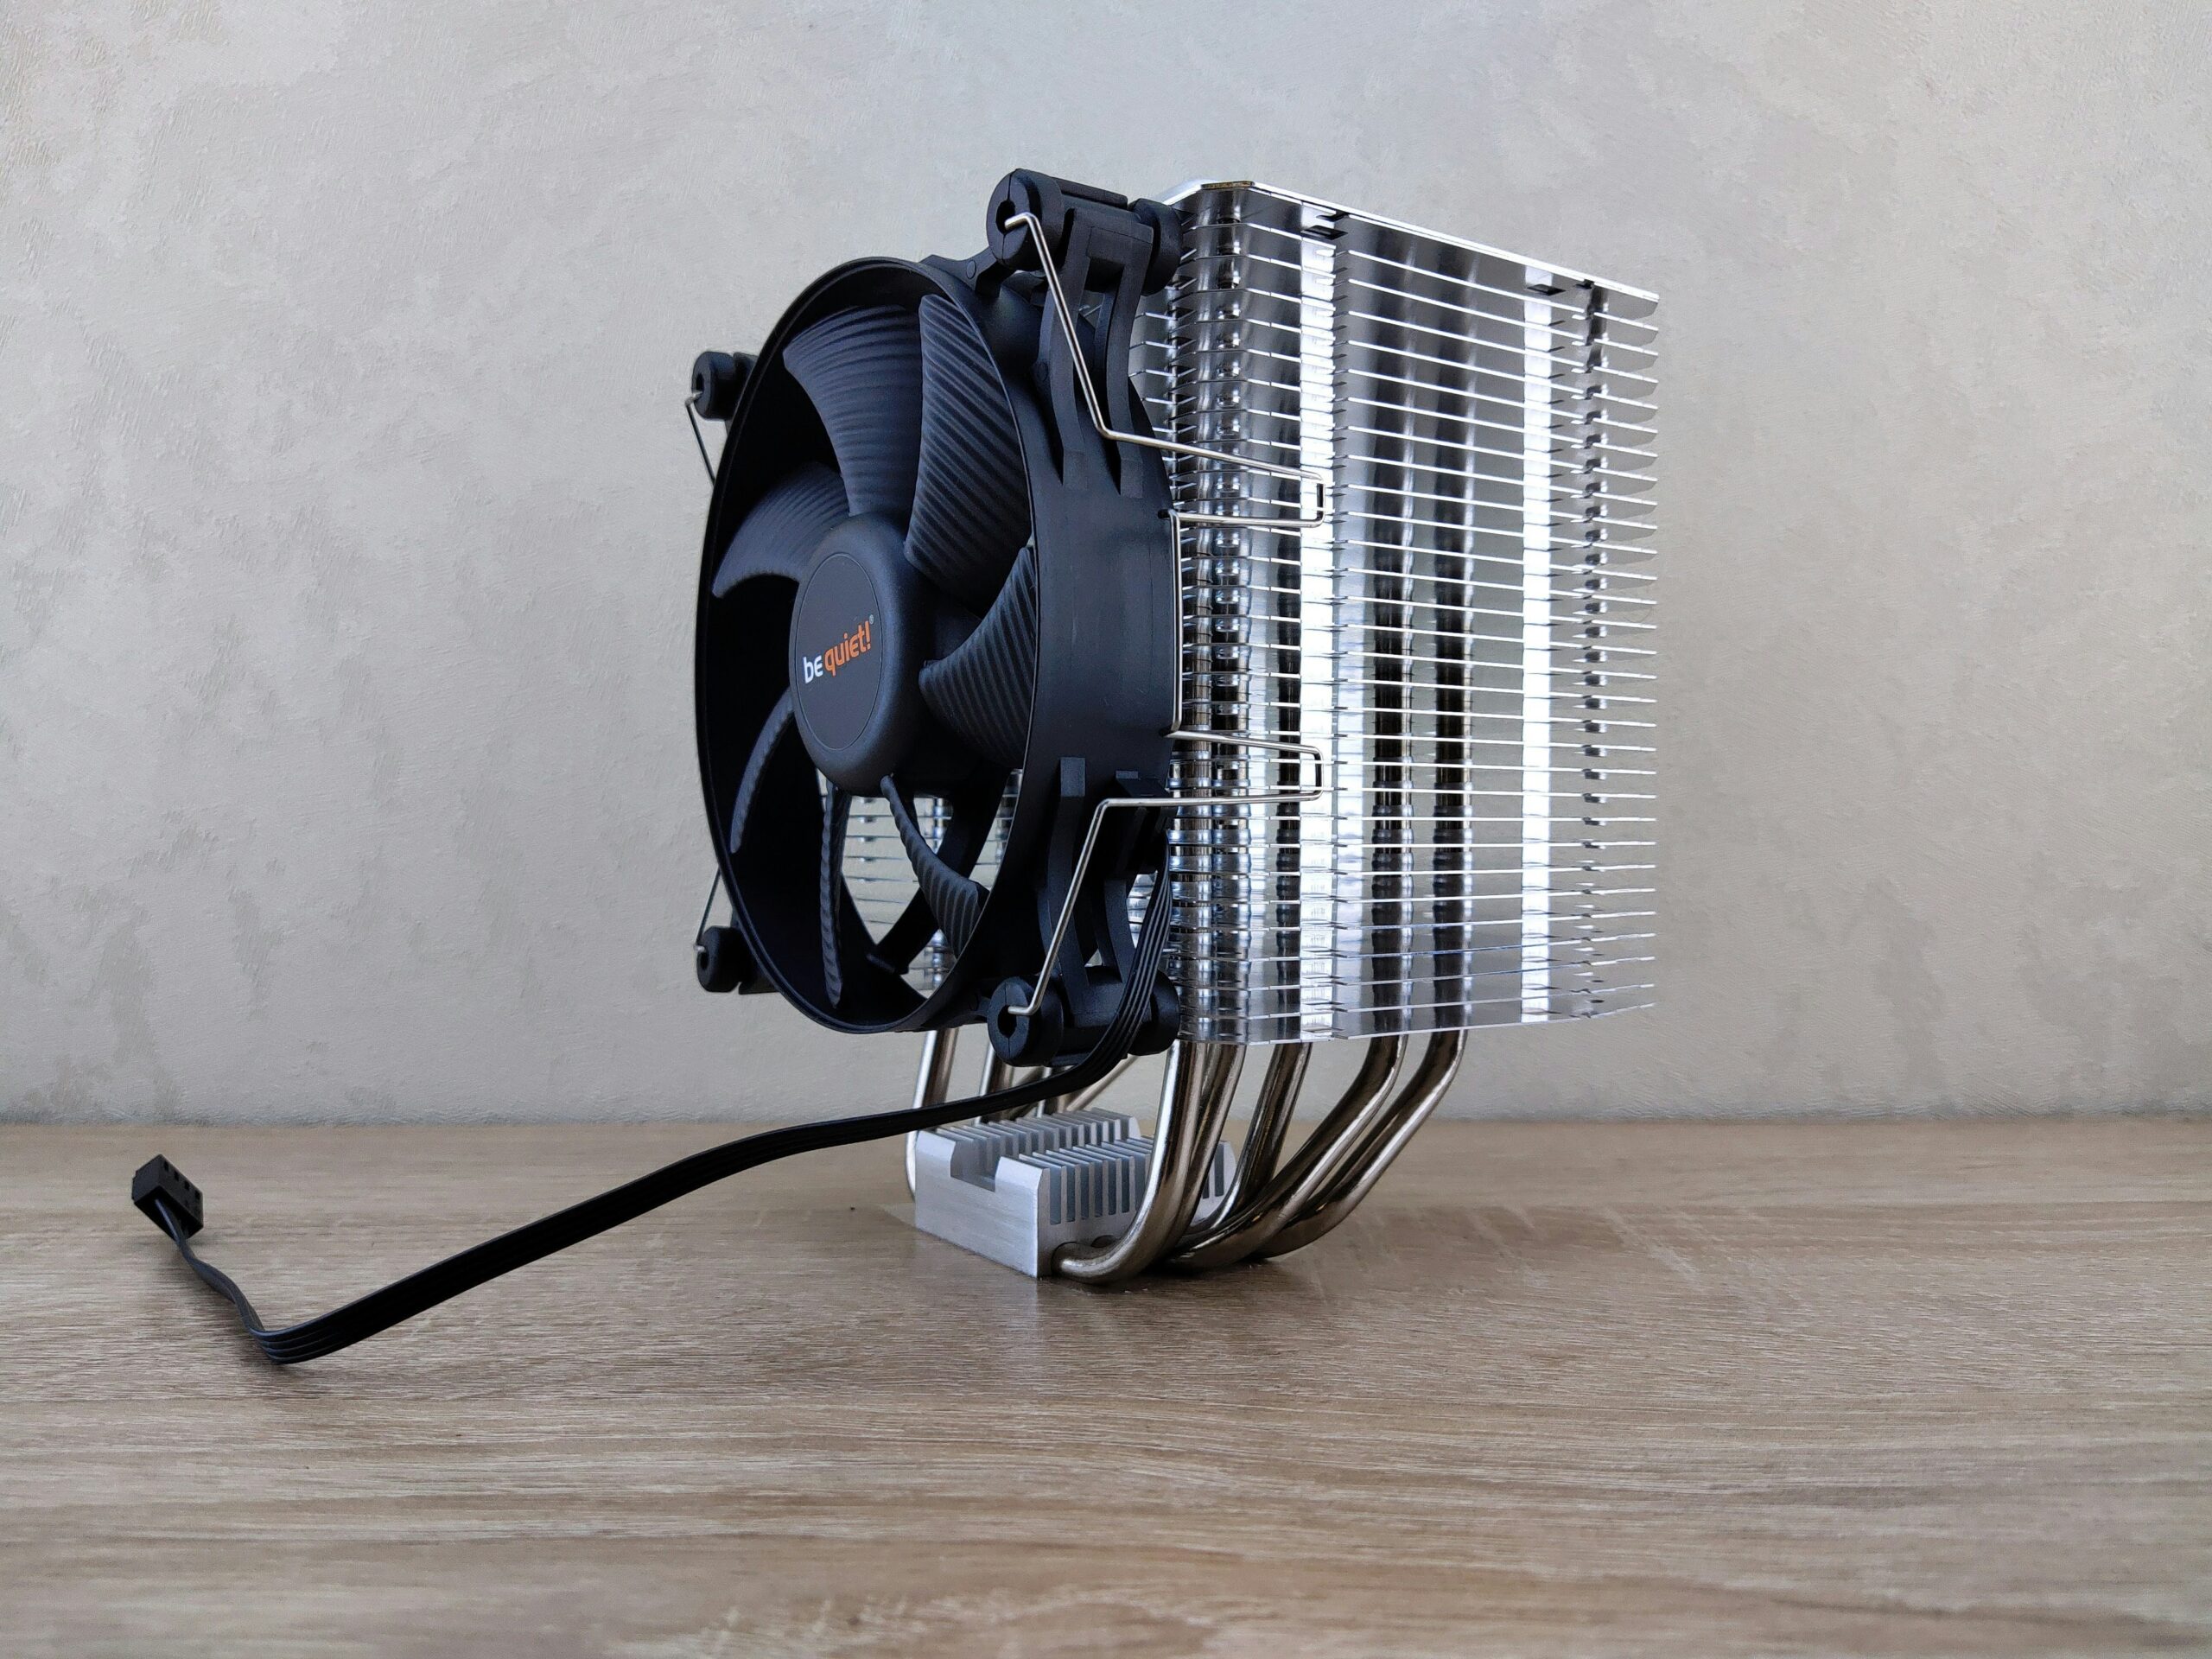 | If you want ultra performance, more lifetime, and no heat issues whatsoever, you’ll need to keep your PC in low temperatures, and this is where your CPU’s Cooler and Fans join the game. If they’re not high-quality, you’re probably never going to see low temperatures, and the noise may hurt your ears. |
Operating System (OS):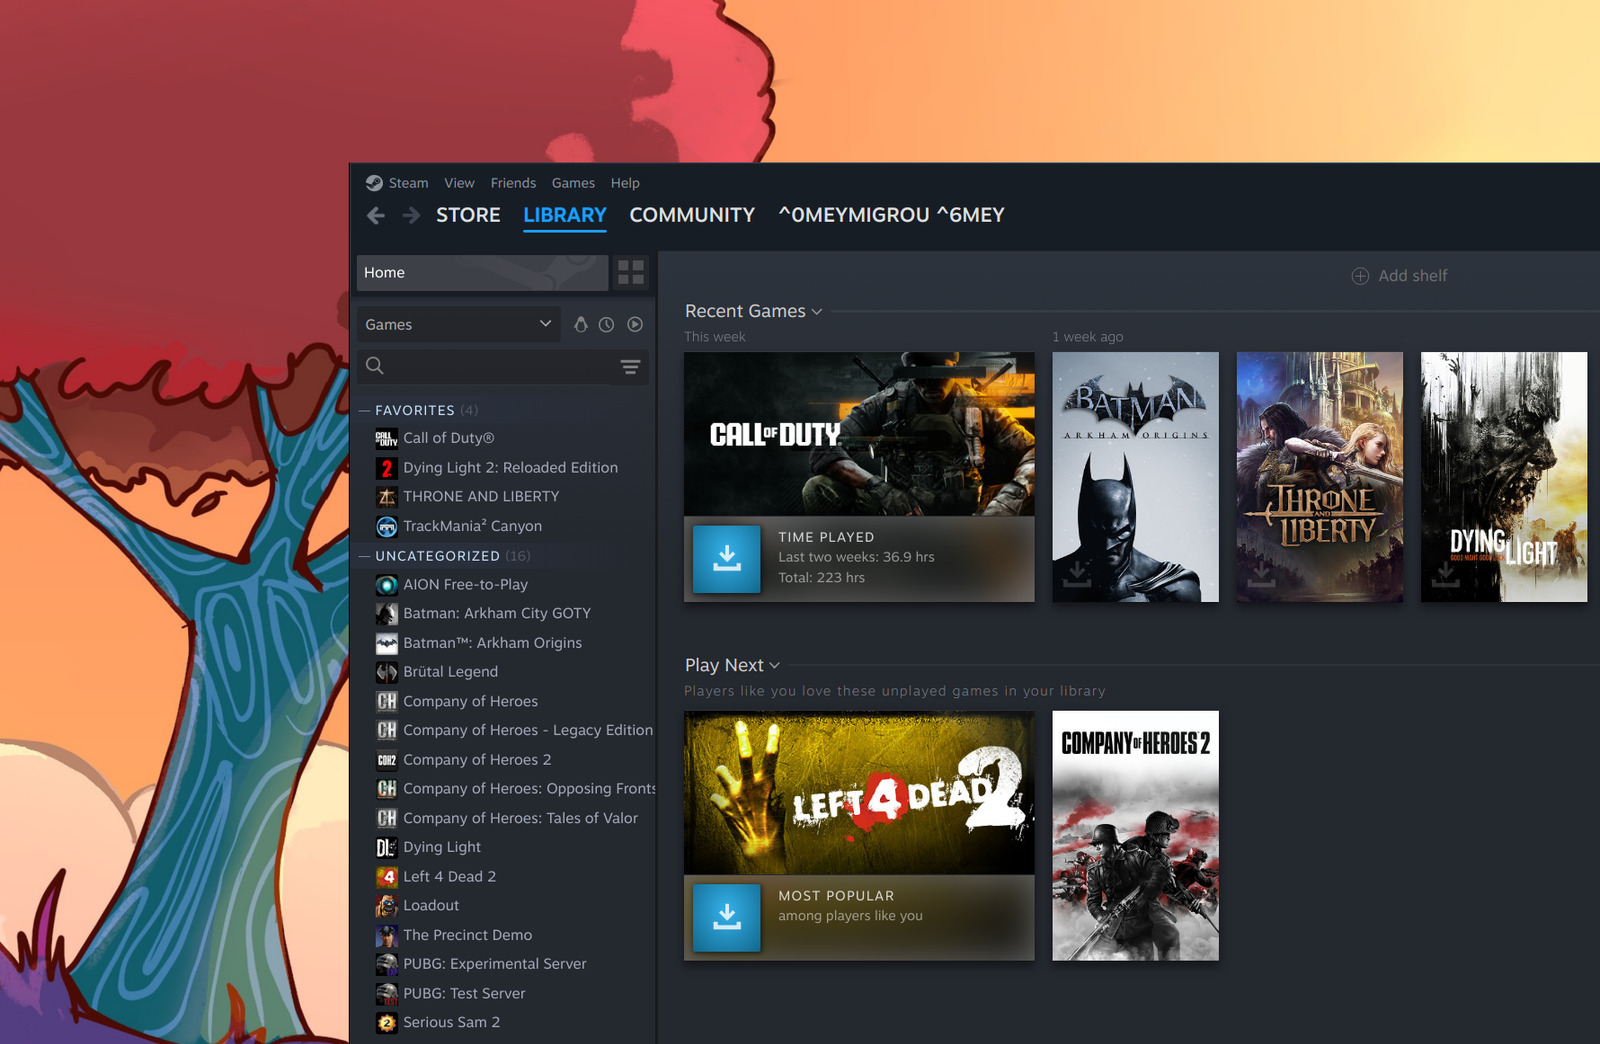 | A computer needs an operating system to work properly, and you can choose between Windows or Linux, or choose to install both of them. Windows is the most used option, especially for gamers, but if you’re looking for something alternative, you can always game on Linux too. |
If you’re a gamer, you can create a simple list with the minimum and recommended system requirements your favorite games and AAA titles are currently requiring, and they typically focus on the best CPU, GPU, and RAM your computer has to have in order to run them smoothly. Based on those technical requirements, you can then make a more proper choice.
If you’re working as a content creator, illustrator, video editor, or whatever needs lots of resources to run, most programs and apps provide a list of the minimum requirements, so make sure you’ve checked that too.
How to check the hardware compatibility (before buying)
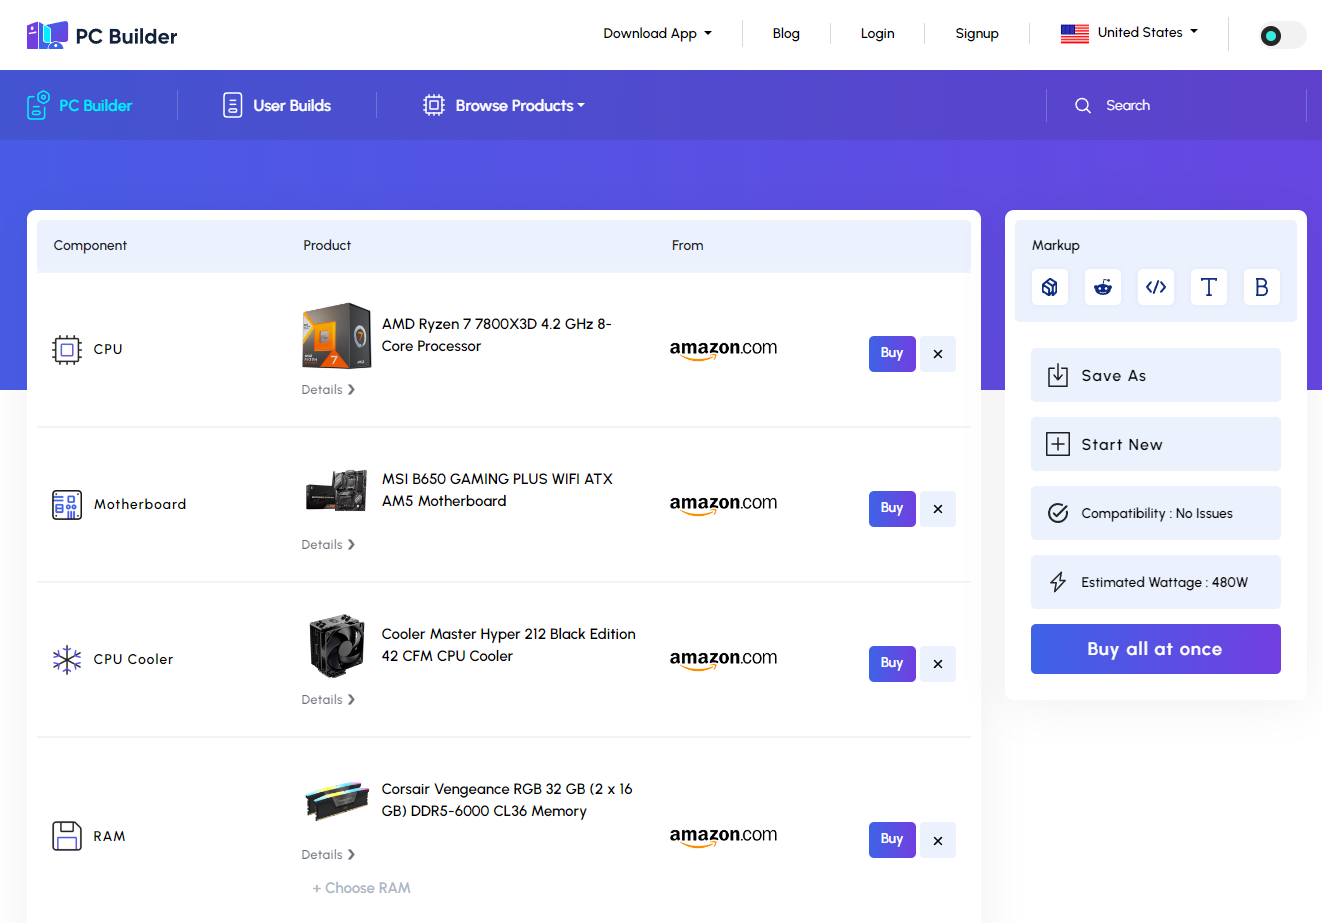
What makes most people worry about building a new desktop gaming PC on their own is making a mistake and buying incompatible hardware components, something that results in a computer that simply can’t run or get turned on. This is absolutely a crucial step, as it will help you make sure that you won’t be buying any part that is incompatible with another.
But how can you make sure that’s all compatible? Well, there are many websites that provide a specific feature (or tool) called “PC Building”. Also known as “PC Builders”, those websites give you a modern and easy-to-use interface from which you add all of your hardware parts, and they’ll notify you if there’s any incompatibility.
The best PC Builders:
- PCPartPicker.com: An easy-to-use interface that supports a vast database full of hardware parts and useful information about each part. The website also tries to calculate the overall price based on the hardware parts that you’re selecting, generating those costs by e-Commerce platforms such as Amazon.
- PCBuilder.io – This is arguably one of the best-looking PC builders I’ve seen, with a huge selection of hardware parts, total prices based on Amazon, important information about each component, and its own tool to build your own desktop PC.
- BuildMyPC.net – Another easy-to-use PC builder that you can choose to build your new desktop PC and make sure that each part is compatible with each other. It also tries to calculate the overall cost using Amazon’s pricing system.
Be aware though: Although those websites are extremely useful and most of the time right, you may still end up having a specific part not working. For example, I’ve seen a few times people having trouble with their RAM modules that were incompatible with the Motherboard, which leads you to buy another set of RAM that’s fully compatible and has been tested with the same model.

To avoid making such a mistake, after checking your hardware parts with one of those PC Builders, you can immediately head over to your Motherboard’s website and see if the company has set your RAM modules as compatible on their website (most motherboard manufacturers provide that information publicly).
A Step-by-Step Assembly Guide
There are many ways you can assemble a desktop PC, but those may vary depending on the hardware parts and the PC case that you’ve chosen. Especially with PC cases, they’re usually designed differently, and each one may require more or fewer steps until it’s completely assembled.
The best option here is to do a quick search for your PC case. YouTube is a great place for that, with thousands of people already having their own step-by-step guides on how to assemble different PC cases, hardware parts, etc.
A great video – that includes many steps that you can simply skip – is one made by the Linus Tech Tips channel, and it’s a great PC build guide that’ll teach you how to assemble most desktop PCs.
There are many others that you can watch and build your new desktop PC with ease, especially those that may feature the same components that you have.
It’s all about placing the motherboard first inside the case. Once done, continue with your CPU cooler, then add your PSU and start connecting the cables. Once you’ve done that, you can simply connect any other part that you have, including your solid-state drives, graphics card, RAM modules, and sound card, and connect your extra fans.
While each person has their own way of assembling their desktop PCs, here are the steps that you can follow to get done with it as soon as possible:
- Prepare Your Workspace: Make sure you have a clean, static-free workspace. Use an anti-static wrist strap if possible.
- Unbox Components: Lay out all your components (case, motherboard, CPU, RAM, GPU, power supply, etc.) and check for any missing parts.
- Install the CPU: Open the CPU socket on the motherboard and carefully place the CPU in the socket, ensuring it’s properly aligned. Close the socket lever.
- Install the CPU Cooler: Apply thermal paste to the CPU (if not pre-applied), then attach the cooler. Connect the cooler to the CPU_FAN header on the motherboard.
- Install RAM: Insert the RAM sticks into the appropriate slots on the motherboard.
- Install the Motherboard: Place the motherboard in the case, aligning it with the standoffs, and secure it with screws.
- Install the GPU: Insert the graphics card into the appropriate slot on the motherboard and secure it to the case.
- Install Storage: Install your SSD/HDD into the drive bays and connect them to the motherboard using SATA cables.
- Install the Power Supply: Place the power supply in the case and connect the necessary power cables to the motherboard, GPU, and storage drives.
- Connect Cables: Connect all necessary cables, including power cables, data cables, and front panel connectors.
- Install Case Fans: Attach any additional case fans to the appropriate spots on the case.
- Close the Case: Secure the side panel of the case and connect the power cable, monitor, keyboard, and mouse.
- Power On and Install OS: Plug in the power cable, press the power button, and follow the instructions provided in the next section of the guide to install your operating system.
A cool reminder: Each component that you get usually comes with its own manual. If you can’t find it, search for it online, as most manufacturers also provide it in digital versions on their official websites. Those manuals are extremely important when assembling a new desktop PC, especially if this is your first time, as they’ll give you all the steps needed to assemble each hardware part the right way.
Installing an operating system (or two)
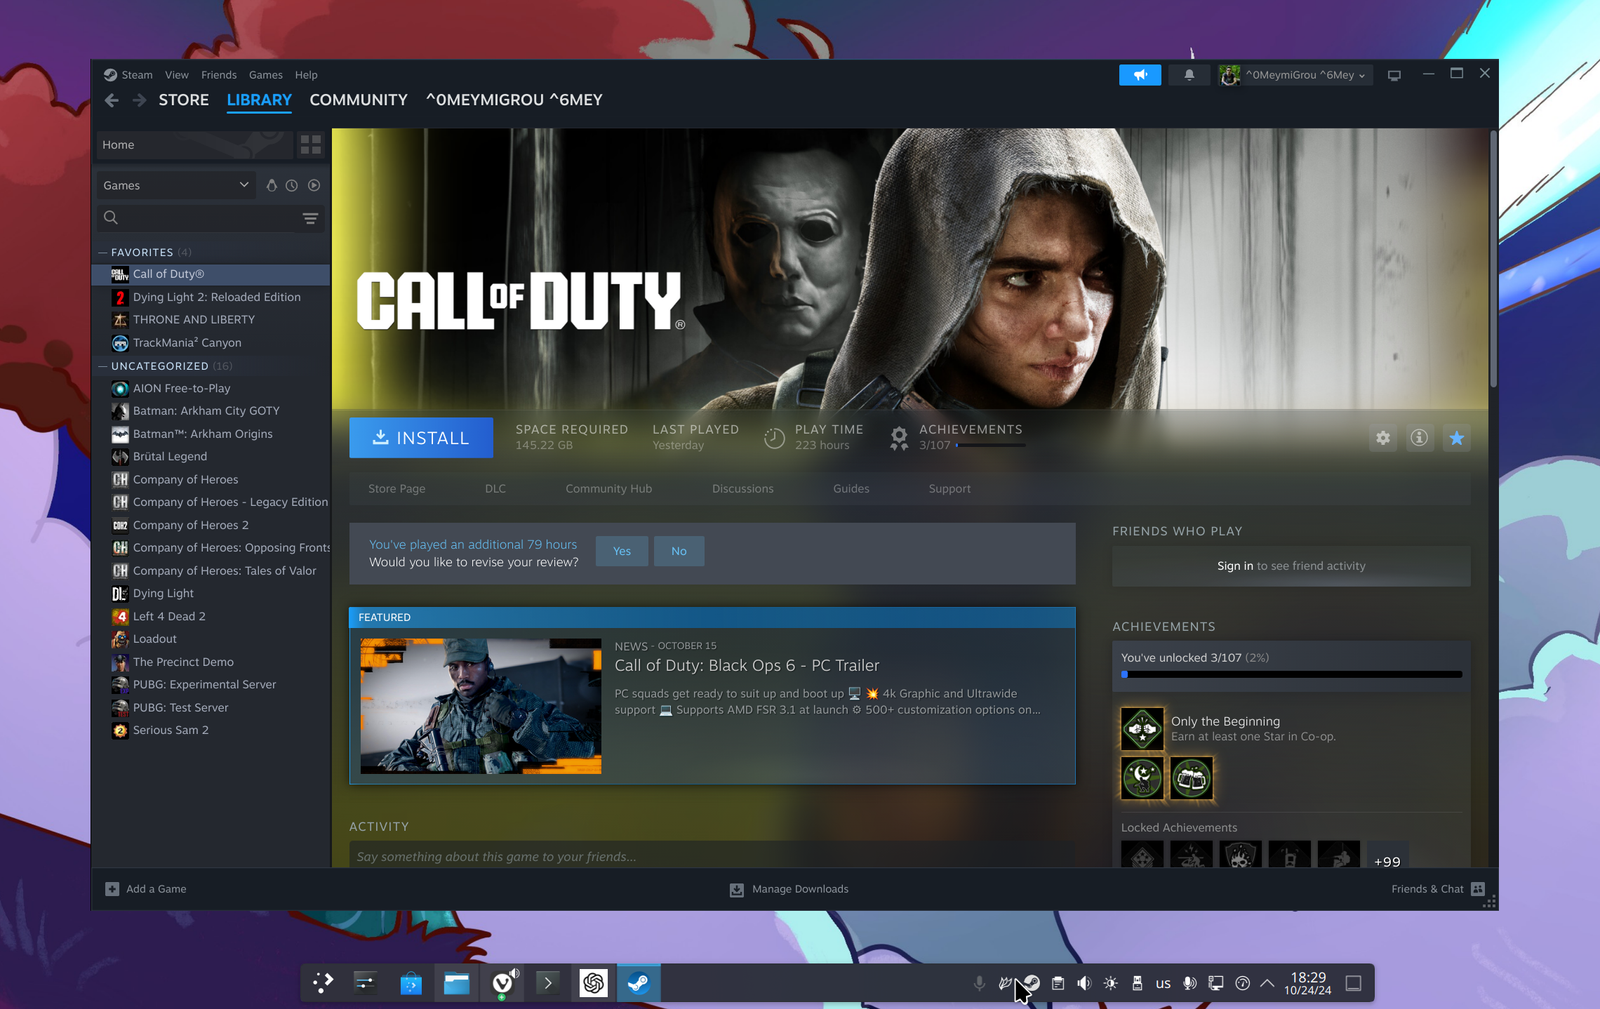
Nowadays downloading, installing, and configuring an operating system is fairly easy, even for people who’ve never done that in the past.
You don’t have to pay for it also, not in the beginning, that is. You can also choose to install two operating systems instead of one, such as having a dual-boot mode both Windows and Linux alike, choosing with which you want to start up your PC each time.
What you’ll need to install an operating system:
- A USB device with at least 8GB of storage space (it should not include any important files, as they’ll get deleted).
- A stable internet connection and a PC or laptop.
- Rufus (a tool that writes the operating system to your USB device).
How to download Windows and create a bootable USB:
- Visit the download pages for Windows 10 or Windows 11.
- For Windows 10, simply download the Media Creation Tool.
- For Windows 11, simply download the latest ISO file.
- Open the Microsoft Store and install Rufus.
- Connect your USB device to your PC.
- Once Windows has been downloaded, launch Rufus.
- In the “Device” section, simply select your USB device.
- In the “Boot selection” section, click on “Select” and choose the ISO file that you’ve just downloaded.
- Click on the “Start” button and wait until Rufus installs the ISO file.
How to download Linux and create a bootable USB:
- Download the latest ISO file of your favorite Linux distro.
- Open the Microsoft Store and install Rufus.
- Connect your USB device to your PC.
- Once Linux has been downloaded, launch Rufus.
- In the “Device” section, simply select your USB device.
- In the “Boot selection” section, click on “Select” and choose the ISO file that you’ve just downloaded.
- Click on the “Start” button and wait until Rufus installs the ISO file.
Booting up the PC with the USB device:
Downloading an operating system and creating a bootable USB is only the beginning. The last step is to actually install the operating system on your new gaming PC, and do so, you’ll first have to find the right key that gets you there.
Whenever you start up a desktop PC or laptop, it will automatically try to detect the disk that contains the operating system. If you don’t have one installed, it will simply show a black screen with an error saying that an operating system hasn’t been detected.
Make sure that your USB device is connected to any USB port on your PC and simply restart or start it. Once the PC starts and the keyboard gets the power, start clicking on the key that will get you to the boot menu. If you don’t know which key that is, check your motherboard’s manual or search for it online, based on your motherboard’s model.
Usually, the key is either F2, F11, DEL, or any other. In my case was the F11 button that got me to the boot menu. Once there, select your USB device, and a few seconds later, you should see the Windows or Linux logo – that means you did everything right, and it’s now time to install the operating system.
Both Windows and Linux give you the option to choose on which disk you want to install the operating system (usually in the fastest one if you have more than one), select a preferred default language, add an email, username, and password so you can log in, and a few more options that are simply a “Skip”, “No”, or “Yes”.
Testing and Benchmarking
You can skip this part and head over to how to maintain your new desktop gaming PC, but I wouldn’t do that if I were you. There’s a very simple reason why many tech people are always testing and doing benchmarks on their new PCs to make sure that each hardware part is healthy and runs as it is supposed to.
Why testing and benchmarking a new gaming PC is important?
“Testing is carrying”, some may say (or just me, but who cares?). Running basic tests and completing important benchmarks will help you be more assured that all your hardware components are working as expected and the system performs to its full potential.
You can also use the same tests to identify any hardware or software-related issues that may cause crashes, lagging or instability. But apart from the performance and stability-related problems, your new desktop gaming PC should also be able to keep everything in low temperatures. Thermal management is one of the most important things when building a gaming PC, as games are resource-heavy and they can easily get problematic if your CPU and GPU run at their fullest with high temperatures.
Last but not least, after completing the tests and benchmarks, you can easily fine-tune your operating system’s settings for even higher performance. And if a problem comes out during that time, you can always contact the manufacturer and ask for support or even the replacement of a dying component.
The best free tools for testing and benchmarking
Thankfully, doing those tests and benchmarks is fairly easy and straightforward, as you can use many free tools that can automatically run those tests for you. The FurMark, Unigine Superposition, and 3DMark are among the best, especially when it comes to gaming.
Some manufacturers also provide their own tools that have been designed to work with their product lineup, including Samsung for example, which provides the Samsung Magician, a free tool to check your SSD’s health, temperature, performance, optimization rates, and more.
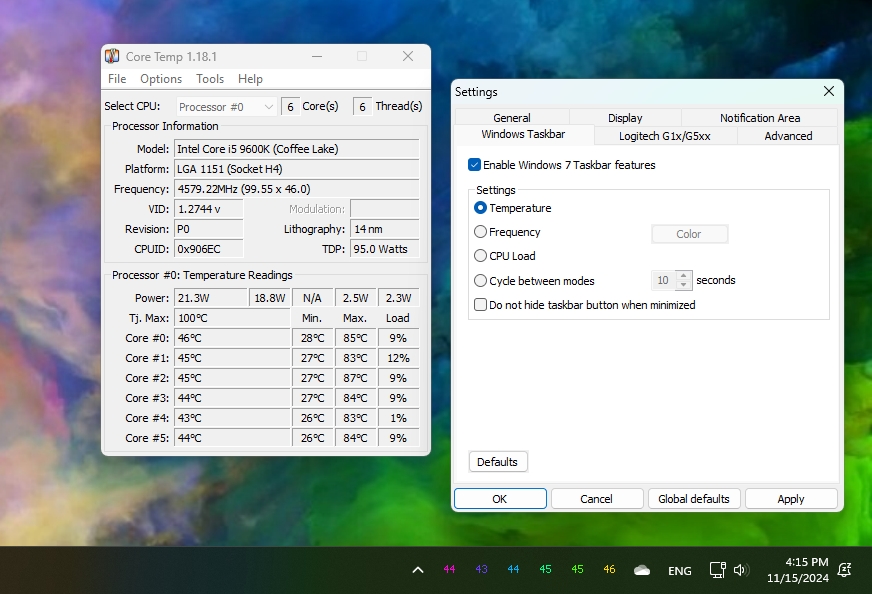
There are other tools too, such as the Core Temp and HWMonitor, both of which are important if you want to stay updated with your PC’s temperatures, voltages, and fan speeds. These beautiful tools give you real-time information about the health of your hardware parts, which is crucial if you want to make sure that everything’s working as it should, and that none of your components has any health issues.
Once you’ve completed all the tests and benchmarks, make sure to delete each tool that you’ve used and that you won’t need in the near future, keeping your system clean right from the beginning.
Common Beginner Mistakes to Avoid
When it comes to mistakes, there are many that beginners make during their first gaming PC build. I’ve made many myself over the years, and I know many others who made even bigger mistakes than mine, some of them costing them more money than they first anticipated.
First and foremost, “poor compatibility checks“. This is crucial, because if you aren’t sure each hardware component is compatible with each other, you won’t be gaming anytime soon. For example, you need to make sure your CPU has the same socket as the motherboard you’ve chosen – it’s different and may vary depending on the companies that you’re choosing (AMD or Intel).
Many gamers have also ignored the power supply requirements. Underestimating how much power your hardware components need, leads to an inadequate power supply. You can calculate your power requirements using the PC Builder websites that we’ve seen earlier, and by always making sure that your power supply provides more wattage than you actually need – you know, in case of any future upgrades.
Another issue many new gamers who are building a new desktop gaming PC end up doing is with their cooling options. Insufficient cooling is one of the most common beginner mistakes that most people are still making – you know, that one where your CPU and GPU are hotter than the sun and your fans making the same noise an airplane does whenever it takes off? That one.
Each component that you’re purchasing should have all the information that you’ll need about its power consumption, and you’ll only have to do some basic math to find out the correct number of wattage that you’ll need.
Cable management is also an important aspect when building a gaming PC. While most people think of a PC case that looks beautiful, minimal, and clean of cables, aesthetics have nothing to do with making sure that you’re new PC functions properly. You see, cable management is all about making sure that you don’t have a messy interior that can restrict the airflow. You can also test this on your older PC, which if it lacks cable management, you may instantly see lower temperatures once you organize its cables.
Last but not least, make sure you’ve updated your BIOS/UEFI to their latest version – if you really want to avoid any potential compatibility, performance, and stability issues. To do that, please refer to your motherboard manufacturer’s official website.
If you’re unsure about anything, you can always post your questions on various online forums, talk with technicians, or even ask for help from someone who knows how to build a desktop gaming PC.
Gaming PC Builds for Inspiration (based on budget)
Choosing to build your own custom-made desktop gaming PC means that you can stay on budget, or even build a cheaper one and upgrade it in the near future with extra components, such as more RAM or storage.
But if you’re having trouble selecting the components, the following list may help you get a closer look at some ready PC builds based on different budgets:
Budget Build: $500 – $700
Components:
- CPU: AMD Ryzen 5 5600X
- Motherboard: MSI B450-A PRO MAX B450, ATX
- GPU: NVIDIA GeForce GTX 1660 SUPER
- RAM: Corsair Vengeance LPX 8GB (2 x 4GB) DDR4-3200
- Storage: Kingston A2000 500GB NVMe SSD
- Power Supply: EVGA 600W 80+ Bronze
- Case: NZXT H510 ATX Mid Tower
- Cooling: Cooler Master Hyper 212 RGB
Mid-Range Build: $800 – $1200
Components:
- CPU: AMD Ryzen 7 5800X
- Motherboard: ASUS TUF Gaming X570-Plus (Wi-Fi)
- GPU: NVIDIA GeForce RTX 3060
- RAM: Corsair Vengeance LPX 16GB (2 x 8GB) DDR4-3200
- Storage: Samsung 970 EVO Plus 1TB NVMe SSD
- Power Supply: Corsair RM650x 650W 80+ Gold
- Case: NZXT H710 ATX Mid Tower
- Cooling: NZXT Kraken X53 RGB
High-End Build: $1500 – $2000
Components:
- CPU: Intel Core i7-12700K
- Motherboard: ASUS ROG Maximus XIII Hero (Wi-Fi)
- GPU: NVIDIA GeForce RTX 3080
- RAM: G.Skill Trident Z Neo 32GB (2 x 16GB) DDR4-3600
- Storage: WD Black SN850X 2TB NVMe SSD
- Power Supply: Corsair RM850x 850W 80+ Gold
- Case: Lian Li PC-O11 Dynamic ATX Full Tower
- Cooling: NZXT Kraken Z73 RGB
Mid-Range Build: $800 – $1200
Components:
- CPU: AMD Ryzen 9 5950X
- Motherboard: ASUS ROG Crosshair VIII Hero (Wi-Fi)
- GPU: NVIDIA GeForce RTX 3090
- RAM: Corsair Vengeance RGB Pro 64GB (4 x 16GB) DDR4-3600
- Storage: Samsung 980 PRO 2TB NVMe SSD + WD Black SN850X 2TB NVMe SSD
- Power Supply: Corsair RM1000x 1000W 80+ Gold
- Case: NZXT H510 Flow ATX Mid Tower
- Cooling: Corsair H150i Elite Capellix
If you’re anything like me, then making sure that you haven’t paid anything more than you have to is crucial. For the last gaming PC that I built, I purchased all the hardware components during Black Friday, which was an excellent choice as I saved over 300 euros.
You can save a lot of money if you choose to buy all the components on a specific day, such as during Black Friday, Christmas, or any other day that’s basically part of a shopping season. Even if you don’t find discounts for each component, you can still save a good amount of money.
Final Thoughts
When I built my first desktop gaming PC, I knew nothing about PC builds. I haven’t even had a desktop PC for years, still upgrading from one laptop to another. When the time came, I knew it was the start of a great journey, and I wasn’t wrong.
Once I built my own gaming PC, this was the first – out of many that followed – time I knew I was finally able not only to build something truly my own and based on my needs, but also get it cheaper. I also learned how to easily troubleshoot each problem, checking my hardware components inch by inch, and making any upgrade with ease.
If that’s not interesting to you, there’s always the choice of getting something that has already been built from the manufacturer. You know, that thing you simply unbox, connect, and start-up? That one.

