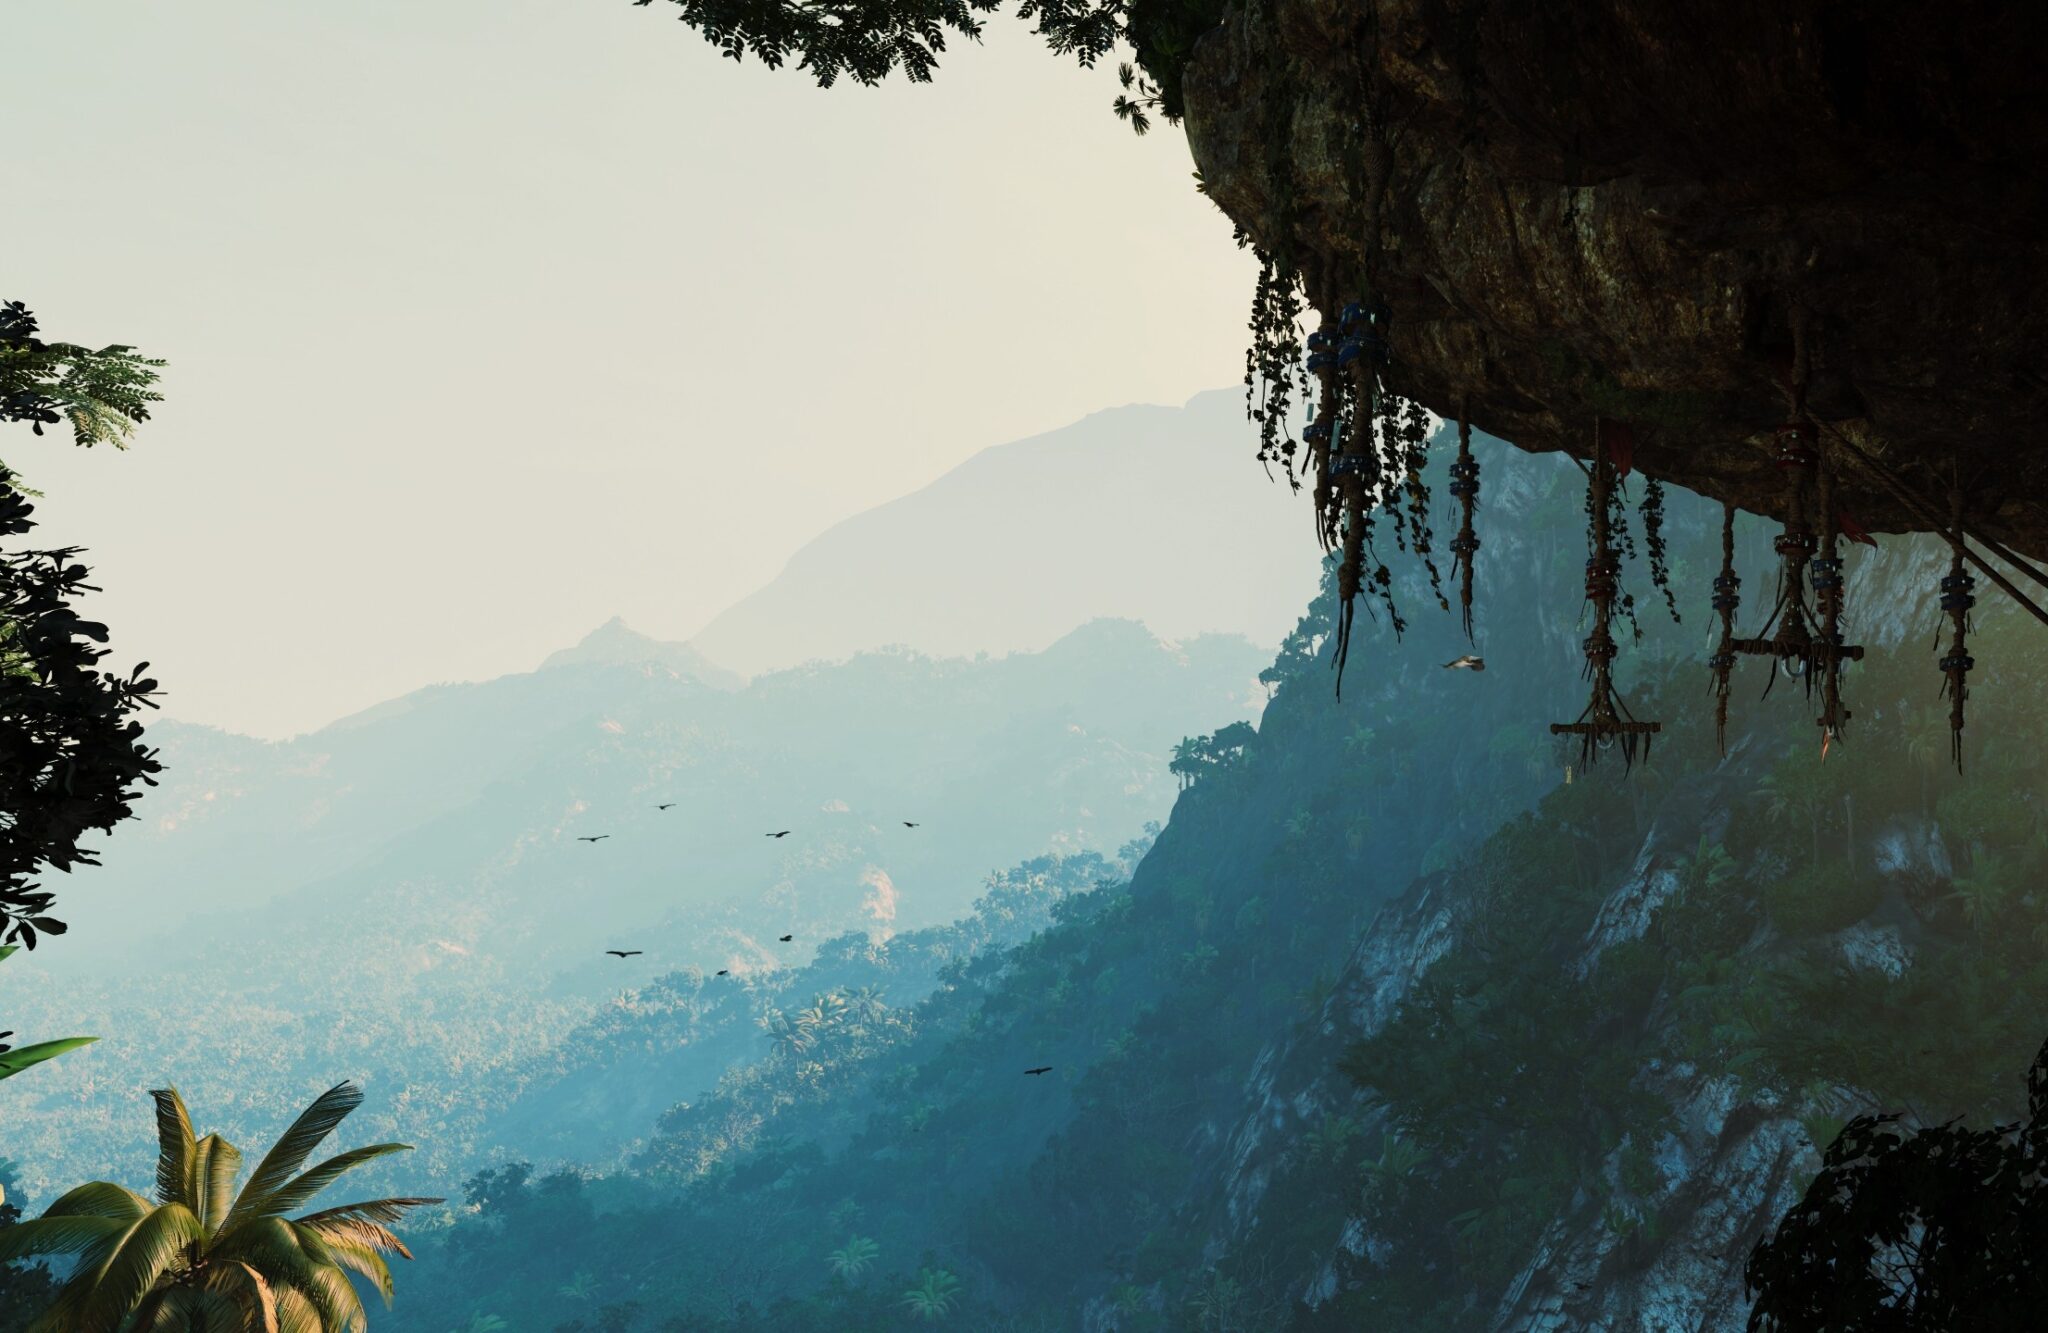
Nowadays, most games provide a feature called Photo Mode. This is a tool found in-game that you can use to take high-quality pictures (or screenshots, if you’d like) and use them however you want, including setting them up as your wallpapers.
I’ve already written about my personal opinion that developers should focus on building a great Photo Mode feature, but this time, I’d like to show you can actually use the thing. Usually, most Photo Modes have very similar or even the same settings, so I will focus on the most complex ones (if you know them all, you can use them all).
By the way, here’s a list of gaming wallpapers that I provide completely for free to all of our readers, and all of them come in 4K ultrawide quality at 3440×1440 resolution. That should give you an idea of what you can do with Photo Mode.
What is the Photo Mode, and how can I use it?
The ‘Photo Mode‘ is basically a tool that you can find in most games that lets you take high-quality pictures and capture the best moments. Usually, in most games, this mode is available through the ‘Settings‘ section by pressing the ESC button on your keyboard.
Photo Modes can capture pictures in two different ones, and unfortunately, many of them may require multiple steps until you have your shot saved.
- Manual Print Screen:
- Press the keyboard key to hide the game’s UI.
- Press the
Print Screenkey on your keyboard. - Open Microsoft Paint and simply paste the image (
Ctrl+V). - Click on “File” and then “Save Us” and save the image in
JPGformat.
- Automatic Capture:
- Press the keyboard key to hide the game’s UI.
- Click on the “Capture” button.
- Head over to your “Pictures” folder to find all your shots.
Now, there’s a high chance that you’ll see an option called “…“. The more you increase this option, the higher the picture’s quality will end up being, but the longer you’ll have to wait for the capture process to complete.
All the settings that Photo Modes include
Some may offer a simple Photo Mode with limited options, while others offer plenty of useful, and sometimes fun, features such as changing your character’s facial expression, moving freely to take the best possible angle, pre-made filters and colors, and so much more.
I’d do my best to include them all, but keep in mind that many new games can also include new features that we haven’t seen in the past. If you found such a feature, let me know in the comments at the end of this page.
Complete Photo Mode Feature Table:
| Category | Feature | Description |
|---|---|---|
| Camera Controls | Field of View (FOV) | Adjust the camera’s angle and width. |
| Camera Roll | Rotate the camera around its axis. | |
| Tilt/Pan | Move the camera horizontally and vertically. | |
| Depth of Field (DOF) | Adjust focus blur on foreground/background. | |
| Focal Distance | Choose where the focus point is. | |
| Aperture | Control how much of the scene is in focus. | |
| Camera Distance | Move the camera closer or farther from the subject. | |
| Camera Lock/Free Mode | Choose between locked and free movement. | |
| Dolly Zoom (Vertigo Effect) | Adjust zoom while changing focal length. | |
| Clip Distance | Adjust how much of the environment is culled. | |
| Character & Pose Settings | Character Visibility | Hide/show character. |
| Character Placement | Change the character’s emotions. | |
| Poses & Emotes | Select from a list of predefined poses or animations. | |
| Facial Expressions | Change character’s emotions. | |
| Look at Camera | Make the character’s eyes follow the camera. | |
| Freeze Animation | Stop motion mid-action. | |
| Adjust Hands & Limbs | Move the character within the scene. | |
| Toggle Gear/Weapons | Show or hide equipment. | |
| Change Outfit | Swap between unlocked costumes. | |
| NPC Visibility | Hide/show other characters. | |
| Mount/Pet Positioning | Adjust or hide mounts and companion creatures. | |
| Lighting & Weather | Time of Day | Change the hour for different lighting. |
| Sun Position & Rotation | Add an RGB split for distortion effects. | |
| Weather Control | Modify rain, snow, fog, etc. | |
| Light Intensity & Color | Adjust the brightness and hue of ambient light. | |
| Custom Light Sources | Add artificial lighting (spotlights, glow effects). | |
| Shadow Strength & Softness | Fine-tune how shadows look. | |
| God Rays & Bloom Intensity | Adjust light beams and glow. | |
| Volumetric Fog & Mist | Control density and height. | |
| Reflection Intensity | Adjust reflections on surfaces. | |
| Filters & Effects | Color Grading | Choose different visual styles (warm, cold, vintage, etc.). |
| Brightness, Contrast & Saturation | Fine-tune color levels. | |
| Sepia, Noir, VHS Effects | Apply retro effects. | |
| Vignette | Darken the edges for a cinematic feel. | |
| Chromatic Aberration | Adjust the cinematic lens streaks. | |
| Motion Blur Intensity | Adjust blur based on movement. | |
| Film Grain | Add noise for a retro/realistic look. | |
| Lens Distortion & Barrel Effect | Mimic real camera lens imperfections. | |
| Glitch & Pixelation | Apply digital noise and retro styles. | |
| Fog & Smoke Effects | Add atmosphere to the scene. | |
| Screen Dirt & Scratches | Add cinematic wear. | |
| Anamorphic Lens Flares | Store in-game photos. | |
| Framing & Composition | Grid Overlays | Rule of Thirds, Golden Ratio, Center Focus. |
| Customizable Borders | Add stylized frames. | |
| Letterboxing | Widescreen cinema bars. | |
| Aspect Ratio Selection | Standard (16:9), Ultrawide, Square (1:1), etc. | |
| Logo & Watermark Placement | Add custom branding. | |
| Subtitles & Captions | Overlay text. | |
| Camera Shake Effect | Add slight movement for drama. | |
| 3D Perspective Warping | Adjust scene depth distortion. | |
| Export & Sharing | Save Screenshot | Replay the Last Few Seconds |
| Resolution Selection | Choose different resolutions (4K, 8K, etc.). | |
| HDR & RAW Capture | Save in high dynamic range. | |
| GIF & Short Clip Recording | Capture animated shots. | |
| Social Media Sharing | Direct upload to platforms. | |
| Custom Folder Save Location | Organize shots. | |
| Replay The Last Few Seconds | Capture moments from past gameplay. | |
| Advanced Features (For Next-Gen & PC) | Ray Tracing Toggles | Adjust reflections and lighting with RT. |
| Custom AI Filters | Auto-enhance images with AI. | |
| Multi-Layer Editing | Edit different photo elements separately. | |
| Animation Snapshots | Capture different frames from an animation. | |
| VR & 360° Capture | Create panoramic shots. | |
| Holographic Projections | Add futuristic display elements. |
Examples of different Photo Modes
Now that you know all of the options that you can usually find in most robust Photo Modes (although many won’t have them all), the only difference you’ll see is the environment of each one.
There are usually three ways that the interface may include all the options. The first one is by categorizing all the options using sections, like the example below:
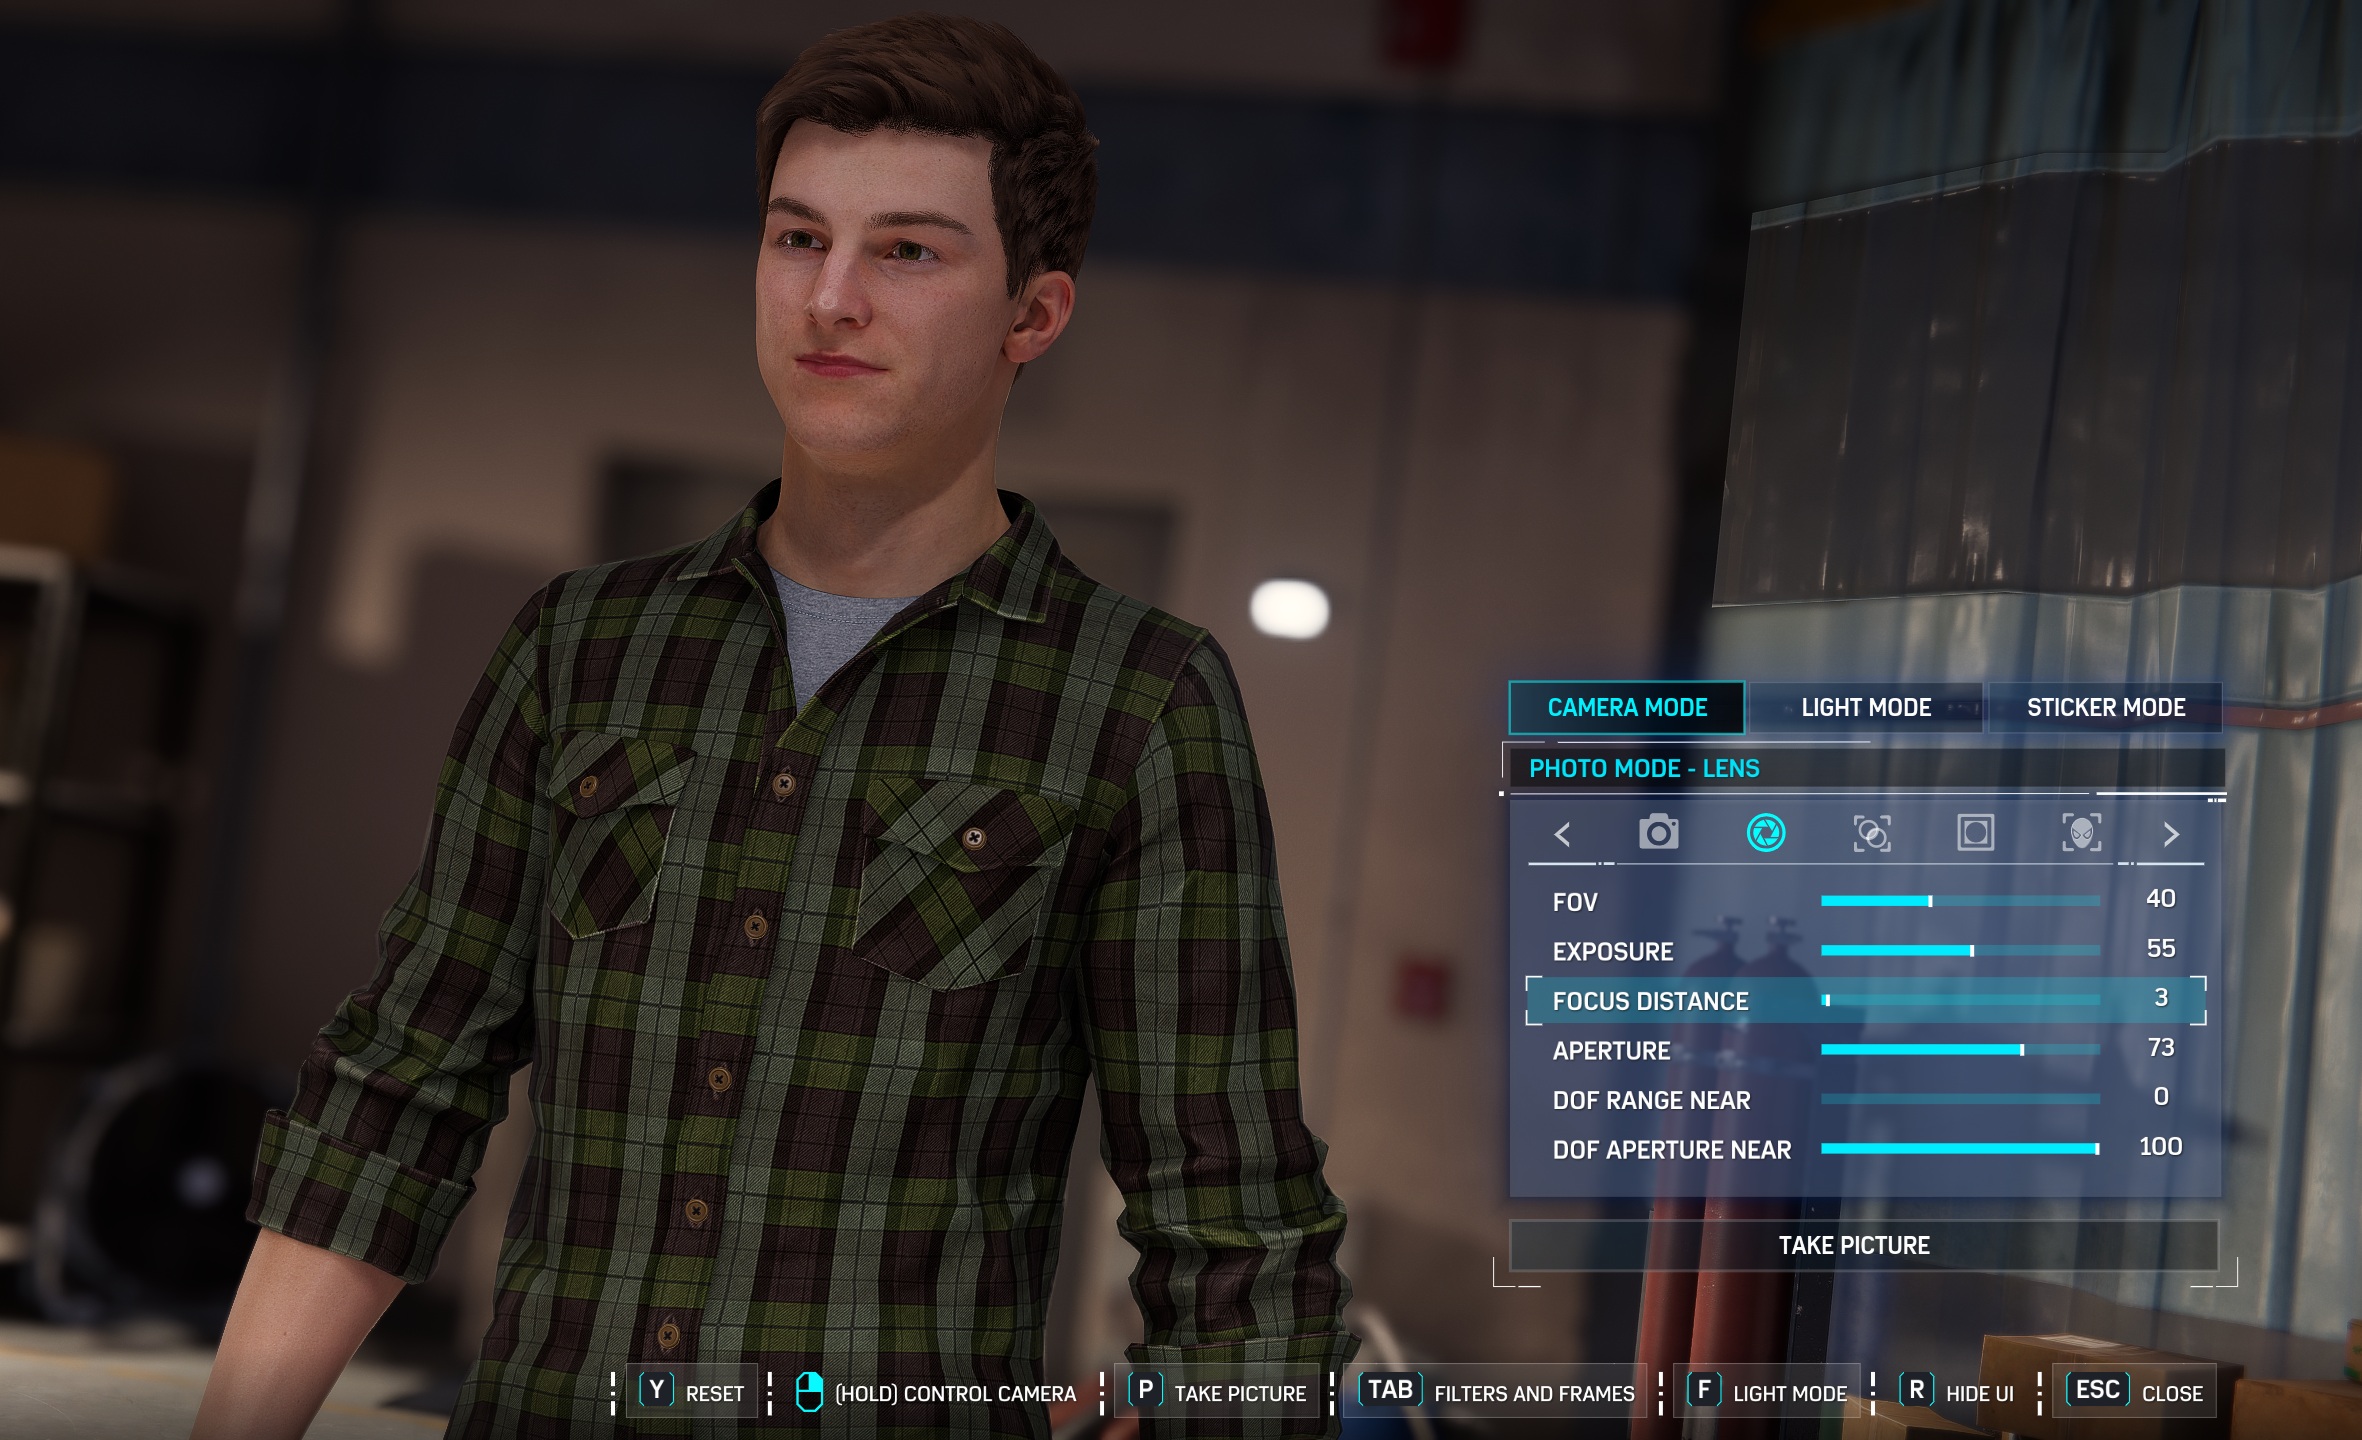
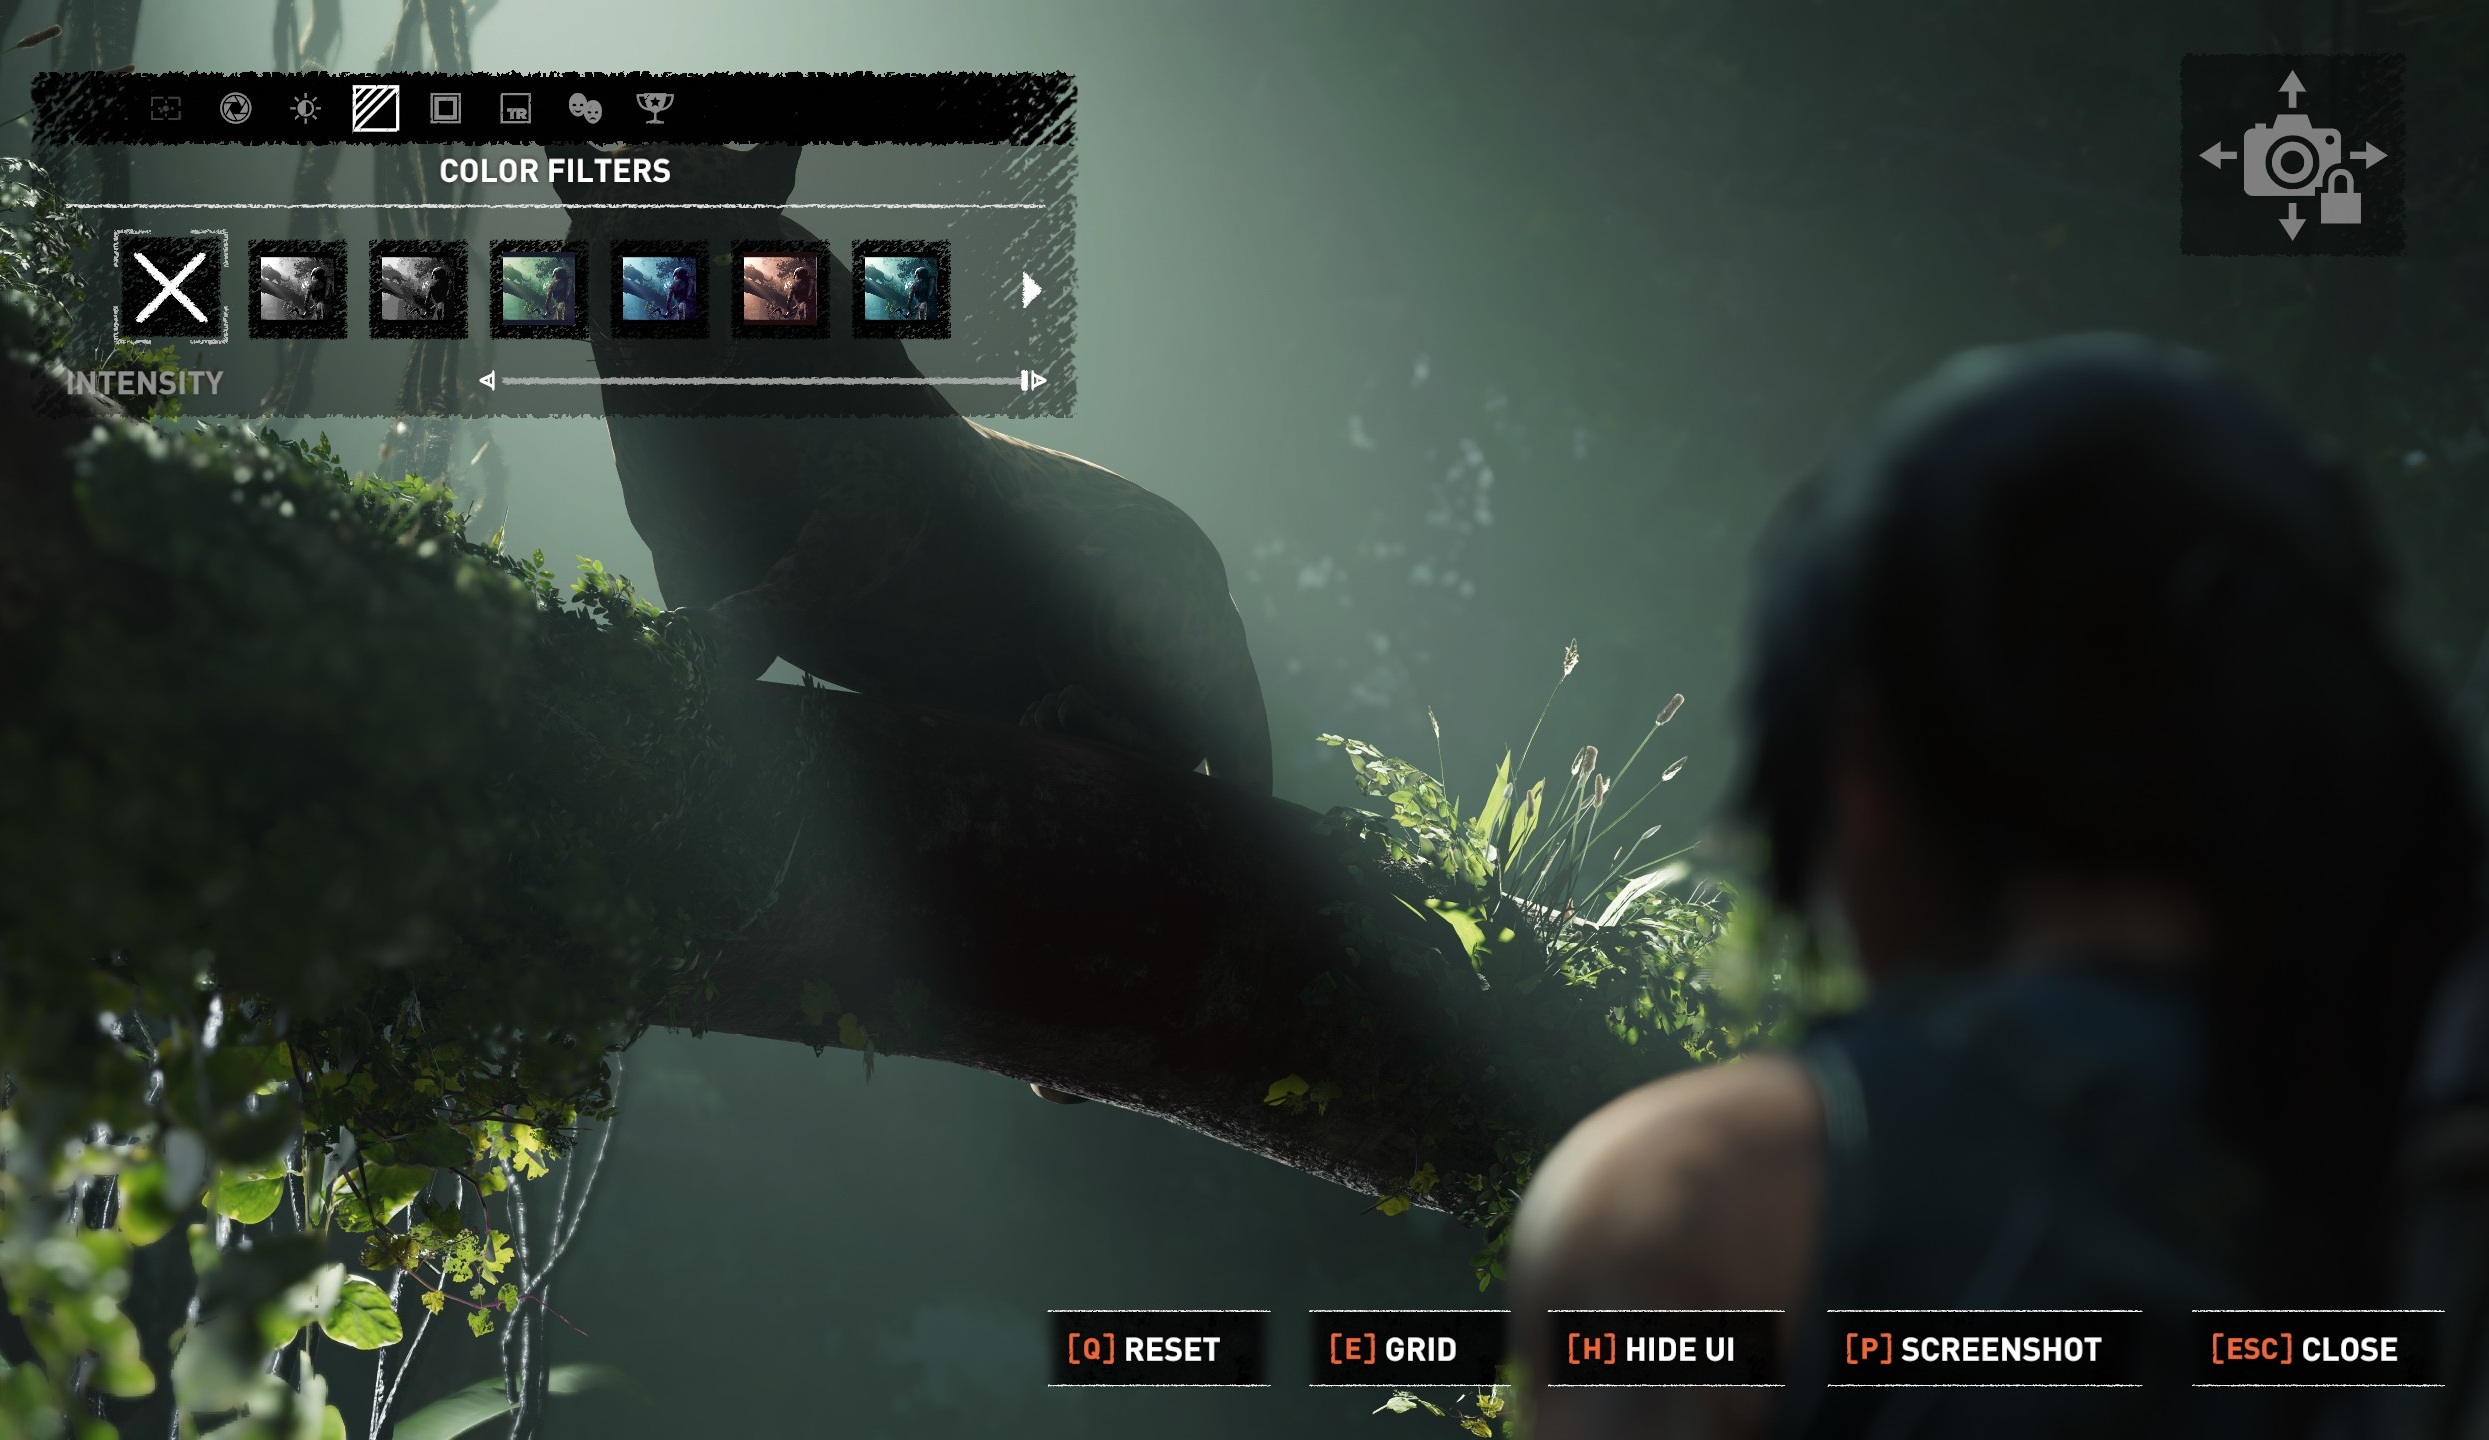
The second one is by only using your mouse and selecting each section, like the following example from Shadow of the Tomb Raider:
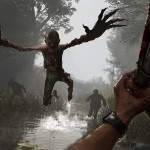
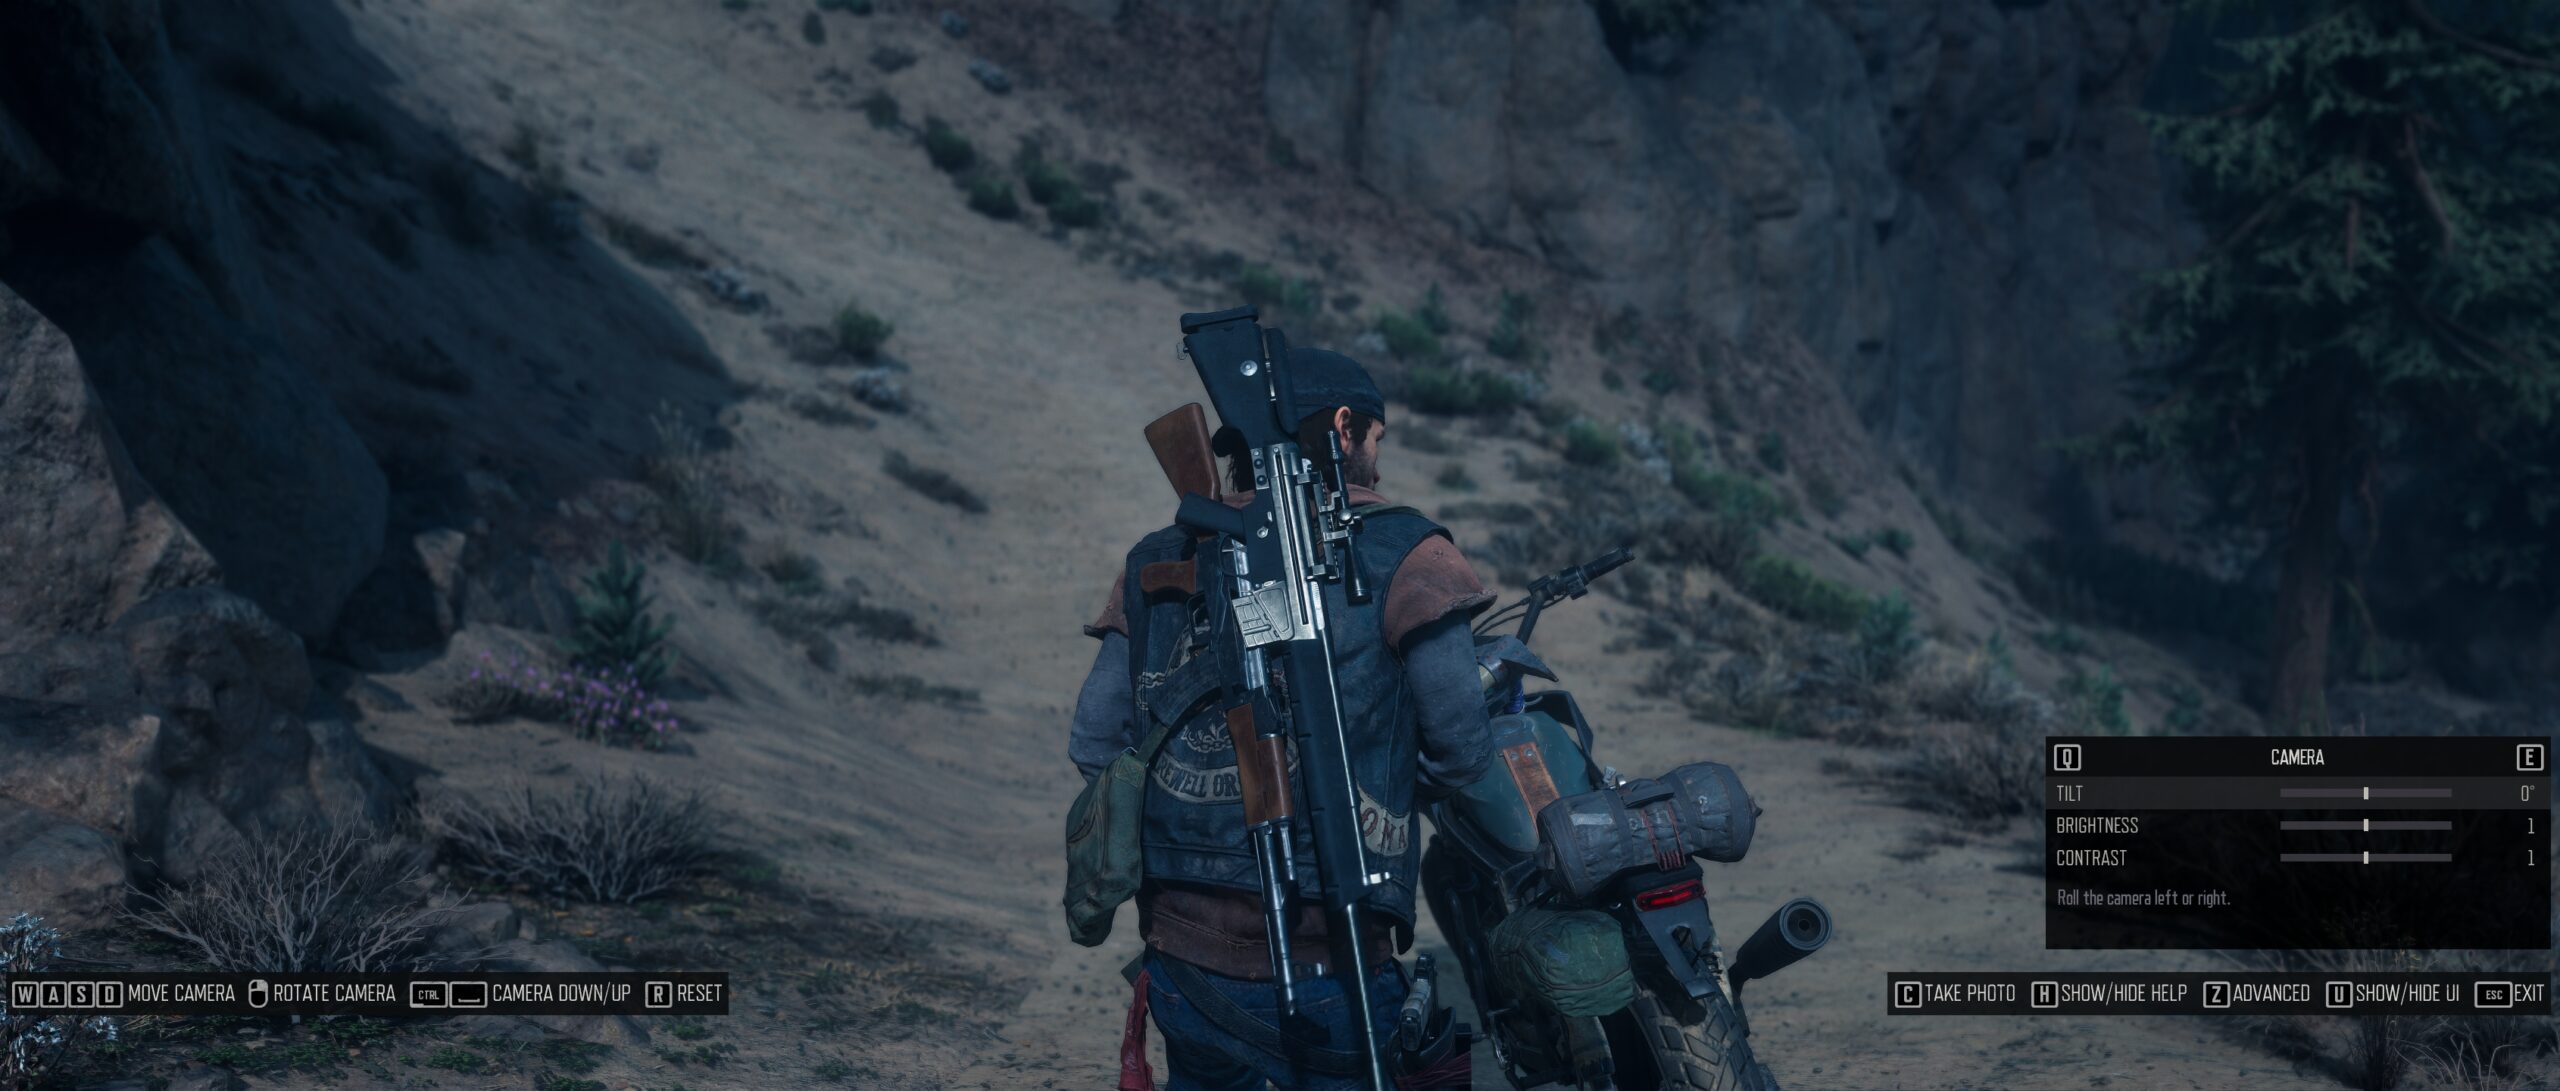
The third one is by changing the sections using (usually) Q to move left and E to move right, like the following example in Days Gone:
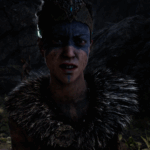
Based in Nora‘s review (and I can agree), Hellblade: Senua’s Sacrifice arguably has one of the worst Photo Modes, and that’s because the menu looks outdated and to capture a picture you’ll have to print screen it first, and then save it using a third-party application such as Microsoft Paint.
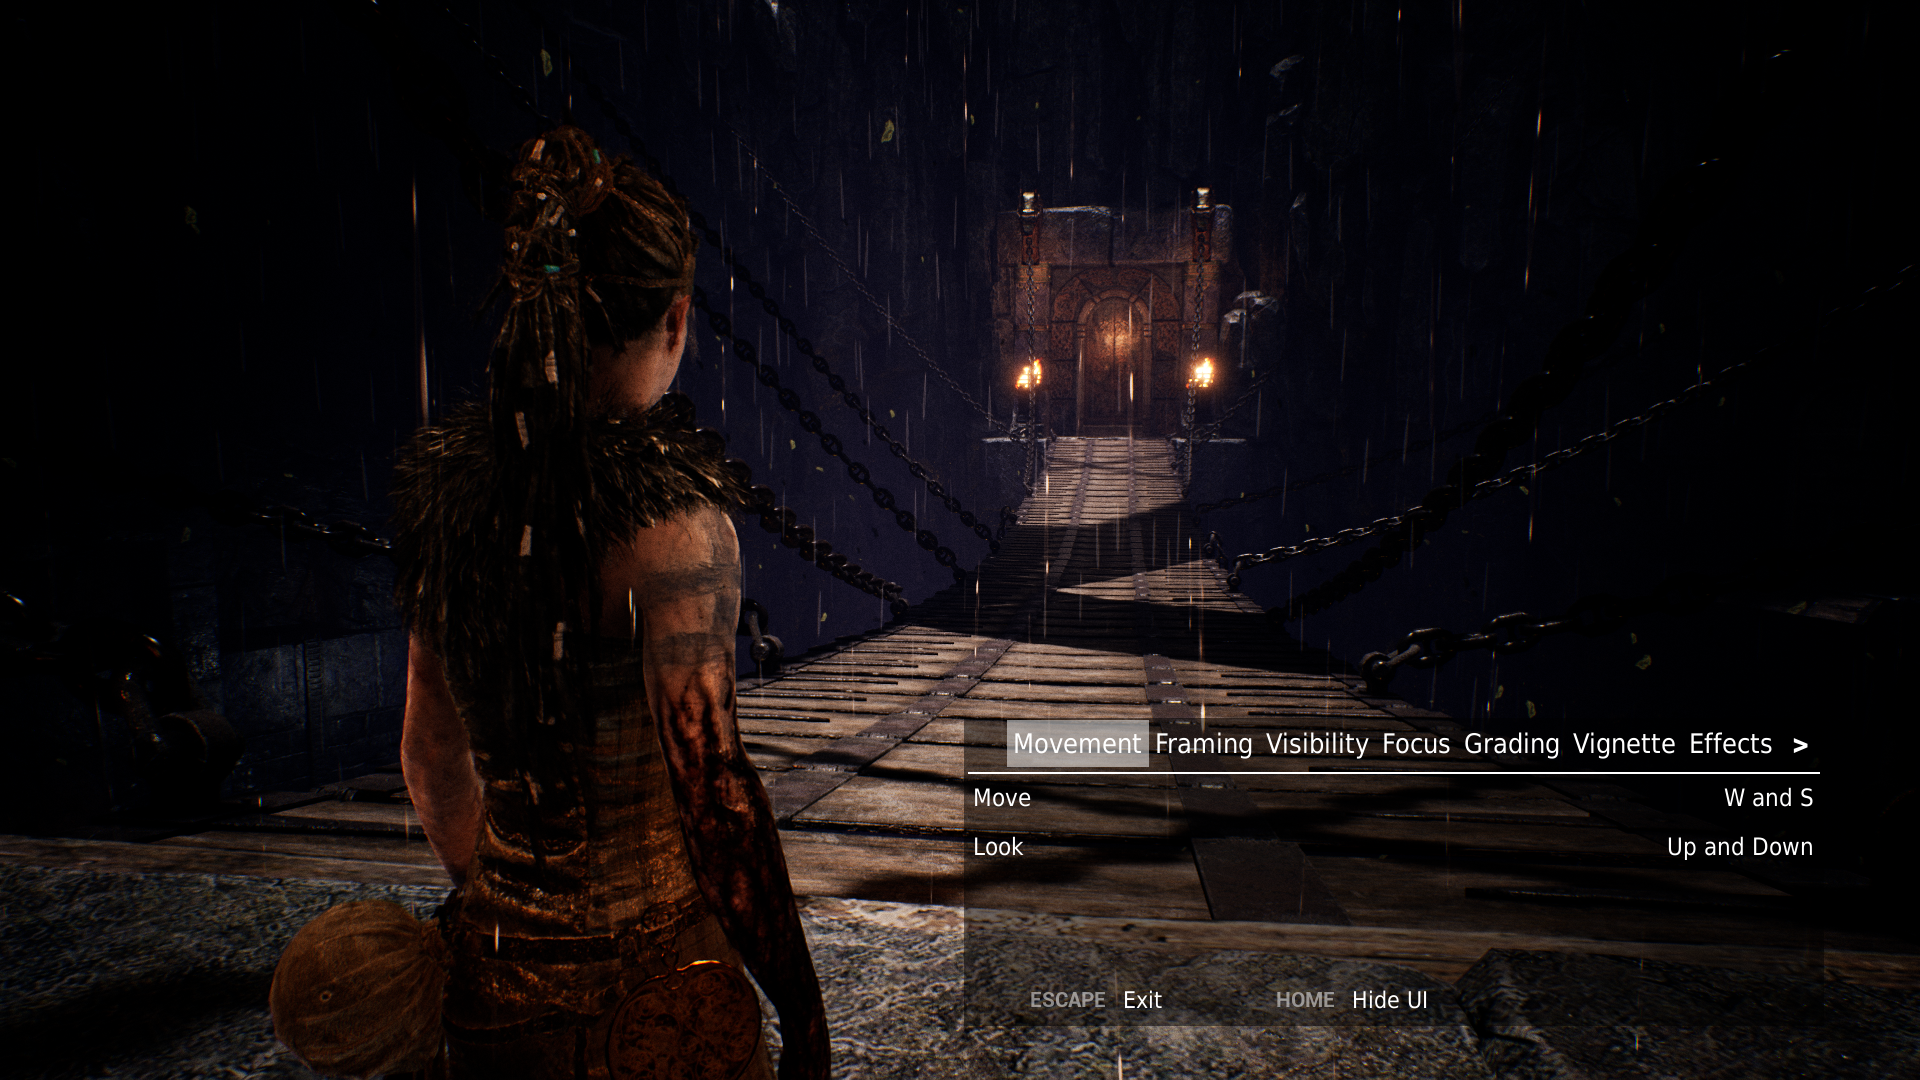
Whatever the game that you’re playing, most of the time, you’ll find the instructions on how to use the Photo Mode feature at the bottom of your screen (as you can see from all the examples that I gave you above).
Examples of pictures that you can take
Wondering how good of a picture you can take using the Photo Mode feature?
Here are a few examples, all of them taken by me, using the Photo Mode feature explicitly and without any additional editing (some of them have been resized in resolution for the purpose of the article):
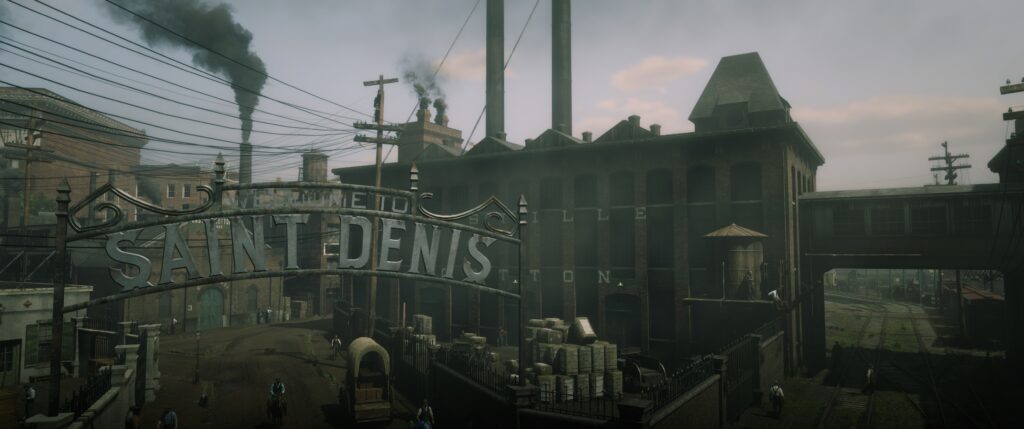
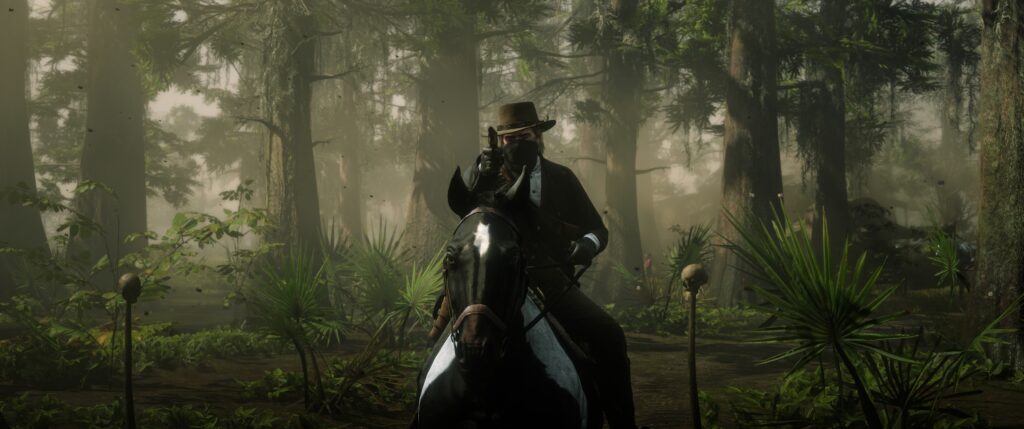
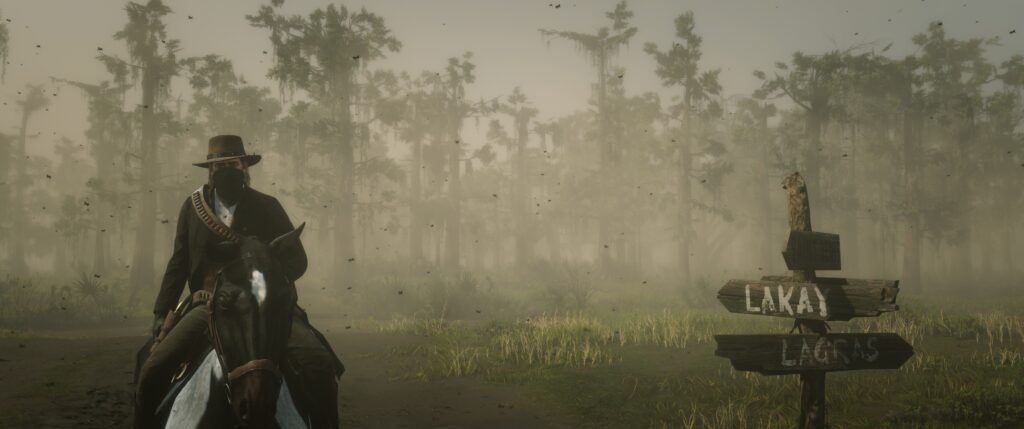
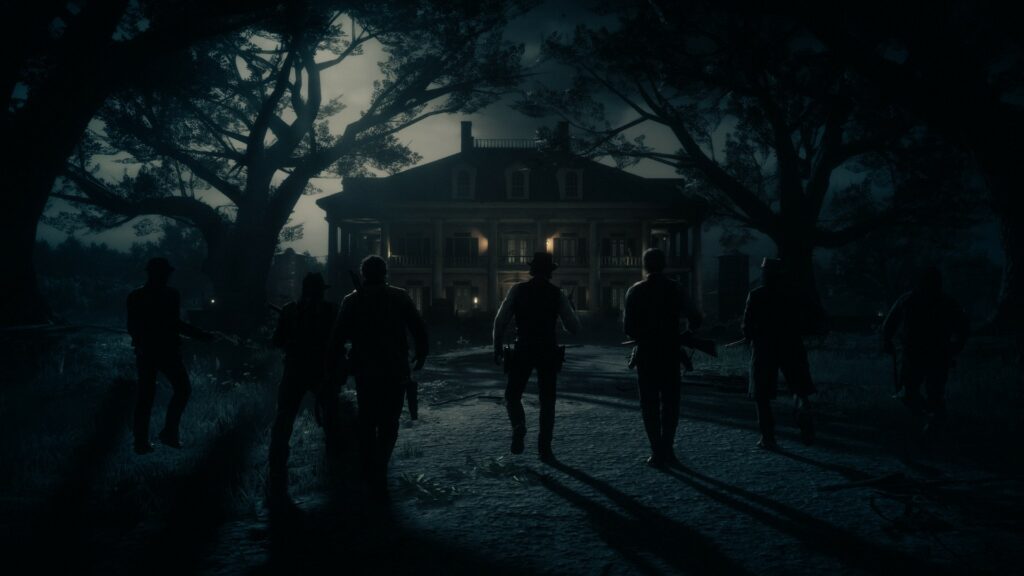
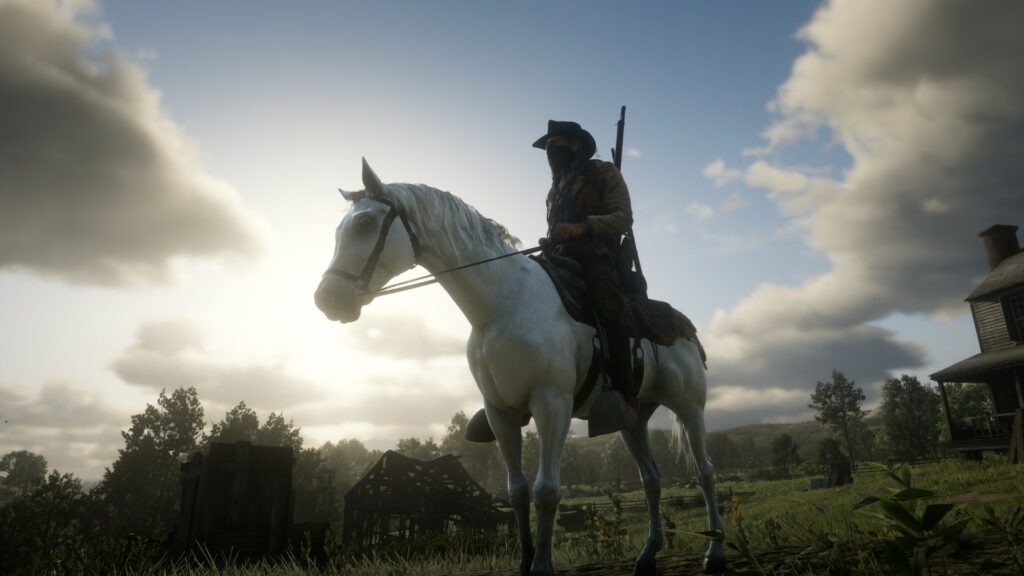
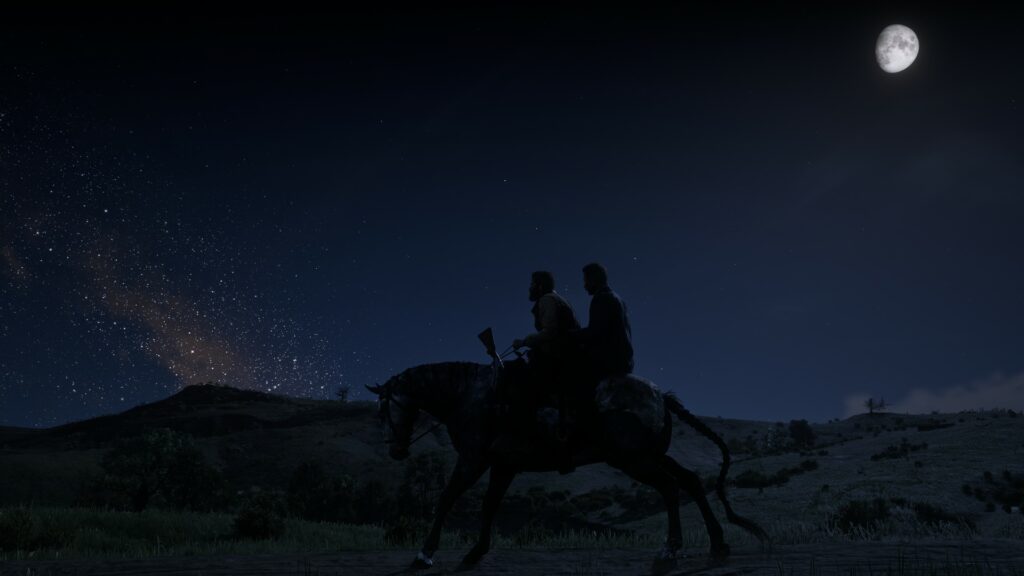
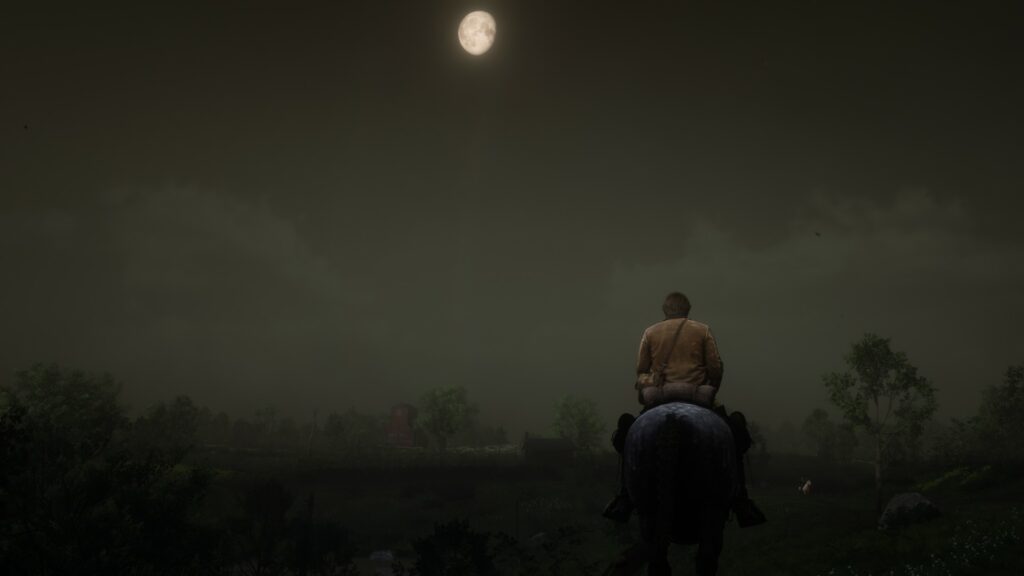
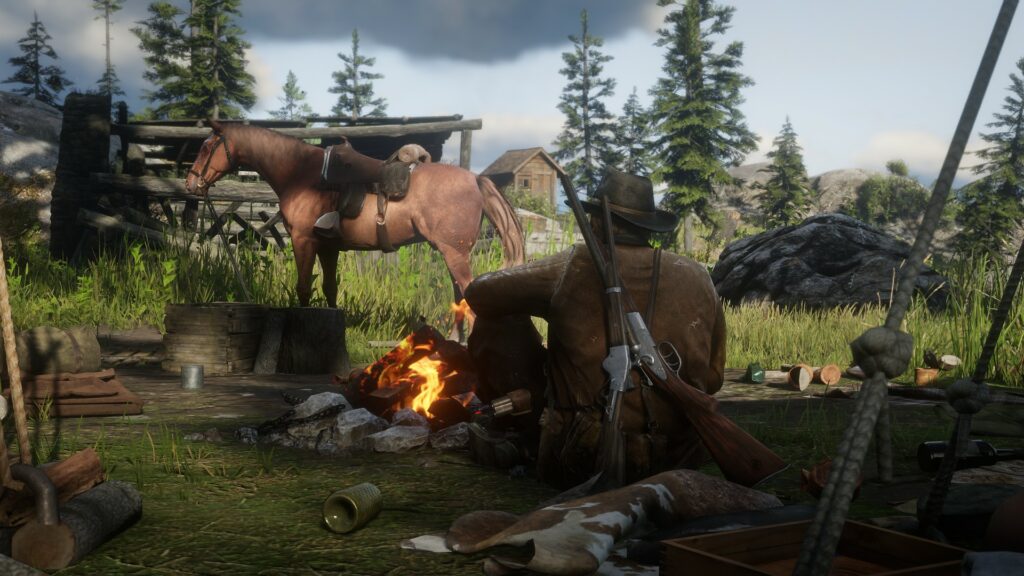
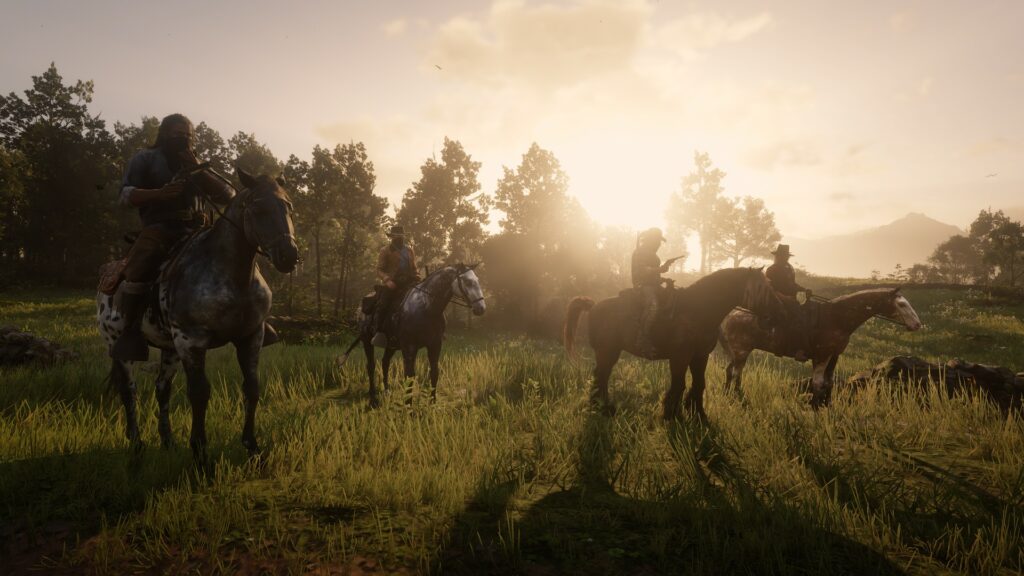
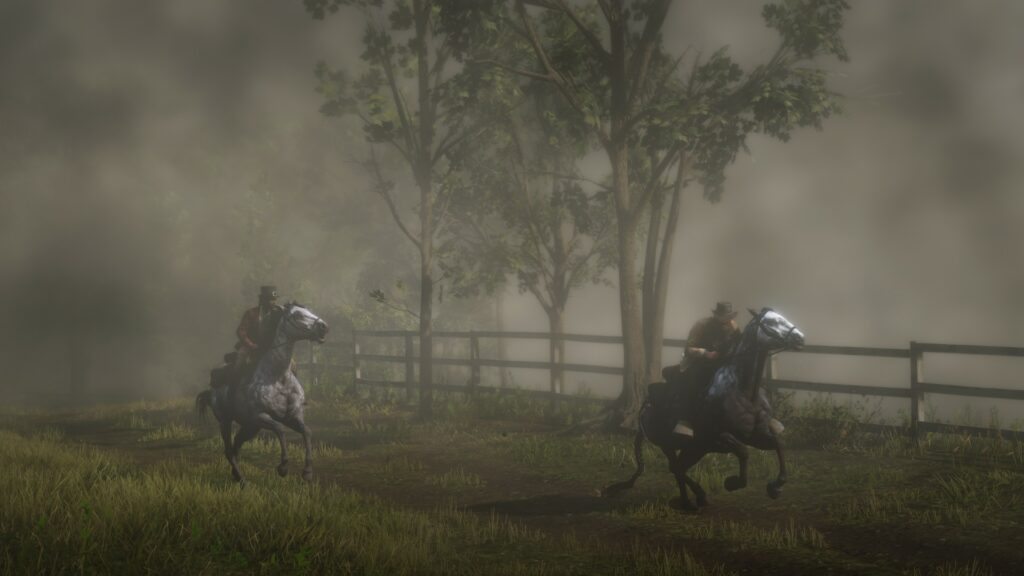
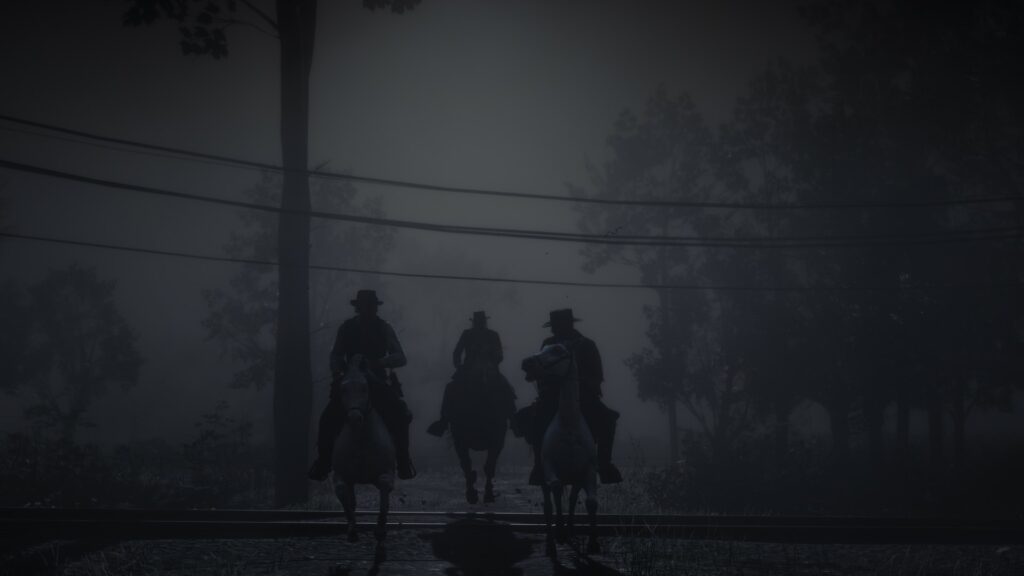
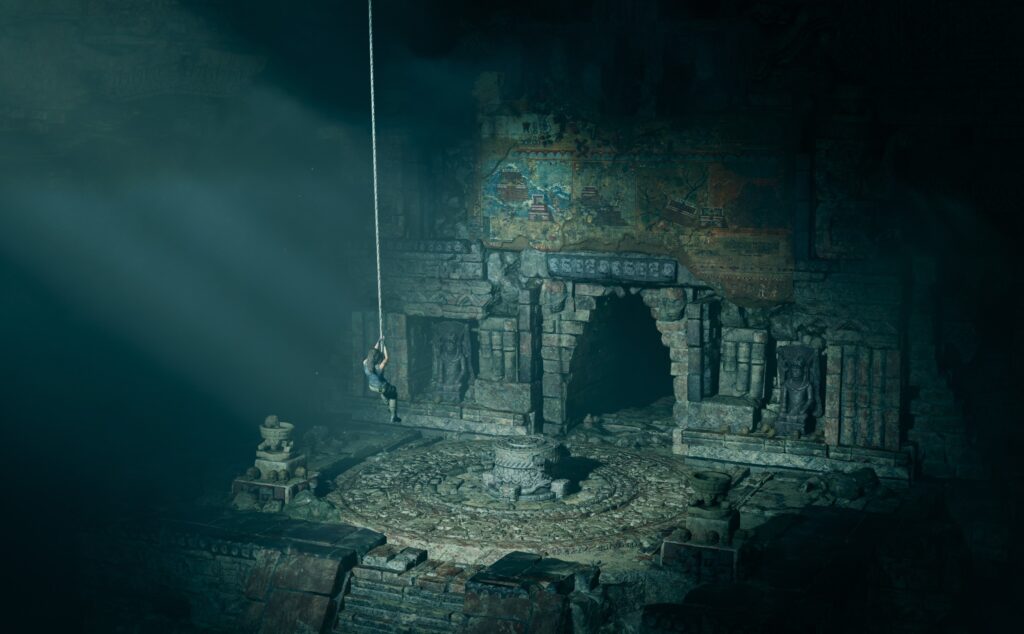
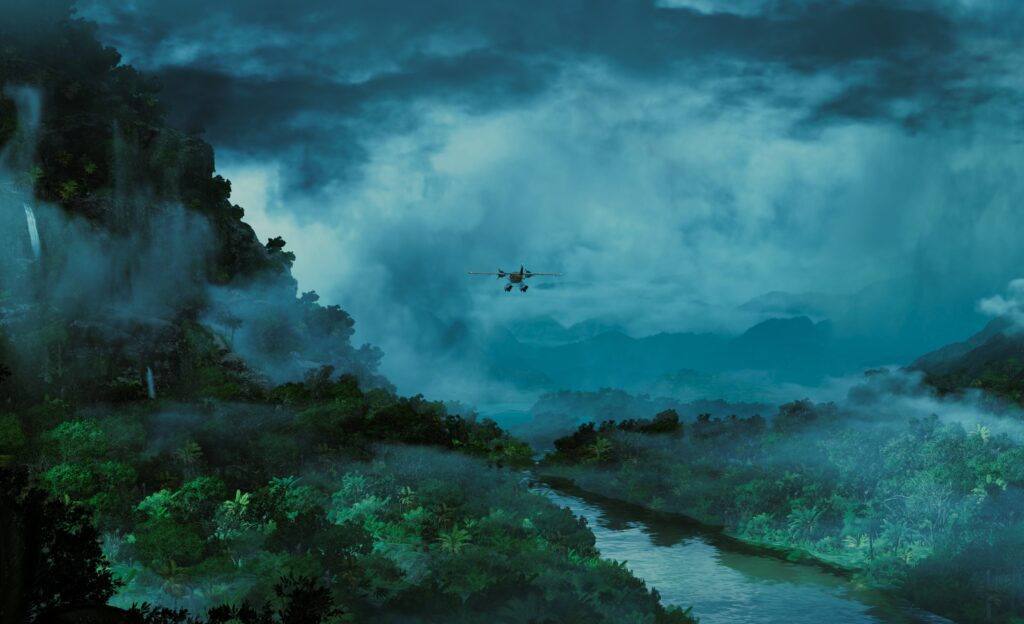
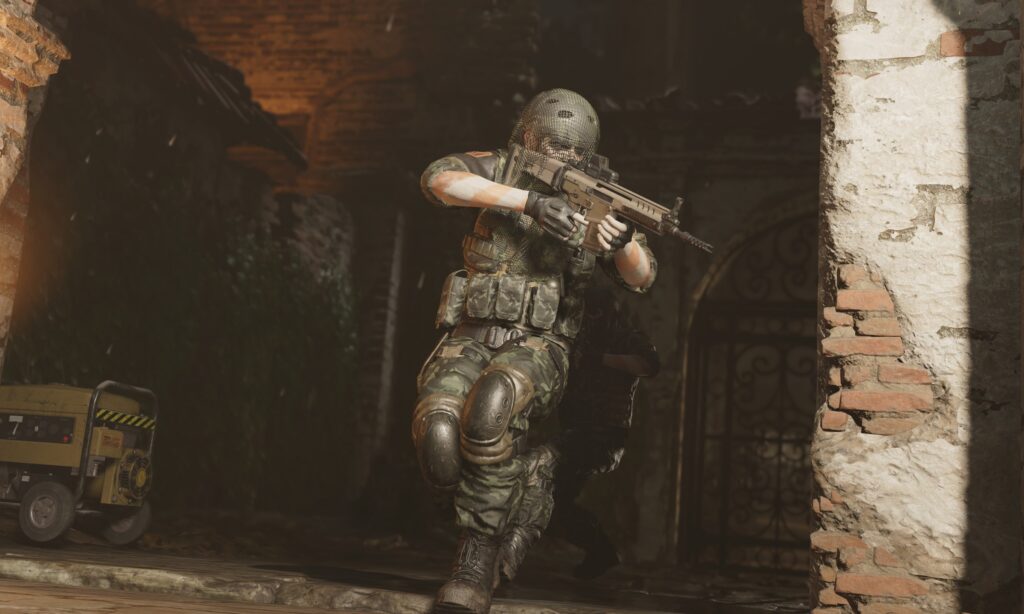
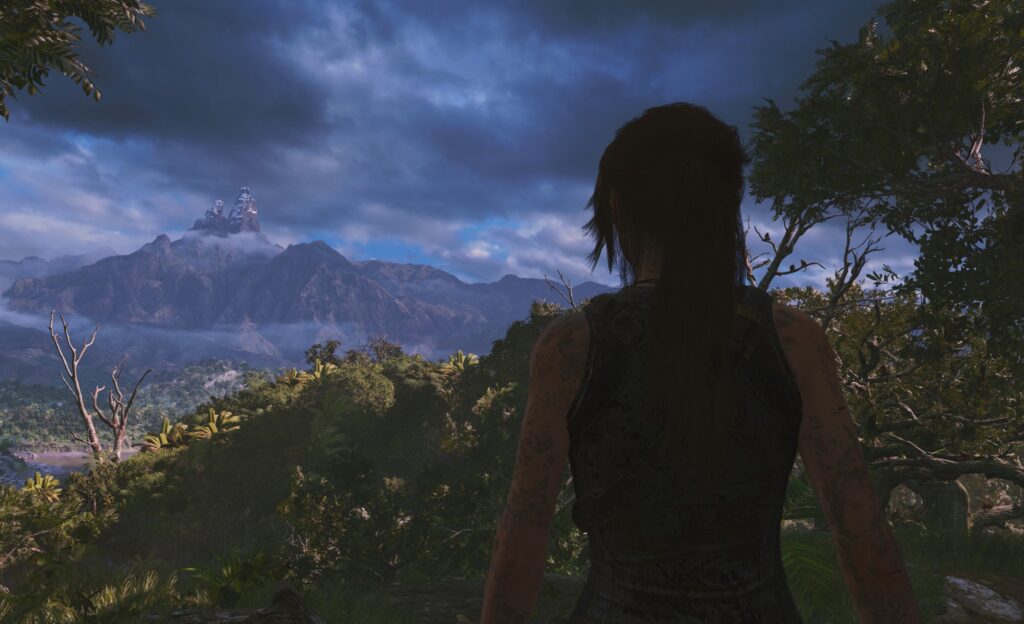
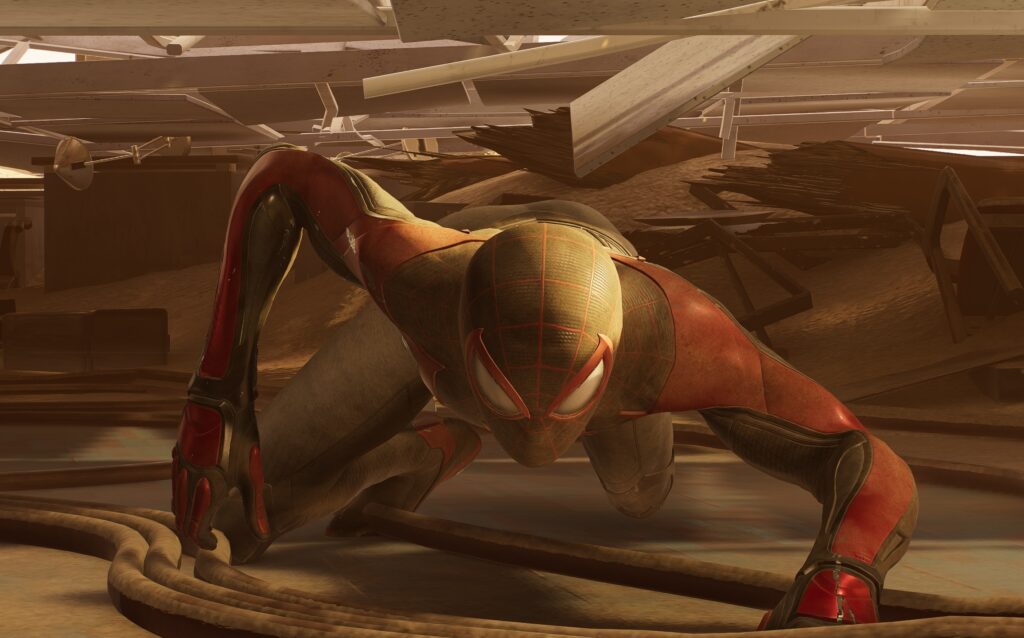
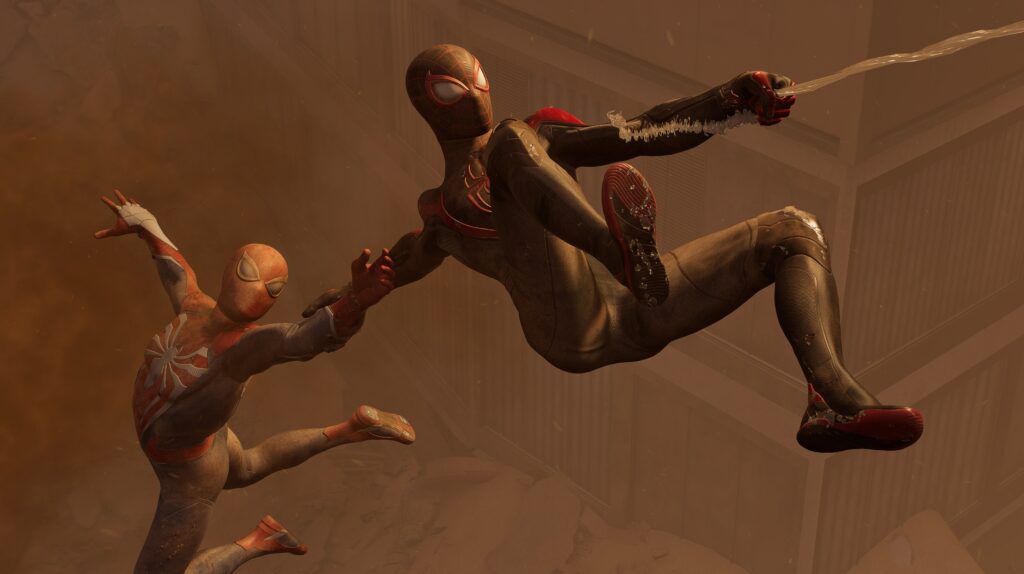
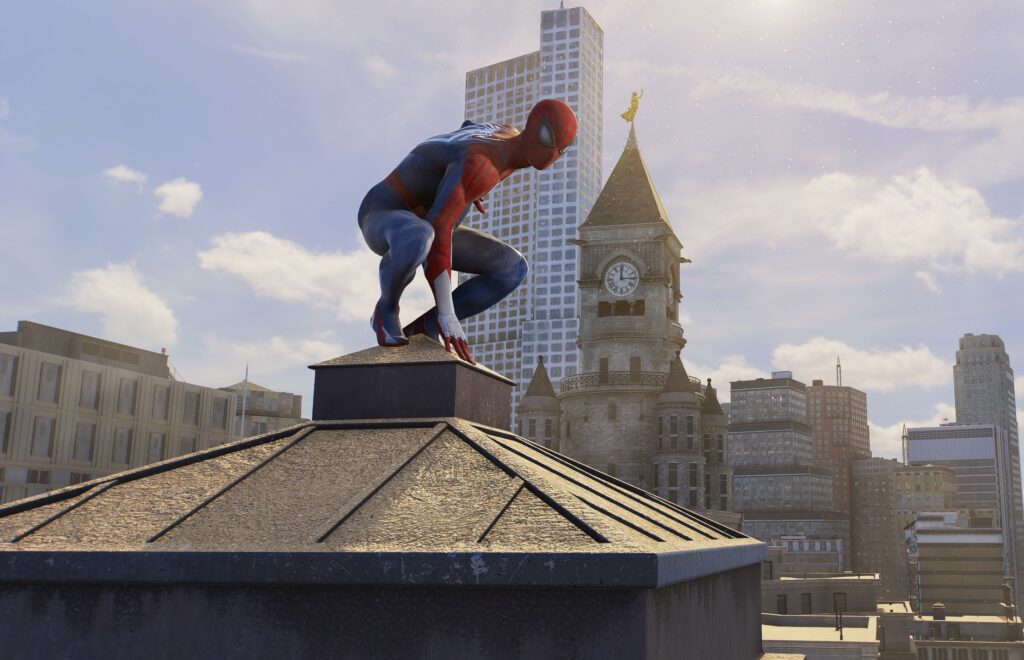
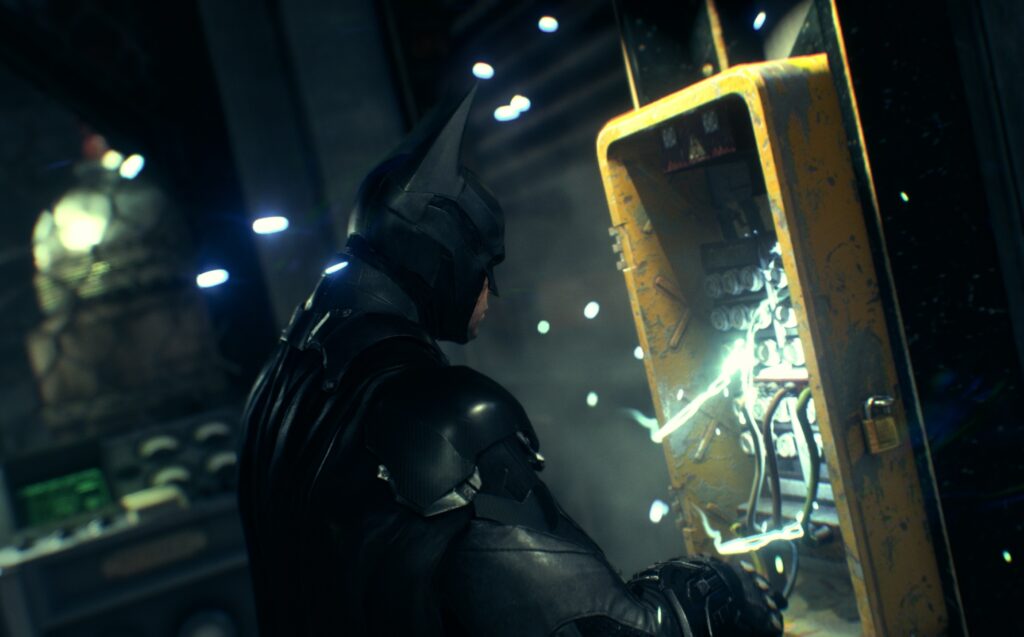
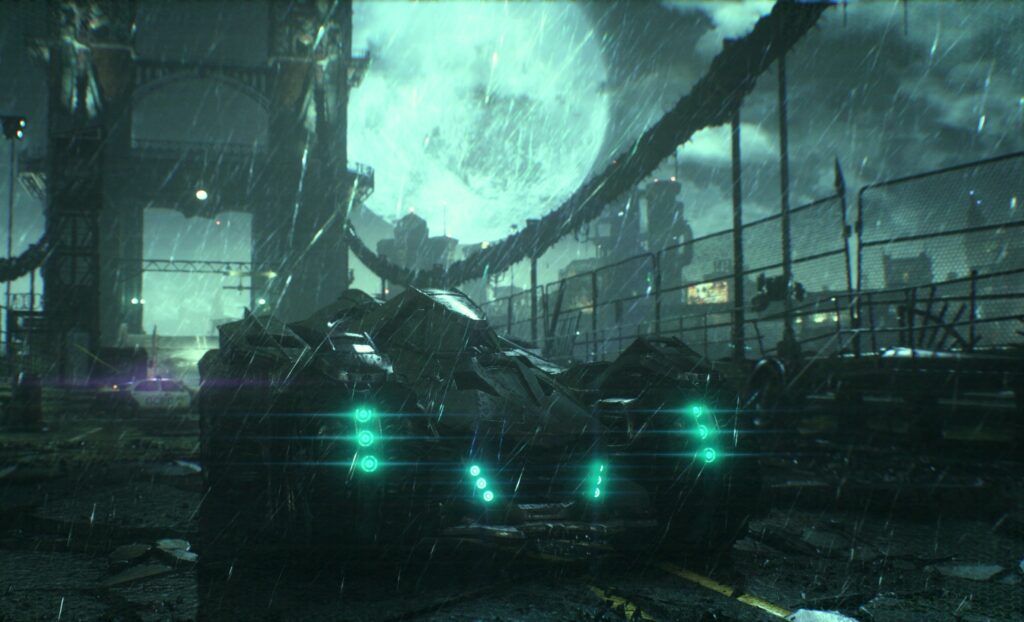
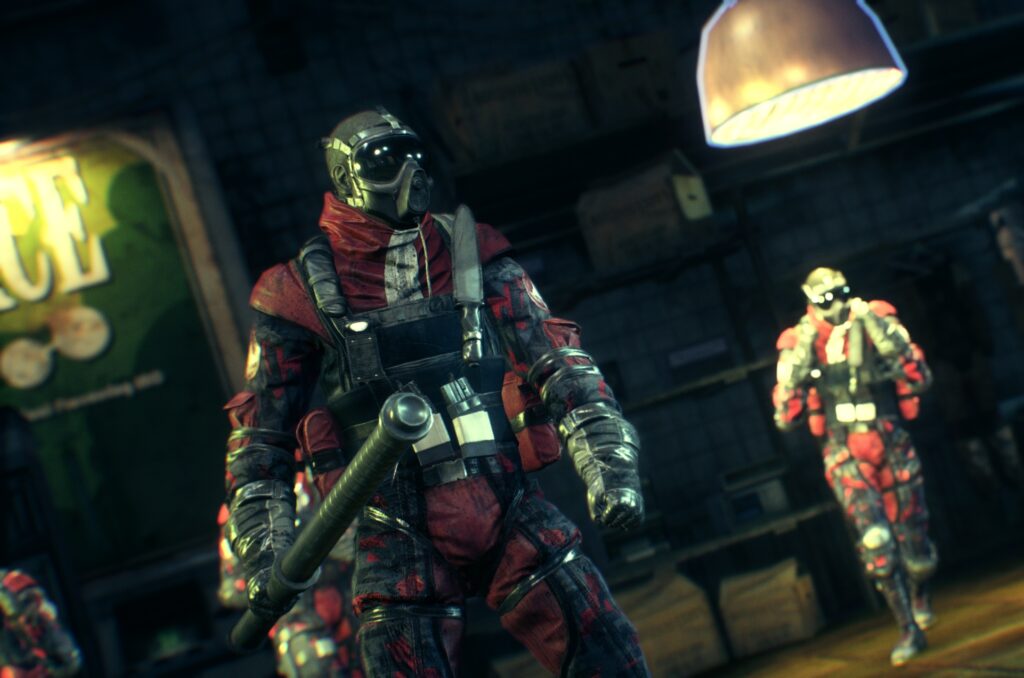
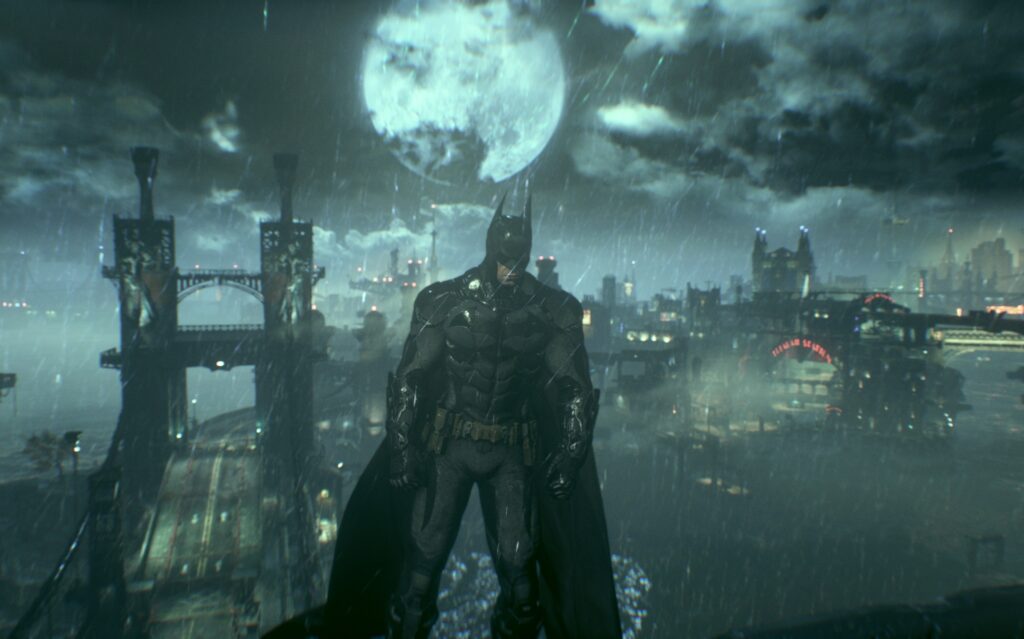
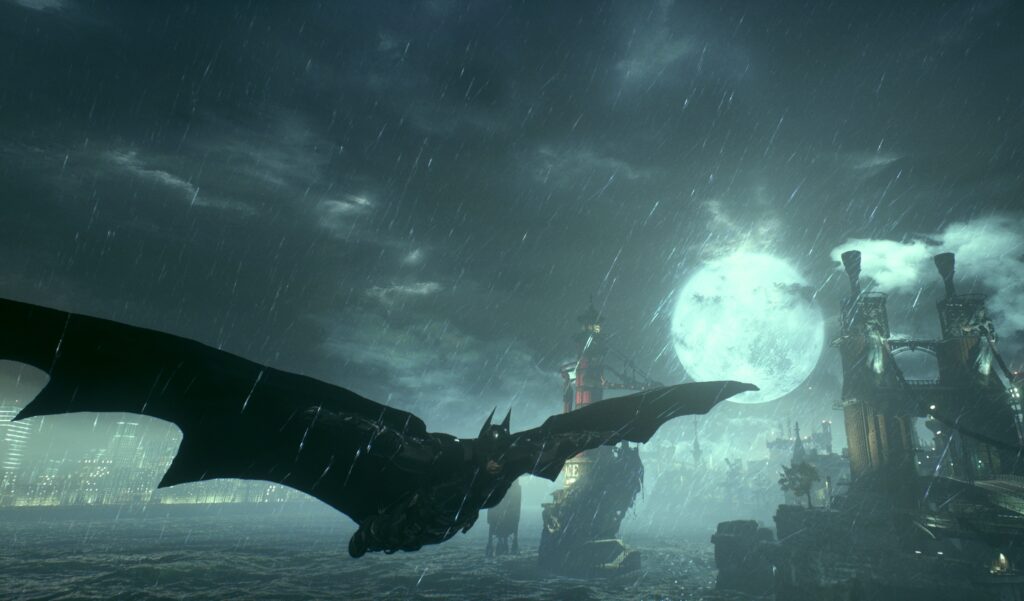
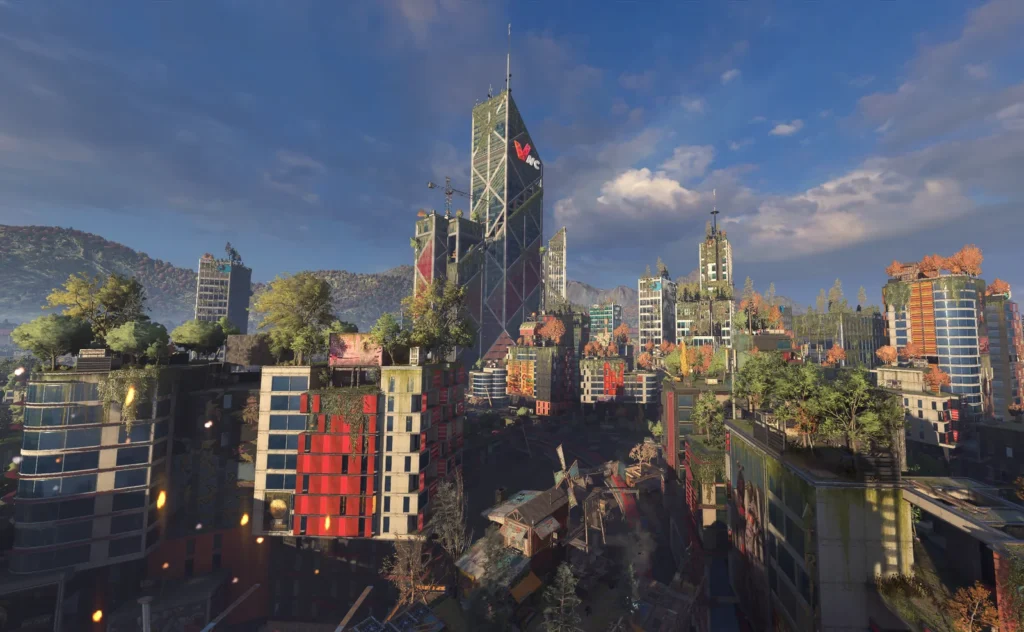
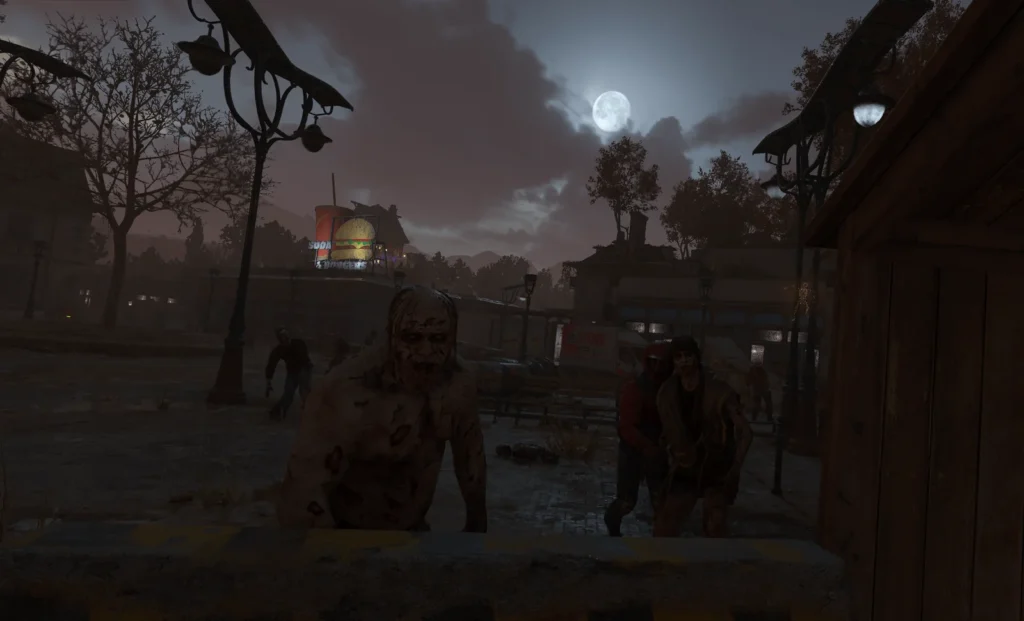
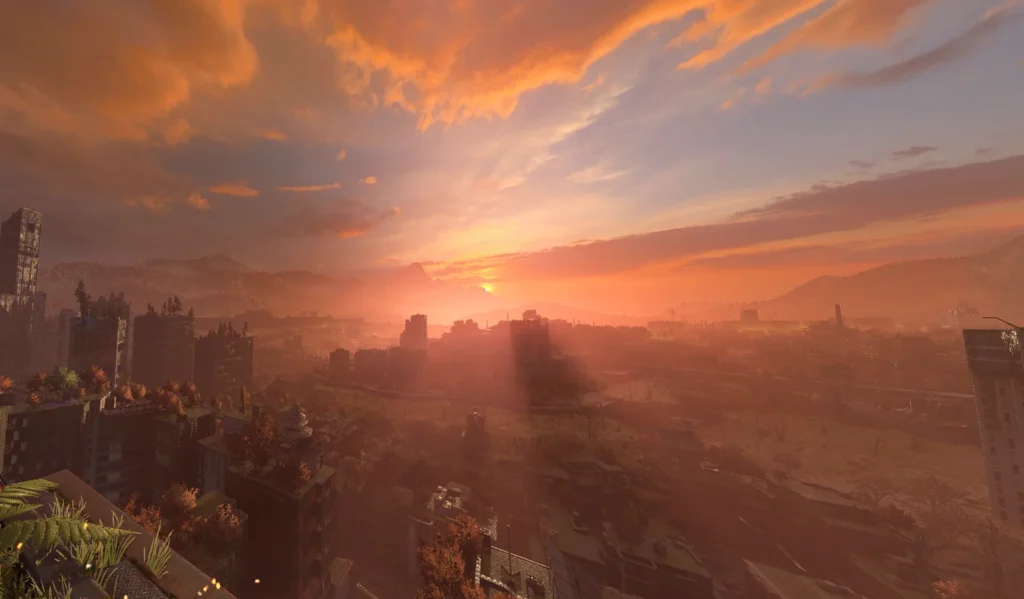
And you can make a lot better than me, and if there’s anything to be said, it’s that using the Photo Mode has been the most fun I had in games – and a great way to explore their worlds even more, just so you can find the best spot.
How you can use the photos that you take
There are plenty of ways that you can use the pictures that you take using the in-game Photo Mode feature, including for sharing them on social media platforms, using them as wallpapers, provide them for others, include them in your review articles and videos, and if the developers allow you, you can even use them for commercial purposes.
If you keep a gaming journal, those images will be great for keeping records of your in-game experiences and progress. Others may use those pictures for comparisons, including before and after, based on different settings, graphics, modes, and even remastered versions or DLCs.
If you want to use those in-game pictures for commercial use, such as selling them online, please make sure that you searched if the developers or company permitting you or not.
Frequently Asked Questions about the Photo Mode
Have more questions? Ask them on our Gaming Forum or use the comments section at the end of this page.
How do I access Photo Mode?
Some games have a dedicated button (e.g., Spider-Man, Cyberpunk 2077), others require opening a menu (e.g., The Last of Us), and some let you enter it via shortcut keys (e.g., PC games often use F12, F10, or a keybinding).
Can I use Photo Mode in multiplayer or online games?
Most online games disable Photo Mode to prevent abuse or cheating. However, some allow limited functionality, like hiding UI or capturing certain moments.
Can I move the camera freely in Photo Mode?
Yes, in most cases, but some games limit movement to avoid breaking immersion. Others offer a “Free Camera Mode” to explore outside the usual player view.
Does Photo Mode pause the game?
Single-player games usually pause while in Photo Mode, but some games allow real-time movement (e.g., Forza Horizon lets you take dynamic shots).
What settings can I adjust in Photo Mode?
Depending on how rich and robust a Photo Mode is, you can usually adjust settings such as damera position, angle, rotation, depth of field and focus, lighting and weather, filters, effects, color grading, character poses and visibility, and so much more.
How do I remove UI or HUD in screenshots?
Most Photo Modes automatically hide UI elements, but some games require a toggle option in the settings.
What is the difference between Free Camera and Locked Camera?
Free Camera lets you move independently in all directions, while Locked Camera stays attached to the character or a set angle.

